23
To change the orientation setting:
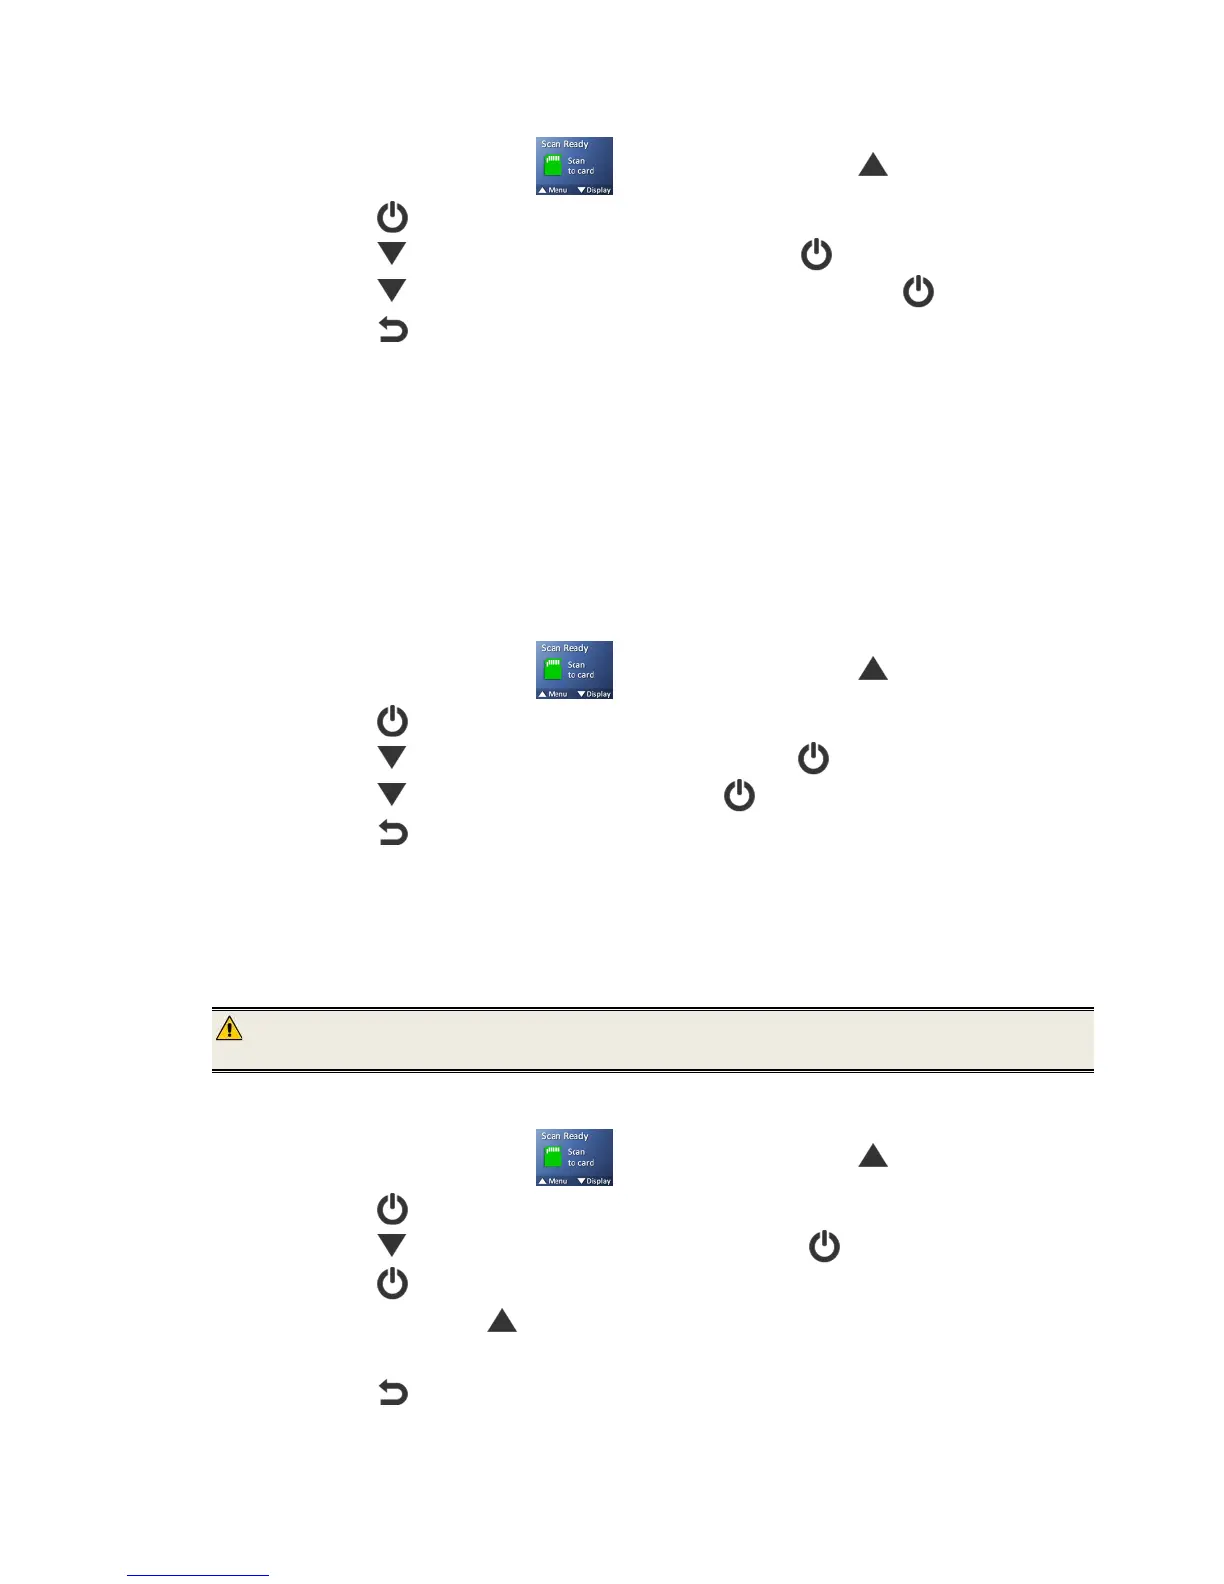
1. With the “Scan Ready” screen displayed, press to enter Menu mode.
2. Press to select -5AA9@J4.
3. Press to scroll to "695@A;A9>@, and then press to select it.
4. Press to focus on the desired orientation, and then press to select it.
5. Press to exit.
%@A9LC966>6 )(w and&scans&only))
This feature is only applicable when using as hand-held wand scanner.
By default, if you wand-scan an original from bottom-to-top, the image is actually captured
upside-down and backwards, and then the Anti-mirror feature automatically flips and
rotates the image before it is saved.
If desired, you can turn the Anti-mirror feature off, resulting in your scanned images saved
upside-down and backwards.
To turn Anti-Mirror off:
1. With the “Scan Ready” screen displayed, press to enter Menu mode.
2. Press to select -5AA9@J4.
3. Press to scroll to %@A9LC966>6 , and then press to select it.
4. Press to focus on "??, and then press to select it.
5. Press to exit.
.;6:)1>6C;A)
You can format the internal storage disk or a microSD card (not included) that is inserted in
the scanner.
WARNING: If you reformat your internal storage disk or microSD card, all existing files
are deleted.
To reformat your internal storage disk or microSD card:
1. With the “Scan Ready” screen displayed, press to enter Menu mode.
2. Press to select -5AA9@J4.
3. Press to scroll to .;6:)1>6C;A, and then press to select it.
4. Press to select a54.
5. To confirm, press .
6. After a successful format, the -5AA9@J4 screen is displayed.
7. Press to exit.

 Loading...


