22
1. With the “Scan Ready” screen displayed, press to enter Menu mode.
2. Press to select -5AA9@J4.
3. Press to scroll to '.,)>??, and then press to select it.
4. Press to focus on the desired setting, and then press to select it.
5. Press to exit.
!>I56)-;M9@J)
To conserve power, the scanner automatically shuts off when left idle for a specified time
(90 seconds, 3 minutes [default], or 5 minutes).
To change the power saving time setting:
1. With the “Scan Ready” screen displayed, press to enter Menu mode.
2. Press to select -5AA9@J4.
3. Press to scroll to !>I56)-;M9@J, and then press to select it.
4. Press to focus on the desired setting, and then press to select it.
5. Press to exit.
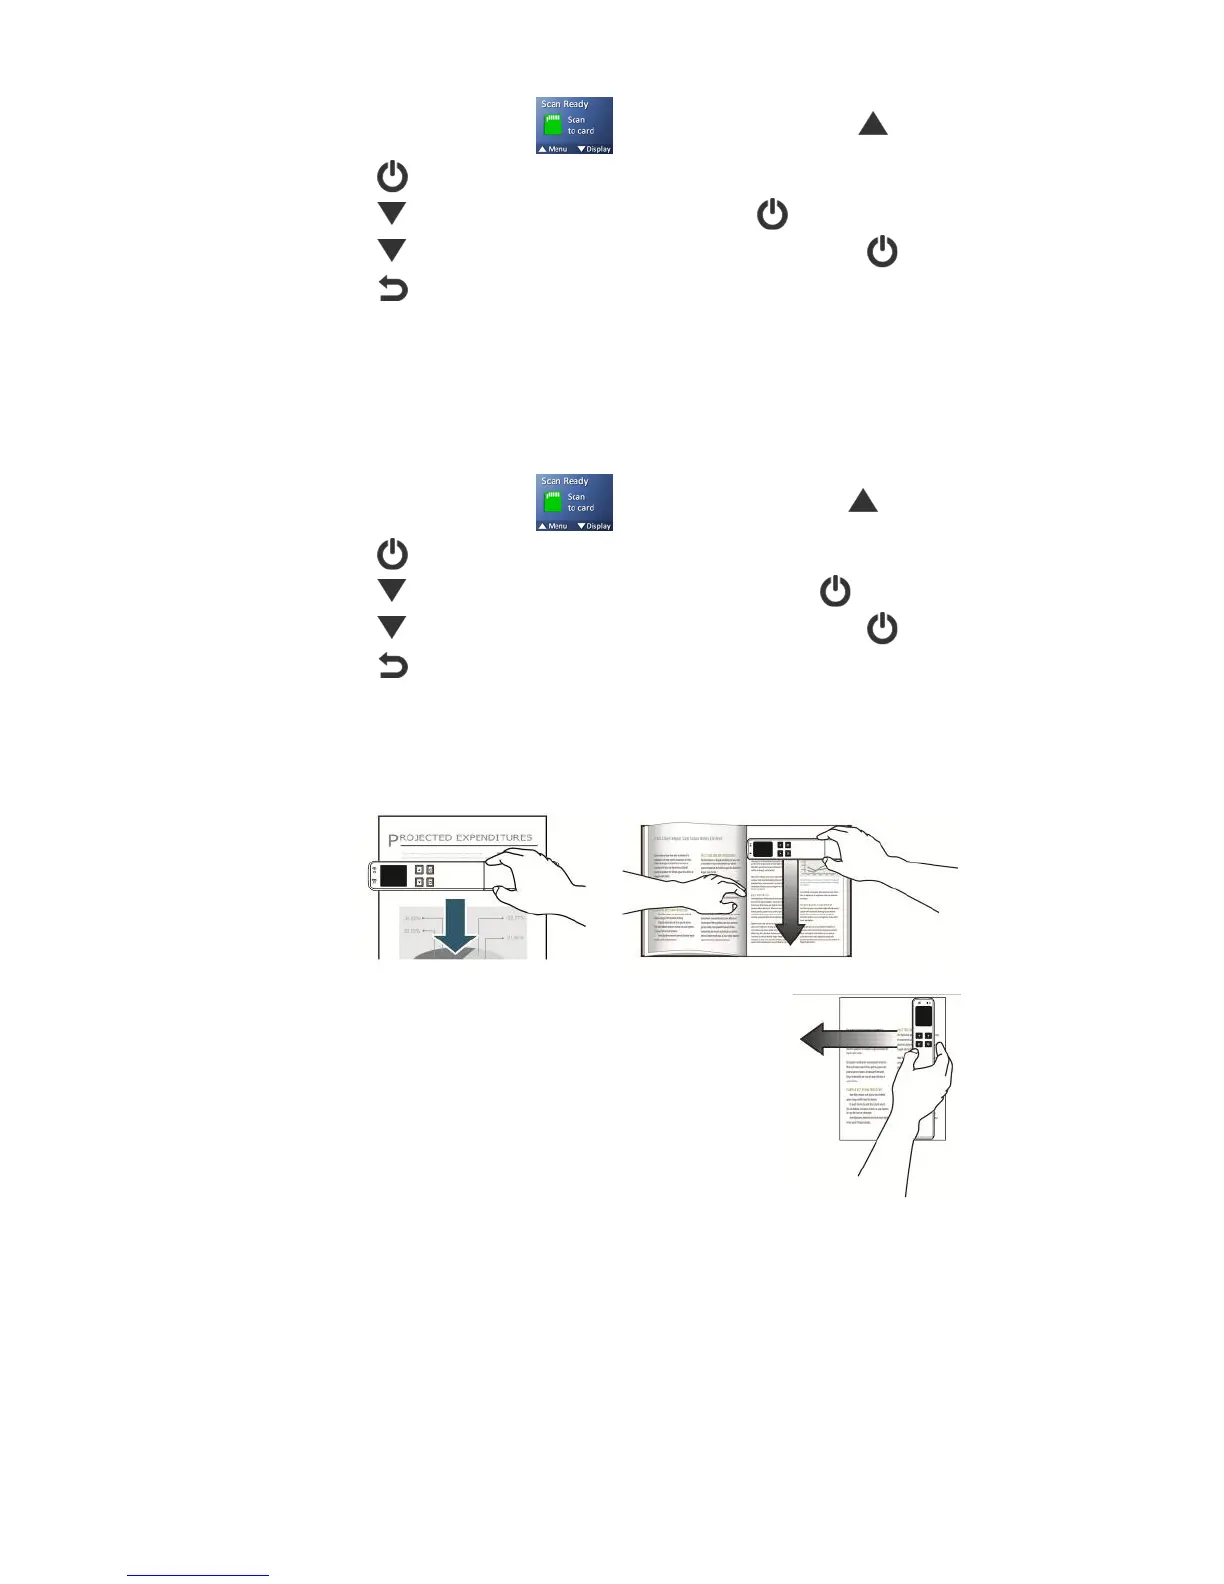
"695@A;A9>@)(best&used&for&PDF&scans)&
The default scan orientation is Landscape, scanning down from top-to-bottom of an original.
This orientation works best for the majority of your scanning (JPG or PDF).
or
You can also hold the scanner vertically and scan a
document from right-to-left (i.e., scanning book pages).
However, if you leave the orientation set as Landscape,
the saved image will be rotated 90
o
left.
In Portrait mode, the images are automatically rotated 90
o
right before being saved,
ensuring the vertically scanned image is saved in the correct viewing orientation, thus
eliminating the need to manually rotate the saved images later.
Changing the orientation to Portrait mode is best used for PDF vertical right-to-left scans.
If you do need to manually rotate saved images, you can use the included Presto! PageManager
software or your own graphic software.
Scanning the same original in different orientations may produce scanned images that look slightly
different in color tones and brightness. This is not a malfunction.

 Loading...


