26
To set the Date & Time:
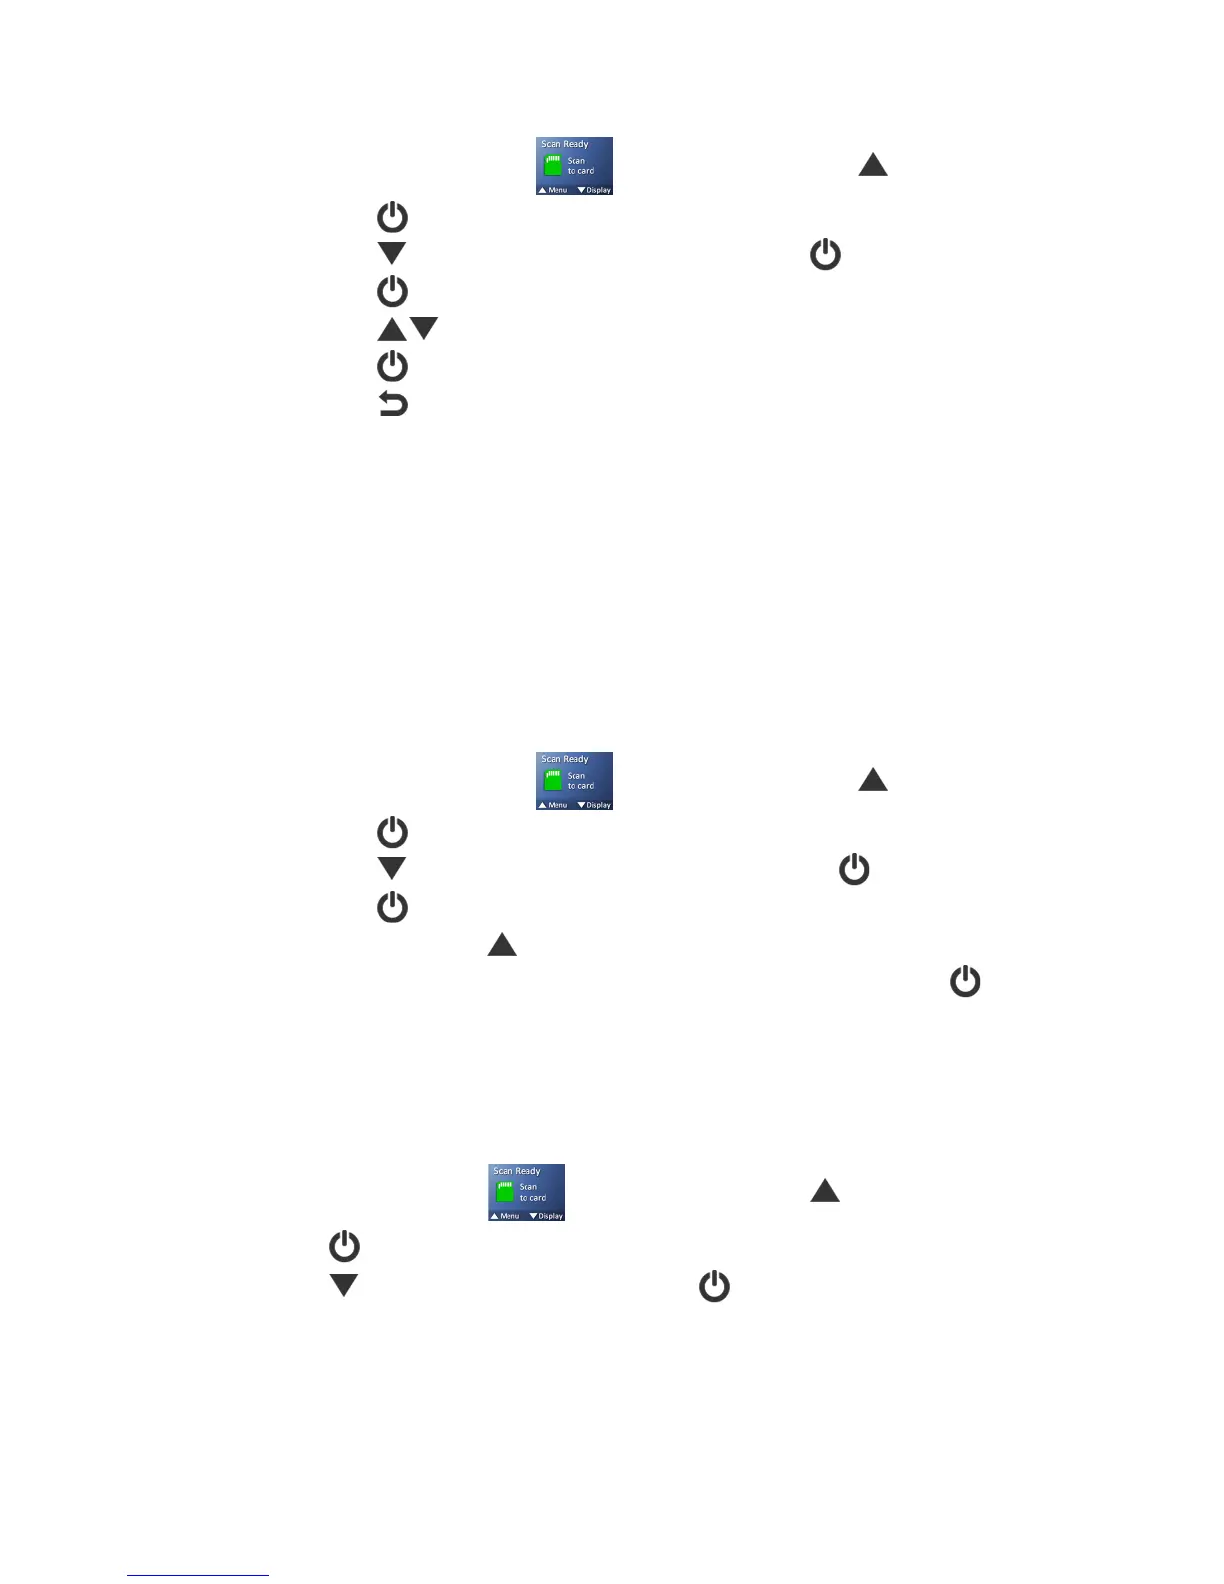
1. With the “Scan Ready” screen displayed, press to enter Menu mode.
2. Press to select -5AA9@J4.
3. Press to scroll to ,;A5)b)$9C5, and then press to select it.
4. Press to navigate to each setting option.
5. Press to set the value.
6. Press to accept values and to complete.
7. Press to exit.
.;=9<6;A9>@) (a s&ne ed ed&o nly) )
If the scanned image has vertical lines or discolorations, the scanner may need calibrating in
order for the Contact Image Sensor (CIS) to resume its color and sharpness precision.
Do not calibrate the scanner unless it is necessary to correct scanned image problems.
Calibration will also format the internal storage disk (ONLY when a microSD card is not inserted).
For calibration instructions, see the “Calibrate the Scanner” section on page 41.
1;FA>6E),5?;8=A)
At any time you can reset all menu settings back to the factory defaults.To reset defaults:
1. With the “Scan Ready” screen displayed, press to enter Menu mode.
2. Press to select -5AA9@J4.
3. Press to scroll to 1;FA>6E),5?;8=A, and then press to select it.
4. Press to select a54.
5. To confirm, press .
6. After a successful reset, the scanner automatically shuts off. Press to turn the
scanner back on.
%<>8A)
The About option lists the system version, calibration status, and device serial number.
You may need this information if you contact our Customer Support.
1. With the “Scan Ready” screen displayed, press to enter Menu mode.
2. Press to select -5AA9@J4.
3. Press to scroll to %<>8A, and then press to select it.

 Loading...


