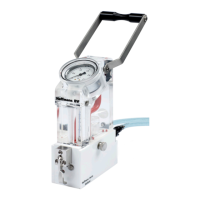
HAFFMANS c-DGM/i-DGM
c-DGM/i-DGM Page 59 of 78
9.3 *Replacing the O
2
sensor
The replacement set for the oxygen sensor includes a new sensor, O-rings and a special
screwdriver.
Procedure:
1) Rinse the c-DGM via the outlet with gas to dry the measuring chamber
(pos. 2) and the plunger block (pos. 26).
Warning
If there is still liquid in the plunger block, this liquid may enter
the electronics when the plunger block is removed.
2) Place the c-DGM upside down on a soft, sturdy surface to prevent scratching
of the components.
3) Loosen the six screws (pos. 22) using the socket screw key from the service
set.
4) Remove the protective housing (pos. 06) from the plunger block (pos. 26) by
first loosening it over the hose connectors (pos. 17 & 18) and then pulling it
over the handle (pos. 20).
5) Use the special screw driver from the oxygen sensor set to loosen the four
screws (pos. 27).
6) Carefully pull the plunger block (pos. 26) directly off the c-DGM.
Warning
If the plunger block is not pulled off evenly, the light guide in
the measurement chamber may be damaged.
7) Push the oxygen sensor (pos. 23) upwards out of the plunger block (pos. 26)
Fig. 9.1
8) Put the two new O-rings (pos. 24) from the oxygen sensor set in the O-ring
grooves of the new oxygen sensor (pos. 23) and apply a light coat of silicon
grease (from the service set to the O-rings.
 Loading...