7 Basic Operation
Starting the IVIS Lumina XRMS Series III
Restarting the System After a Power Outage on page 46
Gas Plumbing on page 46
Door Operation on page 48
Changing the X-Ray Scintillation Plate Position on page 49
Imaging Basics on page 54
System Shut Down Procedure on page 55
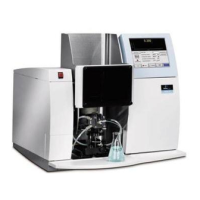
7.1 Starting the IVIS Lumina XRMS Series III
1. Plug the devices into the wall sockets in the new location.
2. Turn on the power surge protection devices.
3. Turn on the computer and monitor.
4. Turn on the IVIS Lumina XRMS Series III imaging chamber (the power switch is located on the
back of the unit) and verify that the other components such as the camera power supply, X-ray
controller (both on the back of the unit) and fluorescence lamp are also turned to the On position.
5. Start the Living Image
®
software after the desktop screen is displayed.
6. Enter a User ID (up to three letters) when prompted, then click Done.
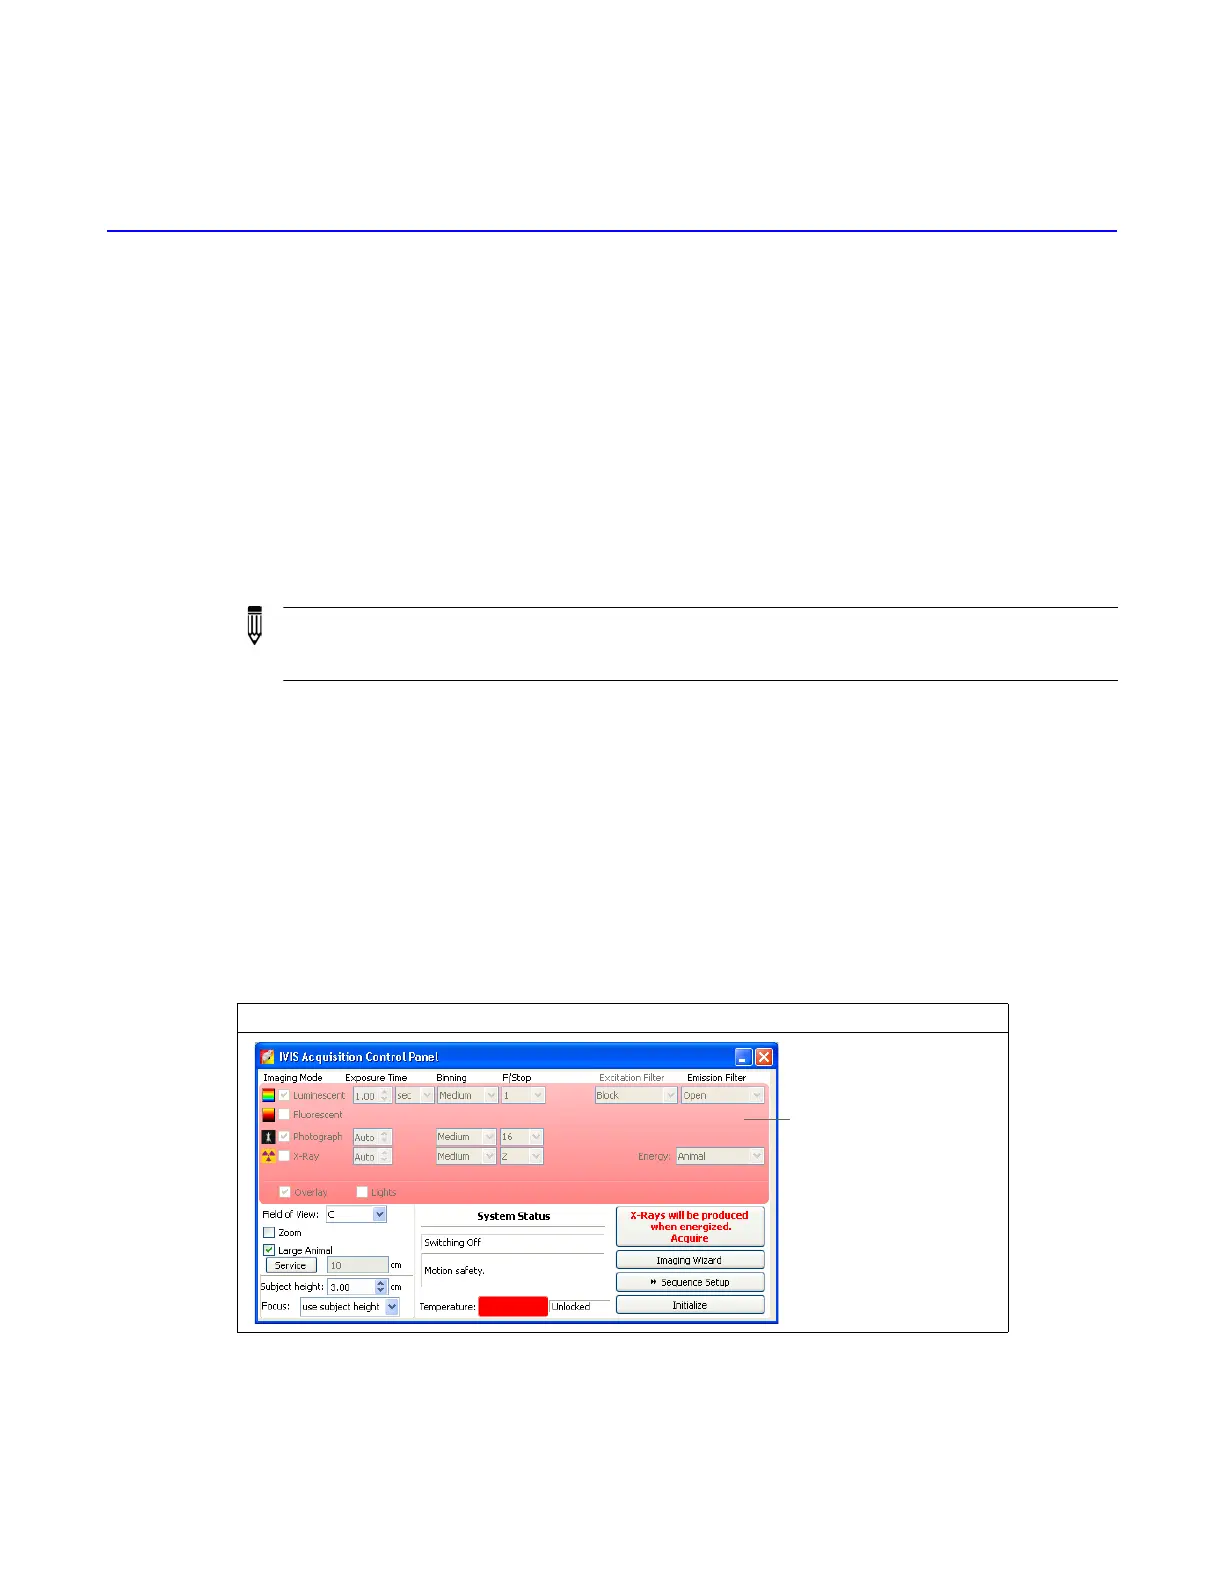
7. Click Initialize in the IVIS Acquisition Control Panel (Figure 7.2).
Allow the system to initialize. You will hear the motors move. The System Status box displays
the current changes.
The temperature square in the IVIS Acquisition Control Panel is red at startup and turns green
when the operating temperature is reached. The control panel displays the current temperature
(Figure 7.2).
NOTE: All components of the IVIS Lumina XRMS Series III should be left on at all
times. Periodically rebooting the computer is permissible and does not affect
camera operation.
Figure 7.1 IVIS Acquisition Control Panel During Initialization
Red color appears in the
control panel during
initialization. The color
turns blue when
initialization is finished.
 Loading...