IVIS
®
Lumina XRMS Series III Hardware Manual Appendix C | Scintillation Plate Holder 83
C.2 Replacing the Scintillation Plate Holder
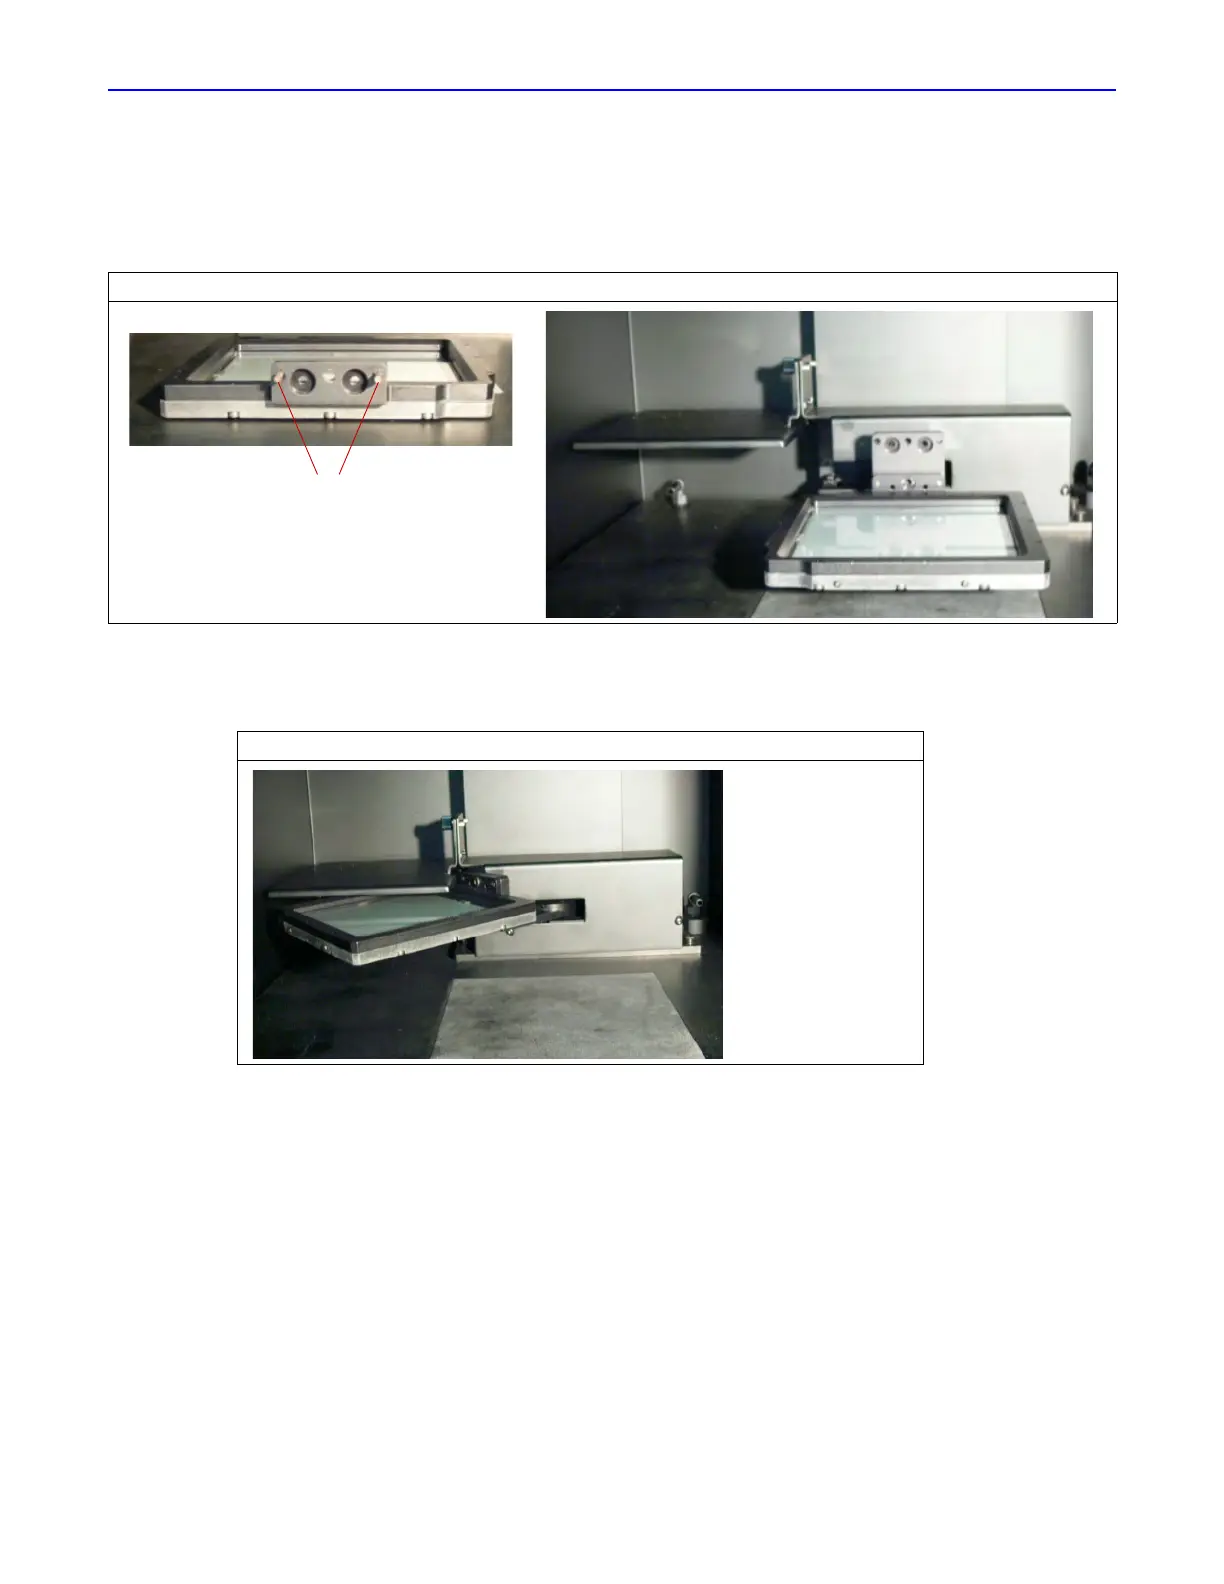
1. Insert the two pins on the scintillation plate holder into the L-bracket (Figure C.3).
2. Tighten the 9/16" Hex screw.
3. Move the scintillation plate holder under the scintillator cover by horizontally rotating the plate
holder 90 degrees clockwise (Figure C.4).
4. Close the imaging chamber door and turn on the power to the Lumina XRMS at the rear main
power switch.
5. Re-initialize the instrument through the Living Image
®
software.
This moves the plate holder to the home position by locating the limit sensors.
Figure C.3 Insert Scintillation Plate Holder on L-Bracket
Figure C.4 Move the Scintillation Plate Holder Underneath the Scintillation Cover
Pins on scintillation plate holder
 Loading...