96
41. Changing the thread monitor with free-arm cover
Note:
The thread monitor is only exchanged complete with the free-arm cover.
Removal:
• Remove the machine’s mains lead.
• Remove the needle and presser foot.
• Remove the folding cover.
• Unscrew and remove both torx screws of the housing insert.
• Remove the housing insert.
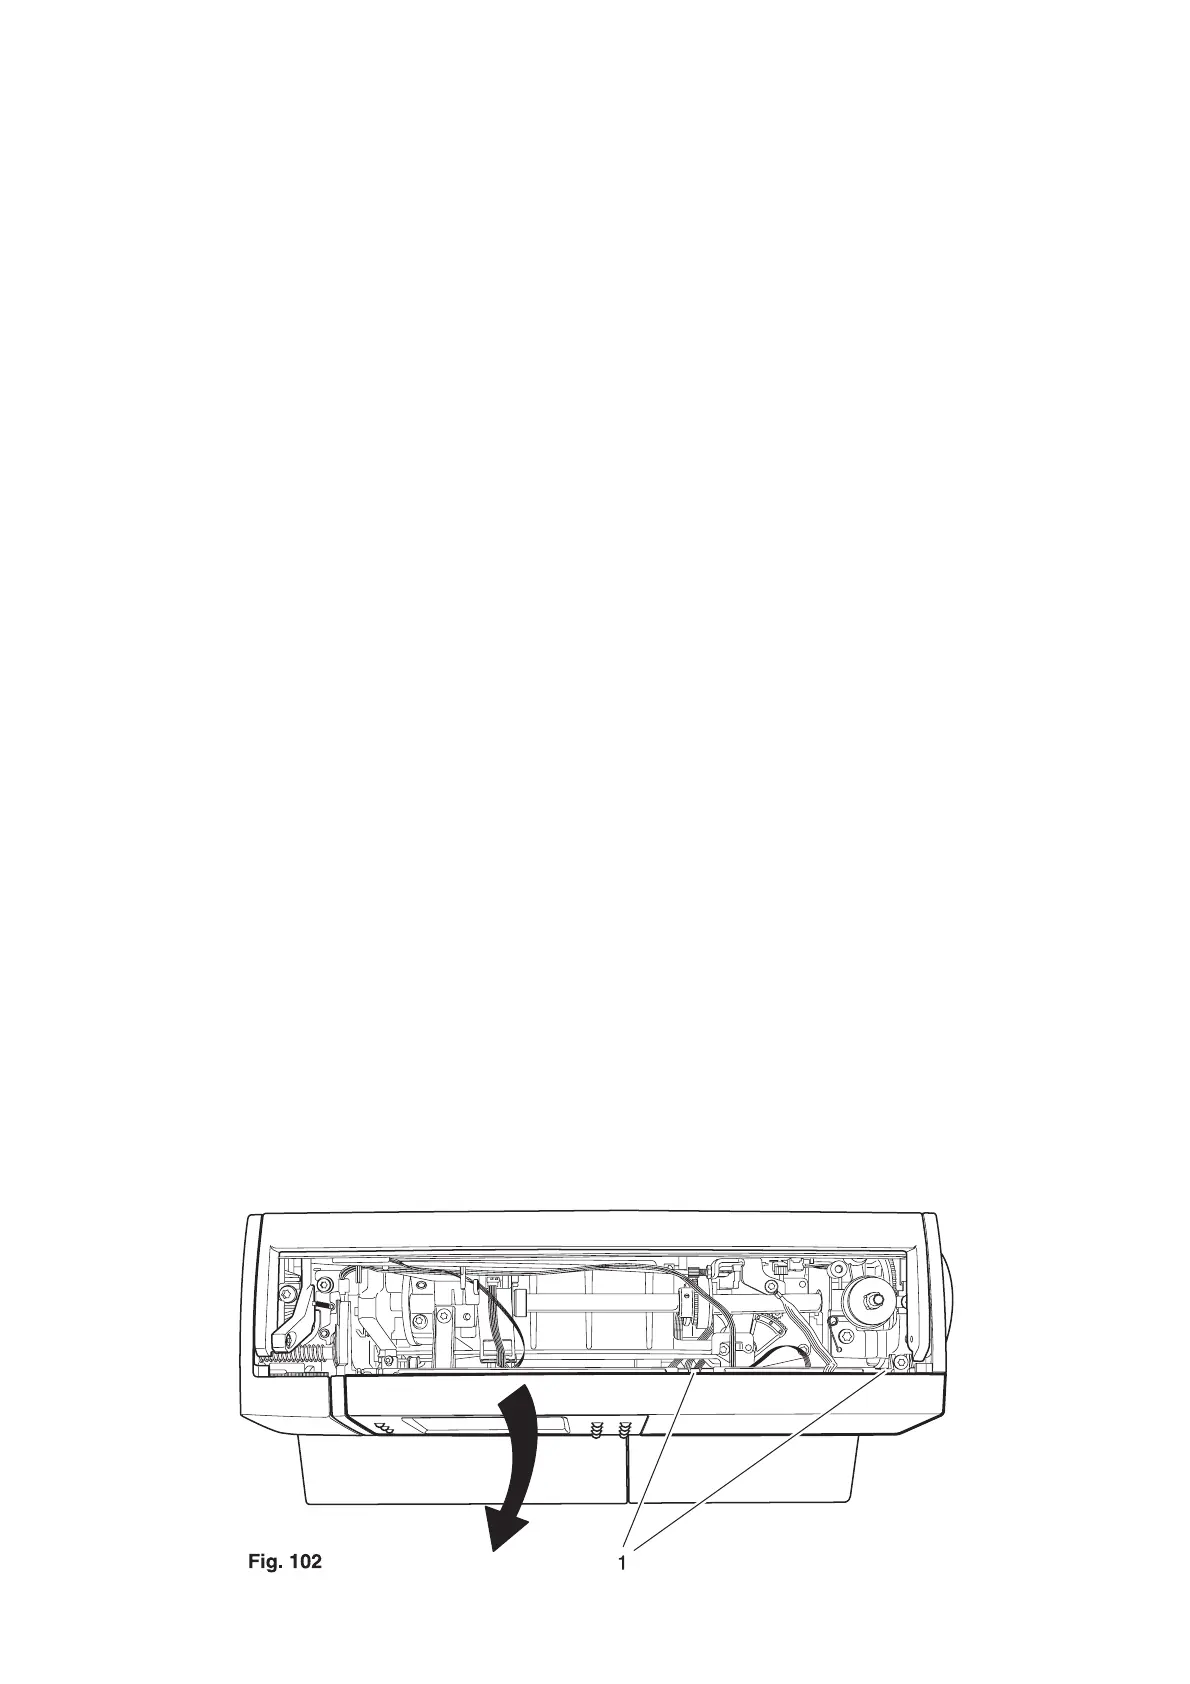
• Raise both lugs 1 slightly and remove the facing panel of the front housing panel (fig. 102).
• Place the machine on its back.
• Unscrew and remove the three screws in the base plate.
• Tilt the bast to the front and remove three connection plugs 4, 5 and 6 (fig. 103).
• Unscrew and remove both fastening screws 7 of the free-arm cover (fig. 104).
• Bring the feed-dog lowering mechanism into its normal working position.
• Disengage both feed regulators 8 using a small screwdriver.
• Remove the cable clip.
• Remove connection plug 9 from the circuit board of the front housing panel and pull the cable
• downward (fig. 105).
• Remove the free-arm cover with the thread monitor from the housing to the left.
Fitting:
• Install the new free-arm cover with thread monitor and secure with both fastening screws 7 (fig. 104).
• Bring the feed-dog lowering mechanism into its normal working position.
• Engage both feed regulators 8.
• Place the cable, using a spring hook, between the motor and the housing.
• Mount connection plug 9 onto the circuit board of the front housing panel (fig. 105).
• Attach the cable clip.
• Mount three connection plugs 4, 5 and 6 onto the circuit board of the base plate (fig. 103).
• Fold the base plate to the machine and secure with the three fastening screws.
• Mount the facing panel onto the front housing panel.
• Insert the housing insert and secure with both torx screws.
• Attach the folding cover.
• Attach the mains lead.
• Carry out a test of the thread monitor with an empty and a full bobbin.