EasyManuals Logo

Phoenix Contact INTERBUS User Manual

Phoenix Contact INTERBUS
82 pages
To Next Page IconTo Next Page
To Previous Page IconTo Previous Page
Page #18 background imageLoading...
Page #18 background image
12 5756B
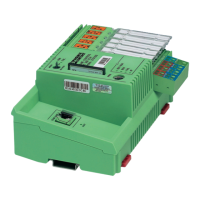
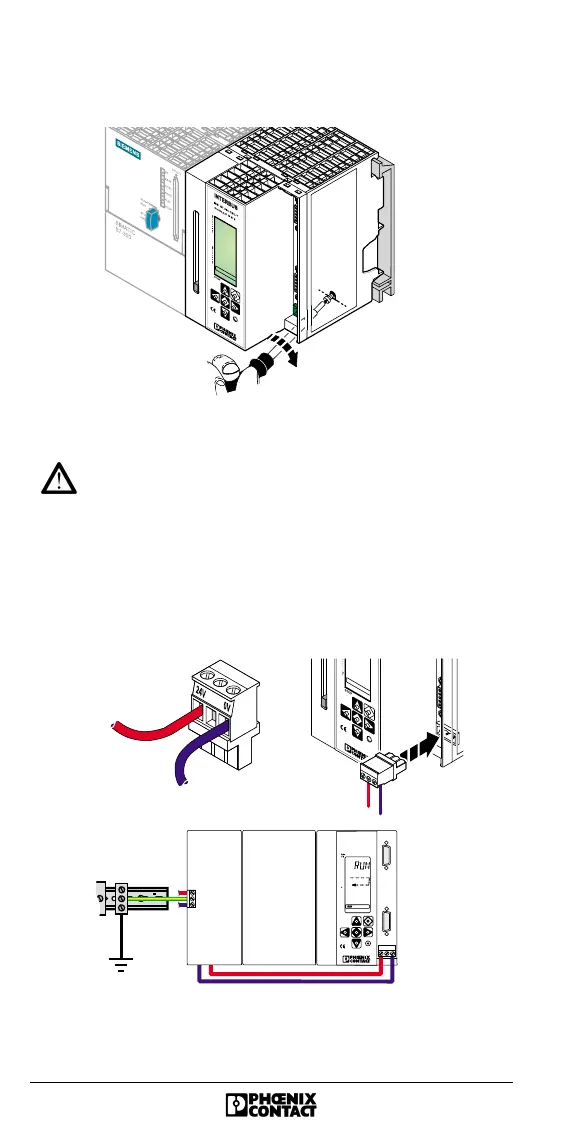
Lock the controller board to the mounting rail using the two
slotted-head screws at the bottom of the board.
Figure 12 Locking the controller board
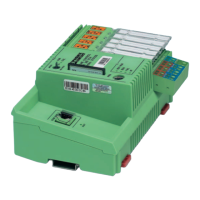
Make sure that the bus connector makes good contact
and the controller board is securely placed and locked
in the PLC.
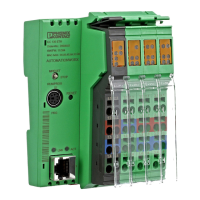
Connecting the External Supply Voltage
Connect the external supply voltage according to the
following diagram.
Figure 13 Connecting the supply voltage
5756A013
5756A014
0 V
24 V
I NTERB US
IB S S 7 3 0 0 D S C - T
O r d .N o .: 2 7 19 9 7 5
CPU
STOP
7
6
5
4
3
2
1
0
7
6
5
4
3
2
1
0
PS

Questions and Answers:

Question and Answer IconNeed help?

Do you have a question about the Phoenix Contact INTERBUS and is the answer not in the manual?

Phoenix Contact INTERBUS Specifications

General IconGeneral
BrandPhoenix Contact
ModelINTERBUS
CategoryController
LanguageEnglish

Related product manuals