Using the tuner
06
41
En
Chapter 6:
Using the tuner
Listening to the radio
The following steps show you how to tune in to FM and
AM radio broadcasts using the automatic (search) and
manual (step) tuning functions. If you already know the
frequency of the station you want, see Tuning directly to a
station below. Once you are tuned to a station you can
memorize the frequency for recall later —see Saving
station presets below for more on how to do this.
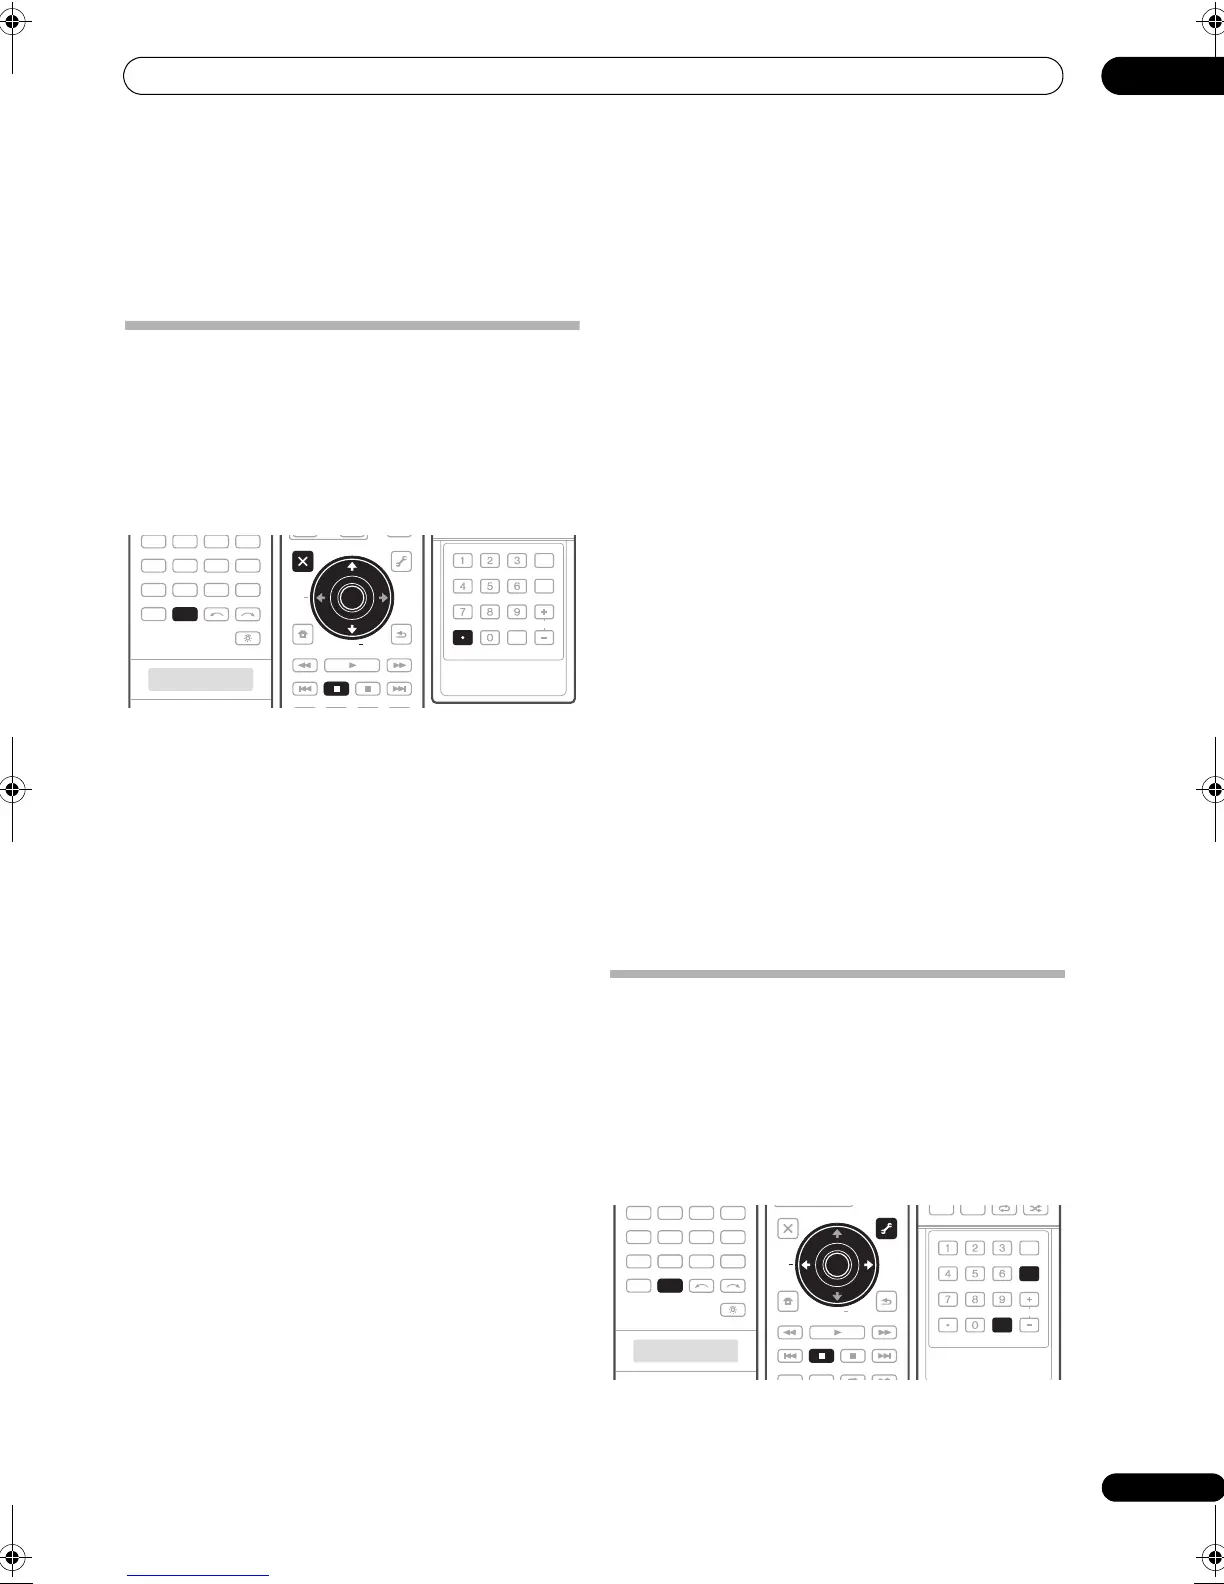
1Press
TUNER
to select the tuner.
2Use
BAND
to change the band (FM or AM), if
necessary.
Each press switches the band between FM and AM.
3 Tune to a station.
There are three ways to do this:
Automatic tuning – To search for stations in the
currently selected band, press and hold TUNE +/–
(/) for about a second. The receiver will start
searching for the next station, stopping when it has
found one. Repeat to search for other stations.
Manual tuning – To change the frequency one step
at a time, press TUNE +/– (/).
High speed tuning – Press and hold TUNE +/– (/
) for high speed tuning. Release the button at the
frequency you want.
Improving FM sound
If the TUNED or STEREO indicators don’t light when
tuning to an FM station because the signal is weak, press
MPX to switch the receiver into mono reception mode.
This should improve the sound quality and allow you to
enjoy the broadcast.
Using the noise cut mode
The two noise cut modes can be used when receiving AM
broadcasts. Press MPX to select the noise cut mode (1 to
2).
Using Neural THX
This feature uses Neural Surround™, THX
®
technologies
to achieve optimal surround sound from FM radio.
• While listening to FM radio, press AUTO/DIRECT for
Neural THX listening.
See About Neural – THX Surround on page 122 for more
on this.
The Neural THX mode can be selected also with
STANDARD.
Tuning directly to a station
Sometimes, you’ll already know the frequency of the
station you want to listen to. In this case, you can simply
enter the frequency directly using the number buttons on
the remote control.
1Press
TUNER
to select the tuner.
2Use
BAND
to change the band (FM or AM), if
necessary.
Each press switches the band between FM and AM.
3Press
D.ACCESS
(Direct Access).
4 Use the number buttons to enter the frequency of
the radio station.
For example, to tune to 106.00 (FM), press 1, 0, 6, 0, 0.
If you make a mistake halfway through, press D.ACCESS
twice to cancel the frequency and start over.
Saving station presets
If you often listen to a particular radio station, it’s
convenient to have the receiver store the frequency for
easy recall whenever you want to listen to that station.
This saves the effor t of manually tuning in each time. This
receiver can memorize up to 30 stations, stored in three
banks, or classes (A, B and C) of 10 stations each. When
saving an FM frequency, the MPX setting (see page 41) is
also stored.
DVD
VIDEO1
GALLERY
HOME MEDIA
CD
HDMI
TUNER
PHONO
VIDEO2 VIDEO3
TV
BD DVR1 DVR2
CD-R
INPUT SELECT
TUNER
AUDI O
PARAMETER
TOP MENU
BAND
iPod CTRL
EXIT
TOOLS
HOME
MENU
STATUS
THX MPX
PHASE CTRL CH LEVEL
MENU
T.EDIT
VIDEO
PARAMETER
STEREO/
A.L.C.
AUTO/
DIRECT
STANDARD ADV SURR
ENTER
RETURN
PTY
SEARCH
EON
TOP MENU
BAND
ENTER
MPX
TUNE +
TUNE
ST ST +
SIGNAL SEL SLEEP AUDIODIMMER
SR+
CLR
SBch MCACC
A.ATT GENRE
HDMI OUT
D.ACCESS
ENTER
CLASS
DISP
CH
D.ACCESS
DVD
VIDEO1
GALLERY
HOME MEDIA
CD
HDMI
TUNER
PHONO
VIDEO2 VIDEO3
TV
BD DVR1 DVR2
CD-R
INPUT SELECT
TUNER
AUDI O
PARAMETER
TOP MENU
BAND
iPod CTRL
EXIT
TOOLS
HOME
MENU
STATUS
THX MPX
PHASE CTRL CH LEVEL
VIDEO
PARAMETER
PGM
STEREO/
A.L.C.
AUTO/
DIRECT
STANDARD ADV SURR
ENTER
RETURN
PTY
SEARCH
EON
TUNE +
TUNE
ST ST +
ENTER
MPX
MENU
T.EDIT
PGM
BD MENU
SIGNAL SEL SLEEP AUDIODIMMER
SR+
CLR
SBch MCACC
A.ATT GENRE
HDMI OUT
D.ACCESS
ENTER
CLASS
DISP
CH
DISP
ENTER
CLASS
SCLX81_71.book 41 ページ 2008年7月25日 金曜日 午後3時1分

 Loading...