DA50S/DA55S/DA70S/DA75S AddressRight™ Printers Service Manual
A-19
Printer Control Panel Menus and Utilities • Appendix A
A.5 LCD
Service Menu
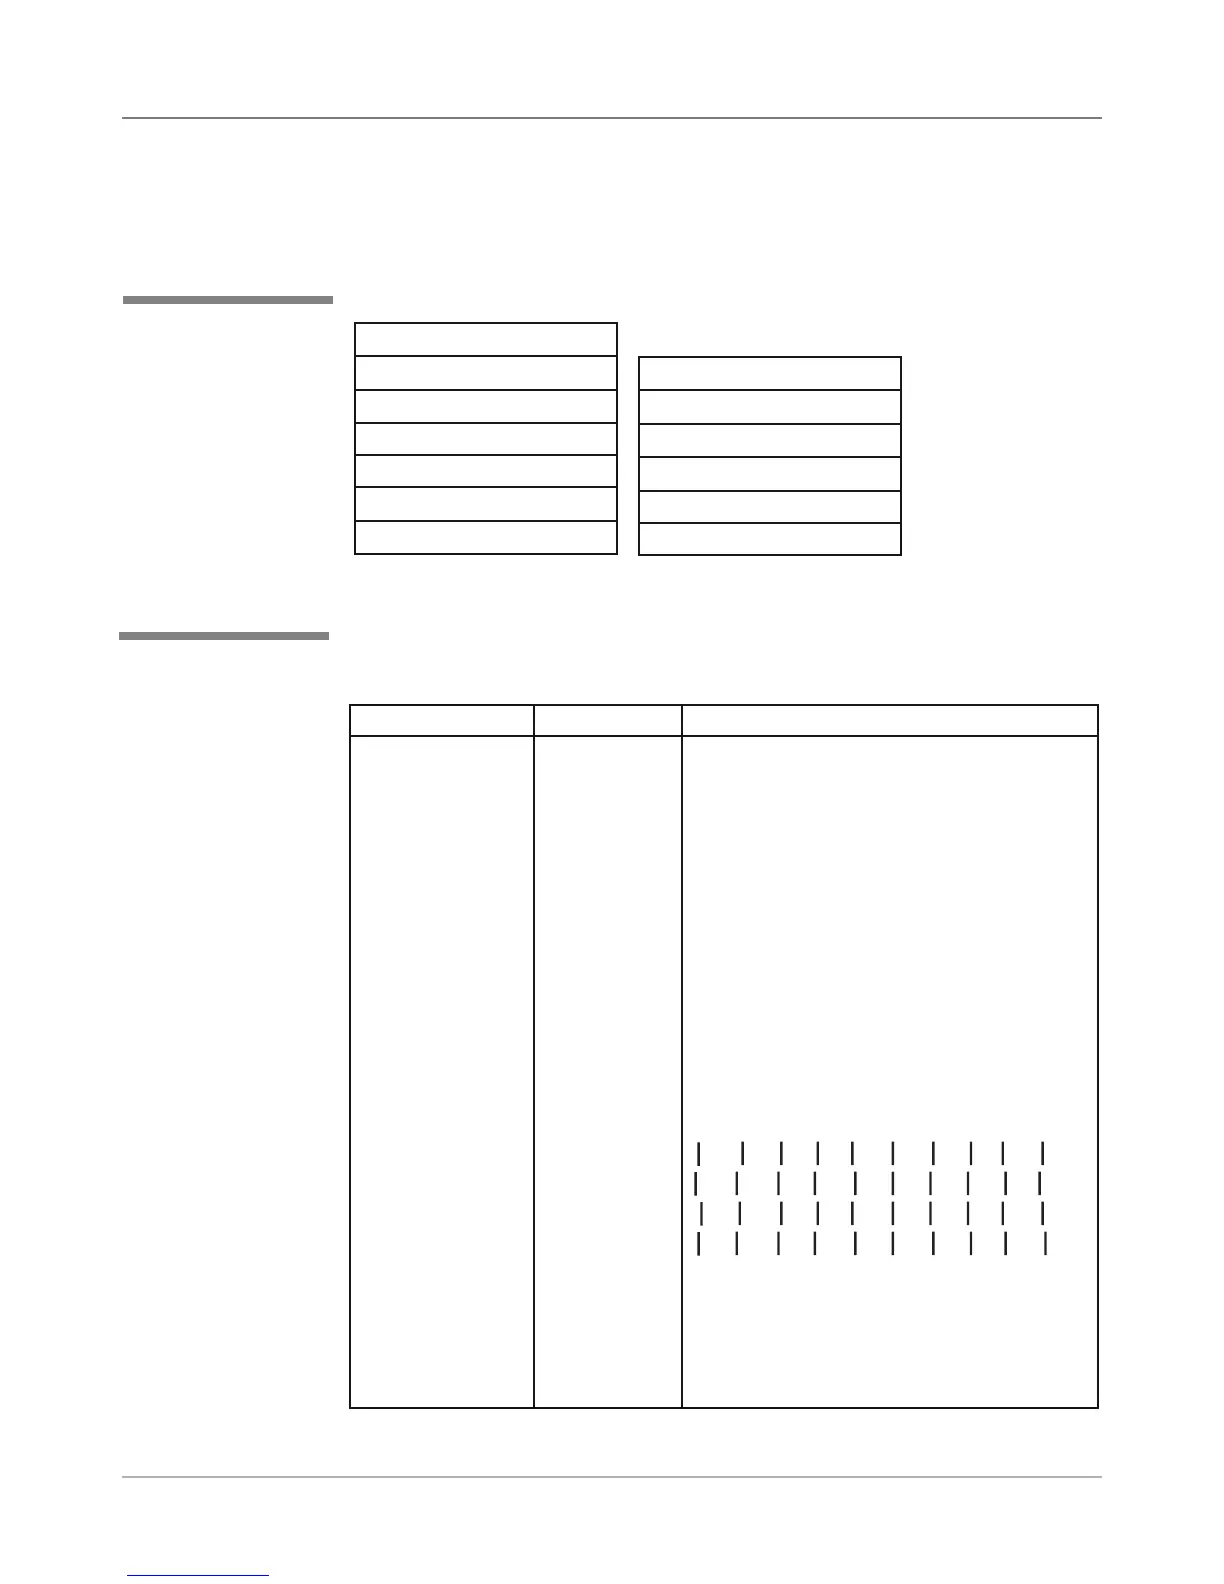
Service Menu
1. Left Justify
2. Test Paper Sensor
a. Paper Sensor Test
b. Calibrate Sensor
3. Test Shuttle Mot.
4. Test Paper Motor
To access the Service Menu:
Press On Line. The LCD displays “OFF LINE” and the green light goes out.
Press Eject - first, then while holding it down, press Menu together for four
seconds.
1. Left Justify
Menu Option Settings What It Does
Left Justify 0 - 9 Allows you to line up the left edge or left
justification of the printed address.
Below is an example of a three-line address
of A’s. The left edge of line two does not align
with line one or three.
EXAMPLE:
AAAA
AAAA
AAAA
If the left edge of the address needs left jus-
tification, print out a left justify test pattern by
pressing Test Env. (-). The printer prints the
following test pattern:
EXAMPLE:
2
3
4
56
7
89
10
The Left Justify test pattern consists of four
rows. Each row has a series of ten vertical
lines. Select the number corresponding to
the row where each character is vertically
aligned. In the example above, the correct
number is 5.
✍
TIP: Press Eject - or
Cartridge + to scroll
through the submenus
within a menu or the
settings within a menu/
submenu option.
Press Enter to select
the desired menu op-
tion or a submenu op-
tion, or to define a new
setting.
5. Test Display
6. Env. Bottom Edge
7. Print Head Skew
8. Brand
a. Pitney Bowes
b. Secap