29
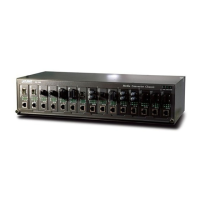
3.4 Chassis Installation and Rack Mounting
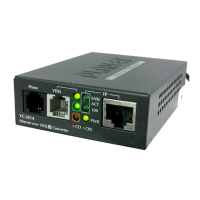
(VC-201A and VC-202A)
To install the Ethernet over VDSL2 Converter in a 10-inch
or 19-inch Converter Chassis with standard rack, follow the
instructions described below.
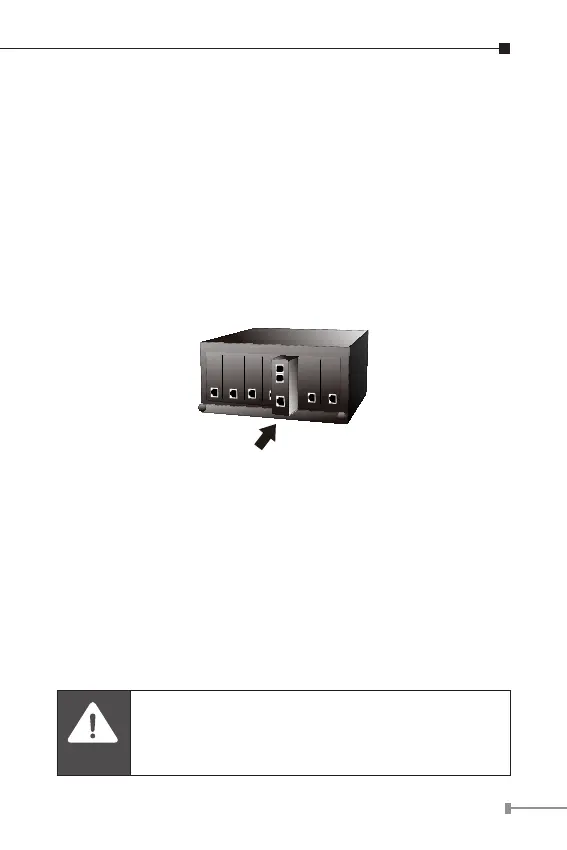
Step 1: Place your VC-201A / VC-202A on a hard at surface,
with the front panel positioned towards your front
side.
Step 2: Carefully slide in the module until it is fully and rmly
tted into the slot of the converter chassis.
Figure 3-8: Insert a VDSL2 converter into an available slot
Step 3: Attach a rack-mount bracket to each side of the
Converter Chassis with supplied screws attached to
the package.
Step 4: After the brackets are attached to the Converter
Chassis, use suitable screws to securely attach the
brackets to the rack.
Step 5: Proceed with the steps 4 and steps 5 of session 3.2
Stand-alone Installation to connect the network
cabling and supply power to your Converter Chassis.
You must use the screws supplied with the
mounting brackets. Damage caused to the parts
by using incorrect screws would invalidate your
warranty.