EasyManuals Logo

Planet VC-201A User Manual

Planet VC-201A
36 pages
To Next Page IconTo Next Page
To Previous Page IconTo Previous Page
Page #25 background imageLoading...
Page #25 background image
25
3.2 Connecting VC-201A / VC-202A / VC-204
3.2.1 Connecting Standalone PC
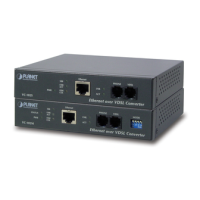
Refer to the following procedures to setup the VC-201A to a
standalone PC.
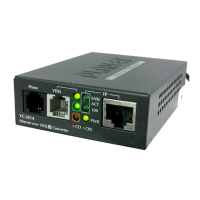
1. Set the VC-201A to be CO or CPE mode from the DIP switch
at the rear panel.
2. Power on the VC-201A by connecting its power source.
3. Power LED will illuminate.
4. Connect VDSL line from another VDSL device to VDSL port of
the VC-201A.
5. LNK LED will blink to illuminate.
6. Connect telephone to the PHONE port.
7. Connect Ethernet port to PC Network Interface Card (NIC) via
regular Cat. 5, 5e or 6 cable.
VC-201A
VDSL
Phone
Phone
RJ-11 Phone Jack
RJ-45
Cat.5 Twisted Pair Cable
RJ-11 Line Cord
RJ-11 Line Cord
TP
Figure 3-4: Connecting Standalone PC

Questions and Answers:

Question and Answer IconNeed help?

Do you have a question about the Planet VC-201A and is the answer not in the manual?

Planet VC-201A Specifications

General IconGeneral
Duplex systemFull, Half
Auto MDI/MDI-XYes
Ethernet LAN data rates10, 100 Mbit/s
Ethernet interface typeFast Ethernet
Converter input interface100Base-TX
Maximum data transfer rate100 Mbit/s
Fiber optic connector-
Connectivity technologyWired
Ethernet LAN (RJ-45) ports1
Wavelength- nm
Maximum transfer distance1600 m
InternalNo
CertificationFCC Part 15 Class A, CE
Product colorBlack
Storage temperature (T-T)-25 - 70 °C
Operating temperature (T-T)0 - 50 °C
Operating relative humidity (H-H)10 - 90 %
Weight and Dimensions IconWeight and Dimensions
Depth69 mm
Width97 mm
Height26 mm
Weight400 g

Related product manuals