7 INSTALLING THE X-RAY UNIT
22 Planmeca ProOne Installation Manual
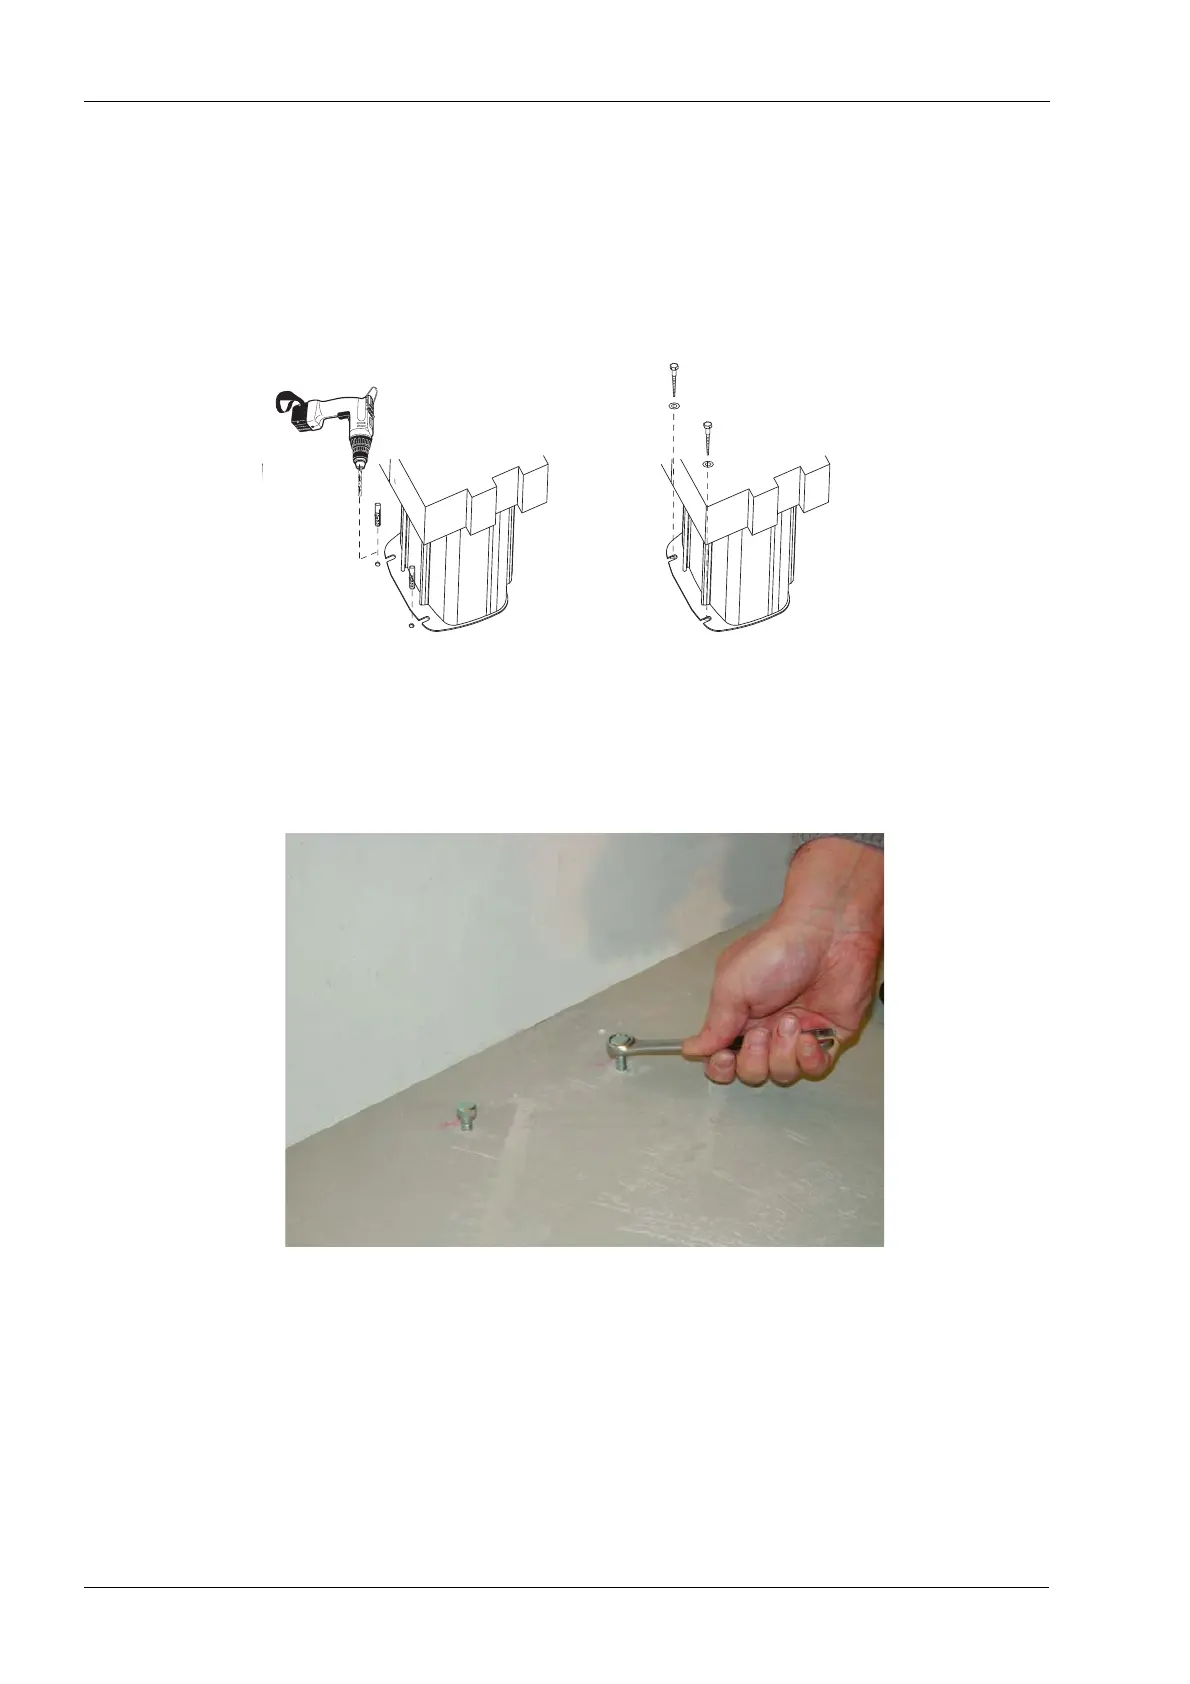
3. Drill two securing holes and insert the mounting screws into the holes.
• If the floor is made of concrete or brick, use the 8x50 DIN 571 lag screws and
10x50 expansion anchors. Drill two securing holes (ø10 mm (0.4 in.), 45...50 mm
(1.9 in.) in depth) and insert the expansion anchors into the holes.
• If the floor is made of wood, use the 8x50 DIN 571 lag screws. Do not use
expansion anchors with wooden floor. Drill two securing holes (ø5 mm (0.2 in.),
45…50 mm (1.9 in.) in depth) for the mounting screws.
4. Tighten the screws a couple of turns.
Floor made of concrete or stone