7 INSTALLING THE X-RAY UNIT
Installation Manual Planmeca ProOne 21
7.2 Attaching the X-ray unit to the floor
The X-ray unit must be attached to the wall with at least one wall bracket. If only one wall
bracket is used, the X-ray unit must be attached to the floor as well. If the X-ray unit is not
attached to the floor, a second wall bracket must be used. For location of the second wall
bracket, see installation drawing in section 11 "DIAGRAMS" on page 37.
1. Mark the position of the two mounting screws on the floor.
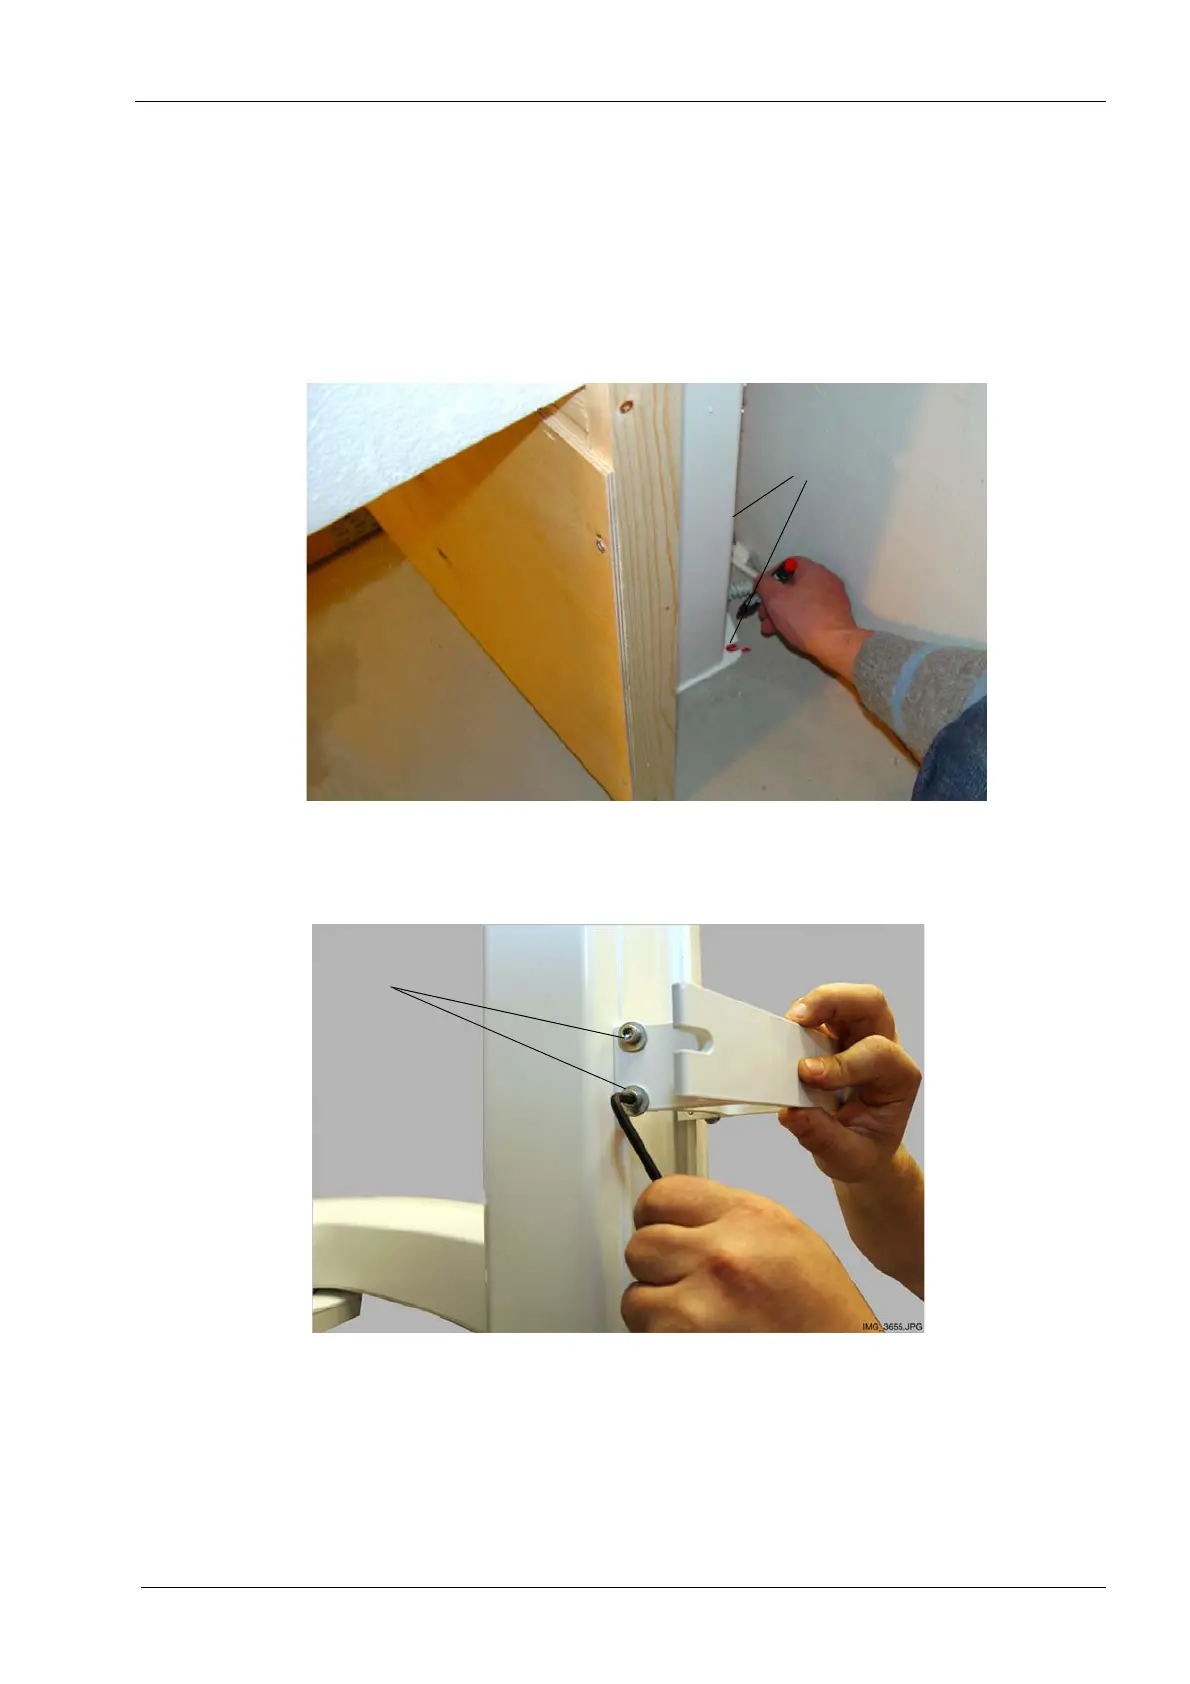
2. Loosen the four wall bracket attachment screws and carefully pull the X-ray unit away
from the wall so that you can drill the floor holes.
Mark the position
of the screws
Loosen the screws
(two on each side)
(view as seen from the side of the wall)