Hardware installation3
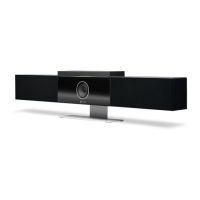
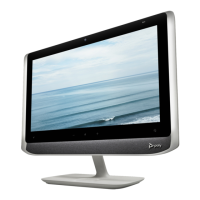
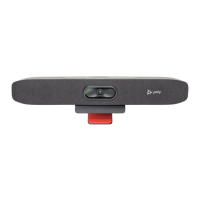
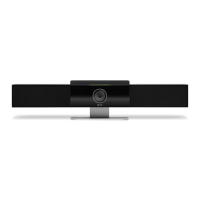
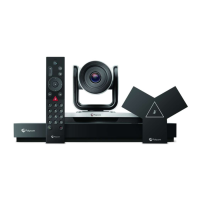
Mount your Poly Studio G62 system and connect peripherals such as a monitor, camera, microphone,
and speaker.
NOTE: For supported peripherals and configurations, see the
Poly VideoOS Release Notes
.
To ensure full functionality, the Poly Studio G62 system requires that you connect the following
peripherals:
● Camera
● Microphone
● Speaker
● Monitor
● Controller
Your peripherals and configuration depend on the room size and room type.
For more information on connecting components and configuring the Poly Studio G62 system,
see the
Poly Video Mode Administrator Guide
and the
Poly Partner Mode Administrator Guide
at
https://www.docs.poly.com.
Mounting your Poly Studio G62 system
You can mount the Poly Studio G62 using the supplied magnetic feet or the optional magnetic plate.
For information on mounting your Poly Studio G62 system, see the
Poly Studio G62 Optional Mounting
Plate and PoE Injector Quick Start Guide
on the HP Support site.
Required airflow clearance for a Poly Studio G62 system
When installing your Poly Studio G62 system, provide adequate space for airflow..
CAUTION: To avoid thermal issues with your Poly Studio G62 system, ensure that there is proper
spacing away from the vent holes.
Hardware installation
7