960 Stewart Drive Sunnyvale, CA 94085 USA Phone +1.408.331.3300 +1.877.80SHORE Fax +1.408.331.3333 www.ShoreTel.com
- 22 -
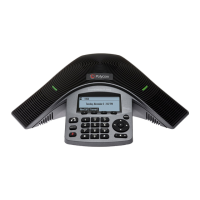
13. Enter the IP address for the ShoreGear Switch using the keypad (use “*” key to enter the periods in the IP
address), and then press “Ok” to enter.
14. Press the “Back” key to exit the “Outbound Proxy” configuration menu.
15. The “SIP Configuration” menu is displayed again and the “RFC2543 Hold” field will be highlighted.
Scroll down using the down arrow key to item “Line 1”, and then press the “Select” key to enter the
“Line1” field.
16. On the “Line 1” screen for the “Display Name:” prompt, press “Edit” to enter the display name.
17. Enter the desired display name (example: 3000) and press “Ok” to input the changes. Use the “1/A/a” soft
key to toggle between text and numbers.
18. Scroll down using the down arrow key to item “Address:” and press the “Edit” key.
19. Enter the desired address (example: 3000) and press “Ok” to input the changes. Use the “1/A/a” soft key to
toggle between text and numbers.
20. Scroll down using the down arrow key to item “Label:” and press the “Edit” key to enter the Label.
21. Enter the desired label (example: 3000) and press “Ok” to input the changes. Use the “1/A/a” soft key to
toggle between text and numbers.
22. Verify that the “Type:” field is configured to a value of “Private”. If it is not, press the “Edit” key, then
press either the up or down scroll key to toggle the parameter to “Private”, and then press the “Ok” key to
accept the change.
23. If you are using an Authorization Id and Password (Optional), scroll down to the prompts “Auth User ID:”
and “Auth Password” and enter a User ID and Password (using same text input procedure as in previous
steps).
24. Press “Back” key twice to enter “Network Configuration” screen
25. Option “2. Save Config” should be highlighted, If it is not, scroll to item “2. Save Config” and press
“Select” or press the number “2” on the dial key pad. The changes made will be saved and the
SoundStation IP conference phone will reboot.
Note: For forwarding to function, the full SIP address must be entered (e.g. sip:123@1.2.3.4). Extended
forwarding features (Forward on busy, no answer, or unconditional) can be found in the HTTP admin
(http://<phone ip address> . Login=admin, Password=456).
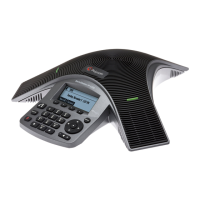
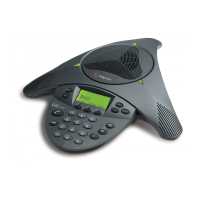
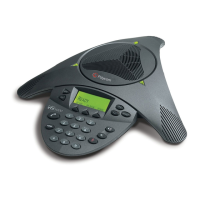
SoundStation IP Phone Settings – Web User Interface
In order to adjust settings via the Web User Interface (WebUI), you need the SoundStation IP phone’s IP address.
Use the following steps to retrieve the SoundStation IP phone’s IP address.
 Loading...