INDEX
28
K6 K8 K10 K20 | SERVICE MANUAL
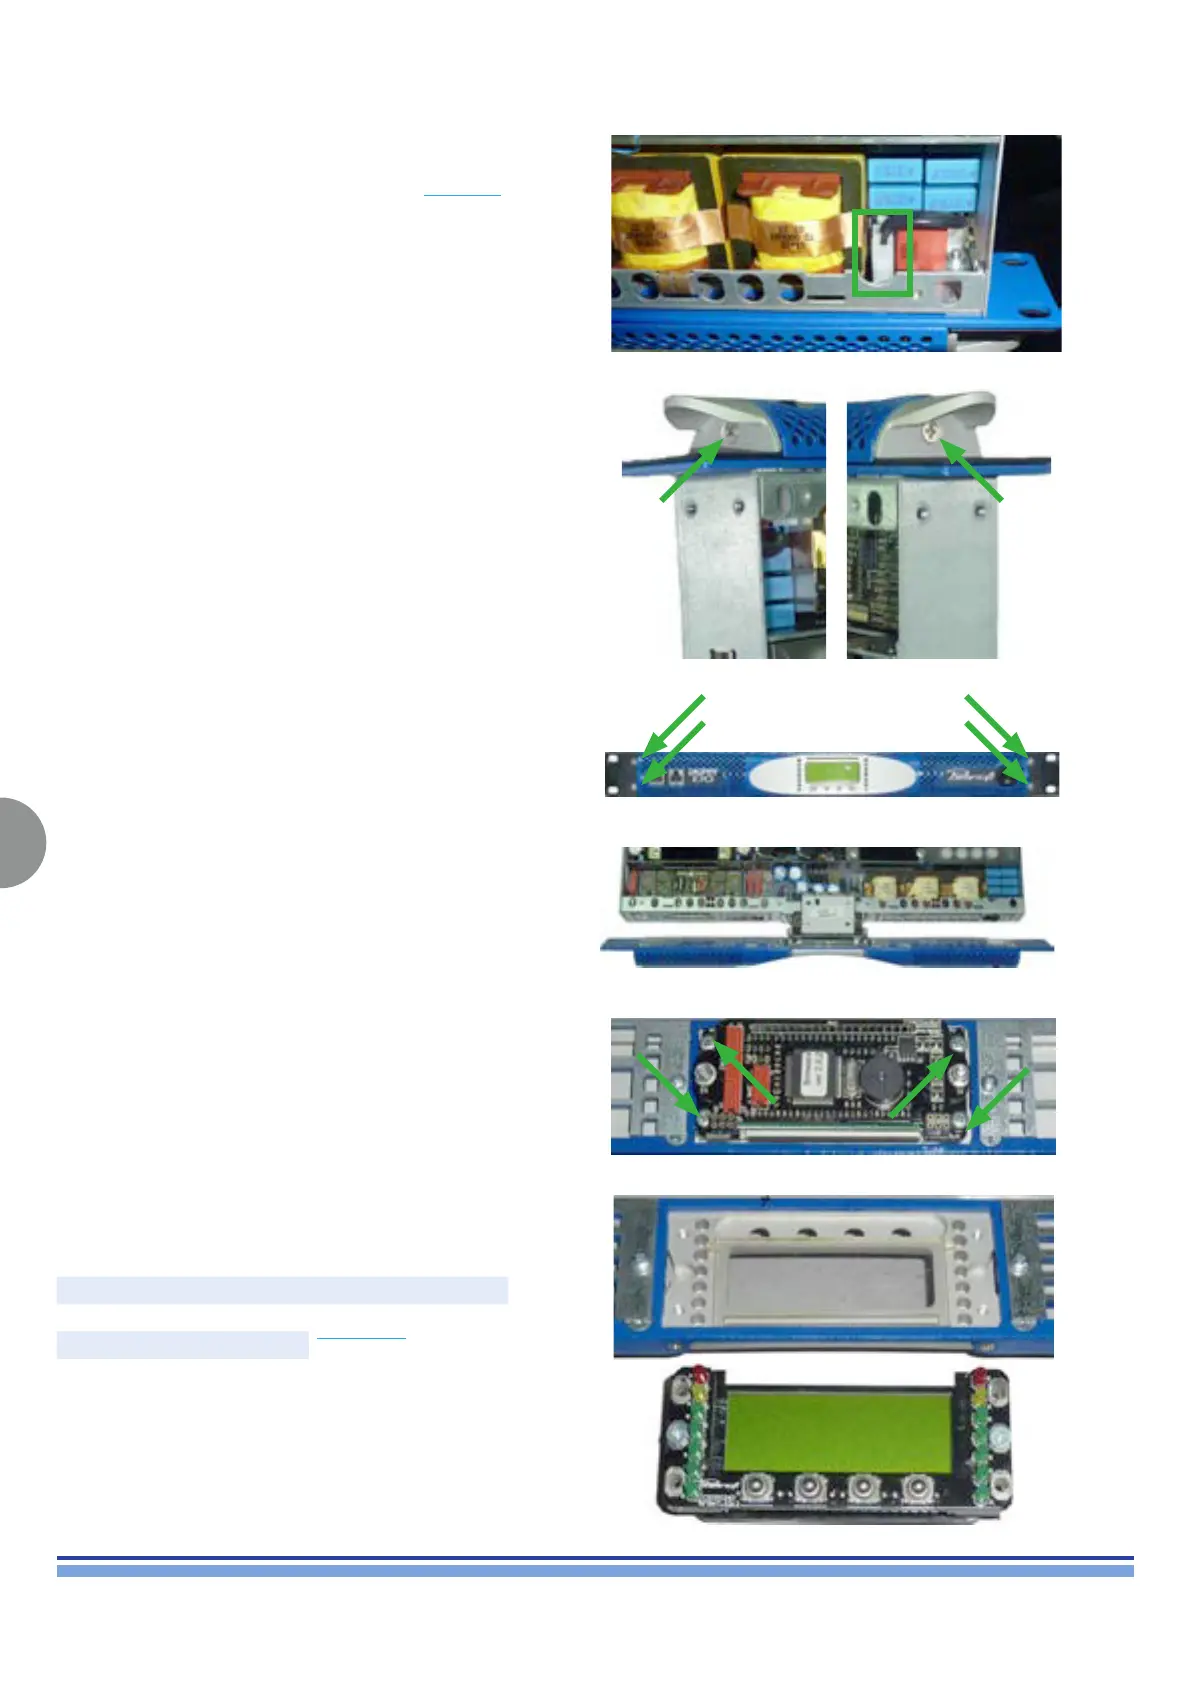
11. Removing the K-FRONT Display:
Prior to the removal of the display, please proceed in
discharging the power supply as explained in chapter 3.
Remove the faston that connects the amplier power
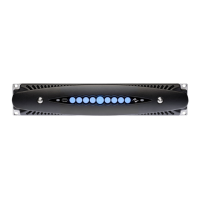
switch highlighted in (Fig. 39).
Now the front panel left and right ears can be removed,
unscrew the two screws marked in (Fig. 40).
The left and right protection plates can now be removed
by unscrewing the marked screws. (Fig. 41)
The front panel may now be removed from the amplier
assembly as portrayed in (Fig. 42).
(Fig. 39)
(Fig. 40)
(Fig. 41)
(Fig. 42)
(Fig. 43)
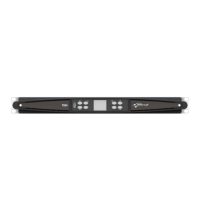
Removed display
Now remove the display from the front panel unscrewing
the four screws marked in (Fig. 43).
When replacing the K-FRONT, please provide Powersoft
the Model and Serial Number of the amplier, since the
K-FRONT will be customized for that specic amp.
The K-FRONT must be replaced entirely when either
one of the following components is faulty: Card Reader,
Pushbuttons, LEDs.
In case of a fault in the Display please refer to the table
below when ordering the repair kit.
Model Kit
K STD
KT000888.R
K HGT
Once the display is replaced, reinstall the rmware as
explained in chapter 17. After the rmware has been
installed, check and set the desired max output voltage
on display by following the on screen indications:
Menu → setting → amplier setting → Max output voltage
→ set the value with the two ± buttons.