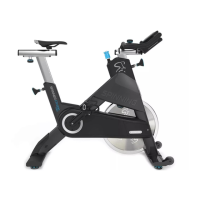
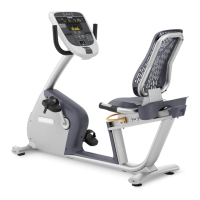
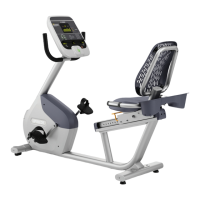
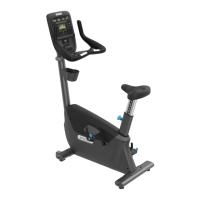
C842, C842i, C846, C846i Upright and Recumbent Cycle
Page 44
Procedure 7.2 - Replacing a Pedal or Crankarm
1. For C842, C842i, C846i and C846 version 2 units, skip to step 10. For C846 version 1 units,
continue with step 2.
2. Set the on/off switch in the off position.
3. If you are replacing a pedal(s) only it is not necessary to remove the crankarm(s).
4. Grasp the pedal spindle with an open end wrench where it threads into the crankarm. The
right hand pedal has normal threads and the left hand pedal has reverse threads. The Left
hand pedal must be turned clockwise to loosen and counter-clockwise to tighten.Un-thread
the pedal(s) from the crankarms.
5. If you are not replacing crankarms skip to step 7. Otherwise continue with step 5.
6. Remove the crankarm(s) per Procedure 7.1, steps 2-4.
7. Replace the crankarm(s) per Procedure 7.1, steps 11-13.
8. Hand thread the pedal(s) into the crankarm(s). Remember, the left hand pedal is reverse
threaded.
9. Torque the pedal(s) to 150 in/lb. This procedure is complete.
10. If you are replacing a pedal(s) only it is not necessary to remove the crankarm(s).
11. Grasp the pedal spindle with an open end wrench where it threads into the crankarm. The
right hand pedal has normal threads and the left hand pedal has reverse threads. The Left
hand pedal must be turned clockwise to loosen and counter-clockwise to tighten. Un-thread
the pedal(s) from the crankarms.
12. If you are not replacing crankarms skip to step 17. Otherwise continue with step 13.
13. Remove crankarm locking bolt with a 6 mm allen wrench and the crankarm mounting bolt
with a 8 mm allen wrench. See Diagram 7.2.
14. Set the replacement crankarm on the crankarm axle. Ensure that the crankarm alignment
pin engages in its mating hole in the primary pulley.
15. Hand start the crankarm mounting bolt and locking bolt. First torque the crankarm mounting
bolt to 245 inch pounds. Then torque the crankarm locking bolt to 325 inch pounds.
16. Replace the remaining crankarm, if necessary in the same manner as in steps 13-15.
 Loading...

