2 Safety
Page 7
All Info Copyright © Pro Spot International Inc.
When the Spot Gun is used continuously, the welding cables and the power trans-
former get hot. To prevent the welder from malfunctioning due to overheating, it is
cooled using the built-in air, and liquid cooling systems. The air cooling system
cools the welding cables and the water cooling system coold the transformer,
inverters, cable ends and the spot gun.
i4 features an air cooling system that cools all four welding cables.There are two
different Cooling Modes: "AUTO" (default) and "MANUAL". In the "AUTO" mode,
the air cooling system turns on automatically after 15-30 welds and forced air
starts to flow through the cable. In the "MANUAL" mode the cooling system oper-
ates continuously.
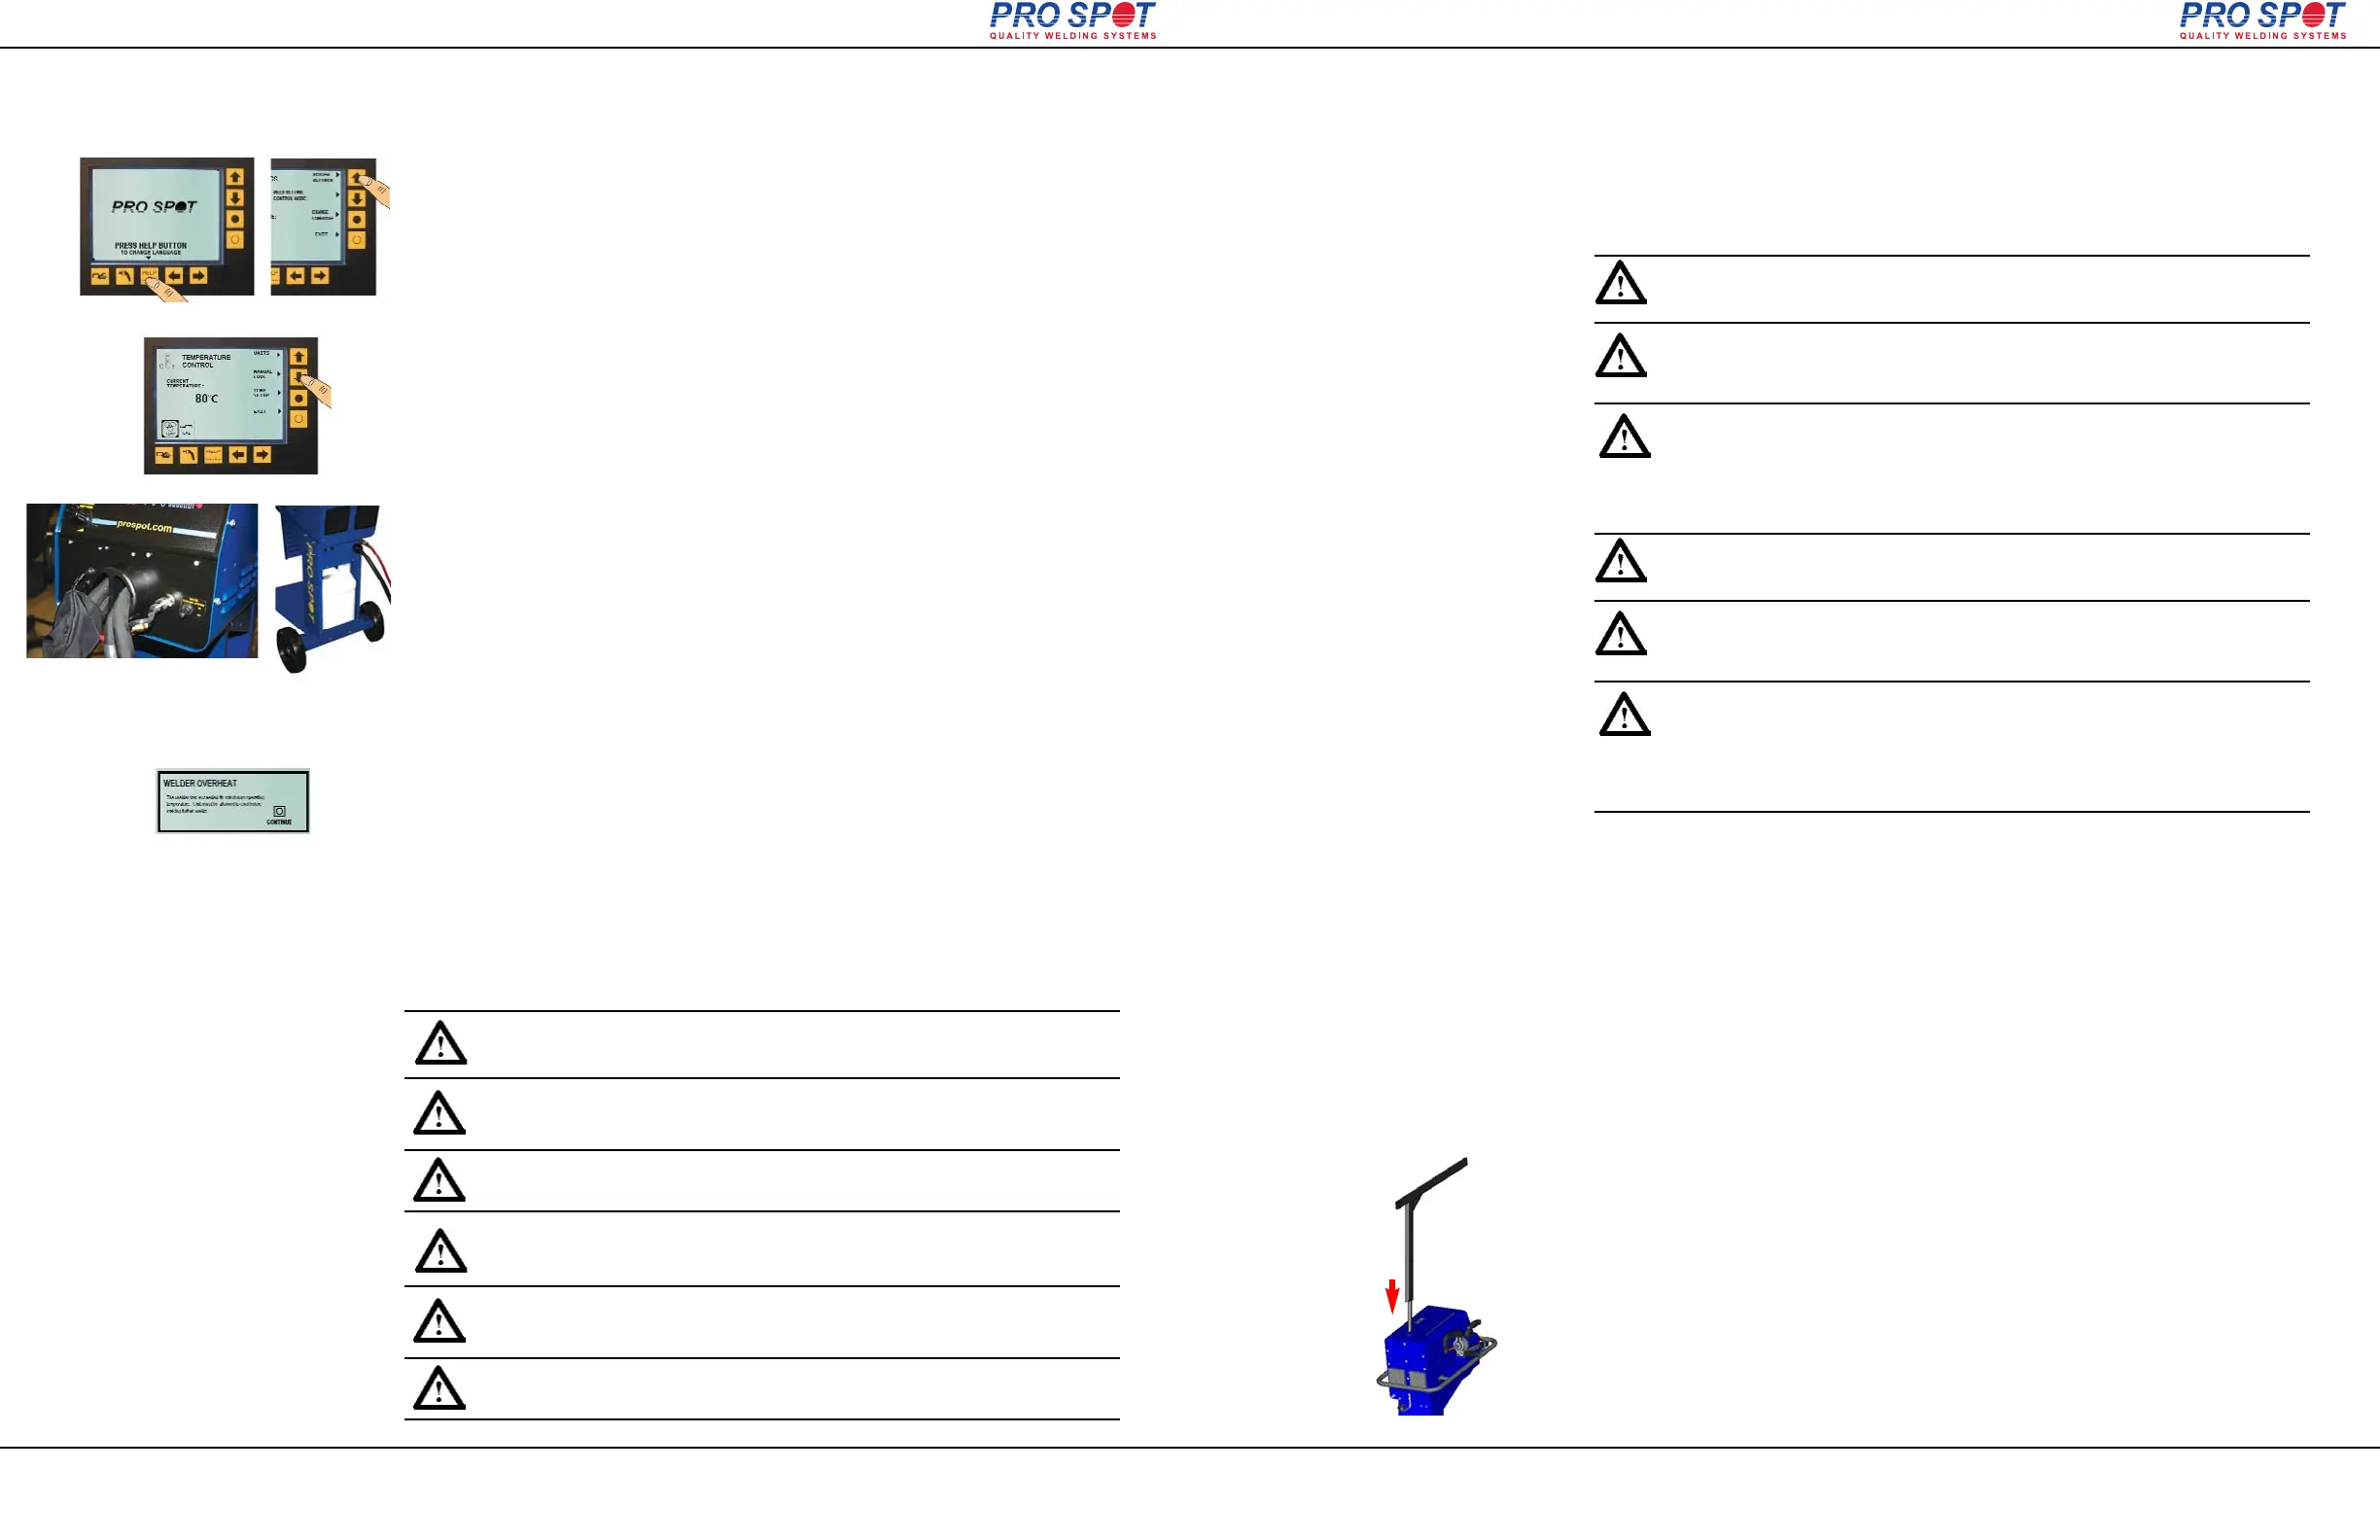
To switch to “MANUAL” mode:
1) Restart the software and press “HELP” button while start-up screen is dis-
played. “System Settings” screen will display (fig. 2.1).
2) Select “System Settings” by pressing the Navigation button, Up (fig. 2.2).
3) Select “Manual Cooling” by pressing the Navigation button, Down (fig. 2.3).
AIR COOLING will activate.
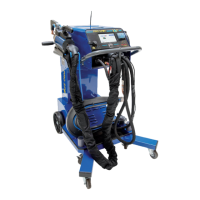
The Liquid Cooling system is turned ON and OFF with the switch on the Front
Panel (fig. 2.3a). The water tank is located in the rear of the unit, inside the
center column. The watertank should be filled with a 50/50 water & antifreeze
solution (fig. 2.3b).
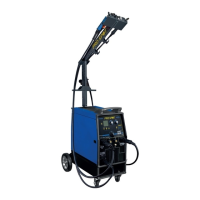
The built-in overheat protection is designed to prevent damage to the welder
caused by overheating. The system will automatically shut off the welder when a
pre-programmed temperature is reached (fig.2.4). DO NOT turn off the welder! It
needs the cooling air to cool the machine faster. Wait until the display returns to
normal (usually 4-8 min.) Shorter duty cycles (due to short weld times and “rest”
periods between welds) will allow the cooling system to function better and may
prevent the auto-shut-off. (Consistently check weld strength by performing
destructuive tests).
IMPORTANT! Do not turn off the welder while the cooling system is
activated!
IMPORTANT! If the thermal breaker has switched off the welder,
please contact Pro Spot's authorized service personnel
Figure 2.1
Figure 2.4
2.3.2 Overheat protection
2.3.1 Cooling
2.3 Safety devices
IMPORTANT! Leave the water cooling ON for faster cool down
Figure 2.2
Figure 2.3
Figure 2.3a Figure 2.3b
i4
For continuous use do not exceed 3 welds per minute. For operation not exceeding
60 minutes: 6 welds per minute. Welding current 9270A for continuous use
12,500A maximum at 1 weld per minute for 5 minutes max.
IMPORTANT! N'éteignez pas le soudeur pendant que
le système de refroidissement est activé!
IMPORTANT! Si le disjoncteur thermique a éteint le soudeur, s'il vous
plaît contactez personnel de service autorisé Pro Spot.
IMPORTANT! Laissez couler l'eau de refroidissement à l'intention
de se refroidir plus rapidement.
3 Installation
The i4 Spot welder is inspected and tested prior to leaving the factory to
guarantee consistent quality and the highest possible reliability. Follow the instal-
lation tips and operating instructions below to ensure user safety and proper
welder performance.
WARNING! Do not operate or place the welder near water, in wet
locations or outdoors. Risk for injuries or damage to the welder.
WARNING! Do not place the welder on unstable or uneven
ground. The welder might fall causing personal injuries and damage to
the welder. Do not operate on a slope of more than 10º.
A grounded electrical plug must be installed (refer to section 3.4 “Connection of
electrical supply”).
Check the contents of the shipping container against the packing list, consign-
ment note, or other delivery documentation to verify that everything is included
and in the correct quantity. Check the i4 Spot Welder carefully to make sure that
no damage has occurred during transport. If anything is damaged or missing, the
welder may be unsafe to use till the part is repaired or replaced. If anything is
missing, please contact your supplier. Remove all packaging material from the
welder.
For your convenience, i4 welder ships fully assembled.
Due to differences in wiring codes and connection methods, no electrical plug
comes with the welder. Consult a certified electrician for proper installation of the
electrical plug.
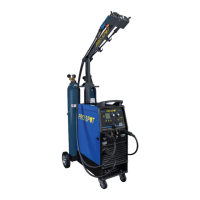
Insert the support arm (boom) as shown in Figure 3.1
Figure 3.1
IMPORTANT! It is the responsibility of the owner to ensure that
the equipment has been installed as specified in the instructions pro-
vided. It is also the owner's responsibility to ensure that the welder
is inspected in accordance with applicable regulations before it is
put into service. Do not use for thawing out frozen water pipes (17.1)
ATTENTION! Ne pas faire fonctionner le soudeur près de l'eau, en voie
humide ou à l'extérieur. Risque de blessures ou de dommages au soudeur.
ATTENTION! Ne placez pas le soudeur sur un sol instable ou irrégulière.
Le soudeur peut tomber causant des dommages graves au soudeur.
Ne pas utiliser sur une pente de plus de 10º
IMPORTANT! C'est la responsabilité du propriétaire de s'assurer que
l'équipement a été installé comme spécifié dans les instructions fournies.
C'est aussi la responsabilité du propriétaire de s’assurer que le soudeur est
inspecté conforment à la réglementation applicable avant qu'il ne soit mise
en service. Ne pas utiliser pour dégeler les conduites d'eau congelées (17.1)
Page 8
All Info Copyright © Pro Spot International Inc.
3.3 Welder assembly
3.2 Packaging and delivery inspection
3.1 General
3 Installation
i4