All Info Copyright © Pro Spot International Inc.
4 Operation
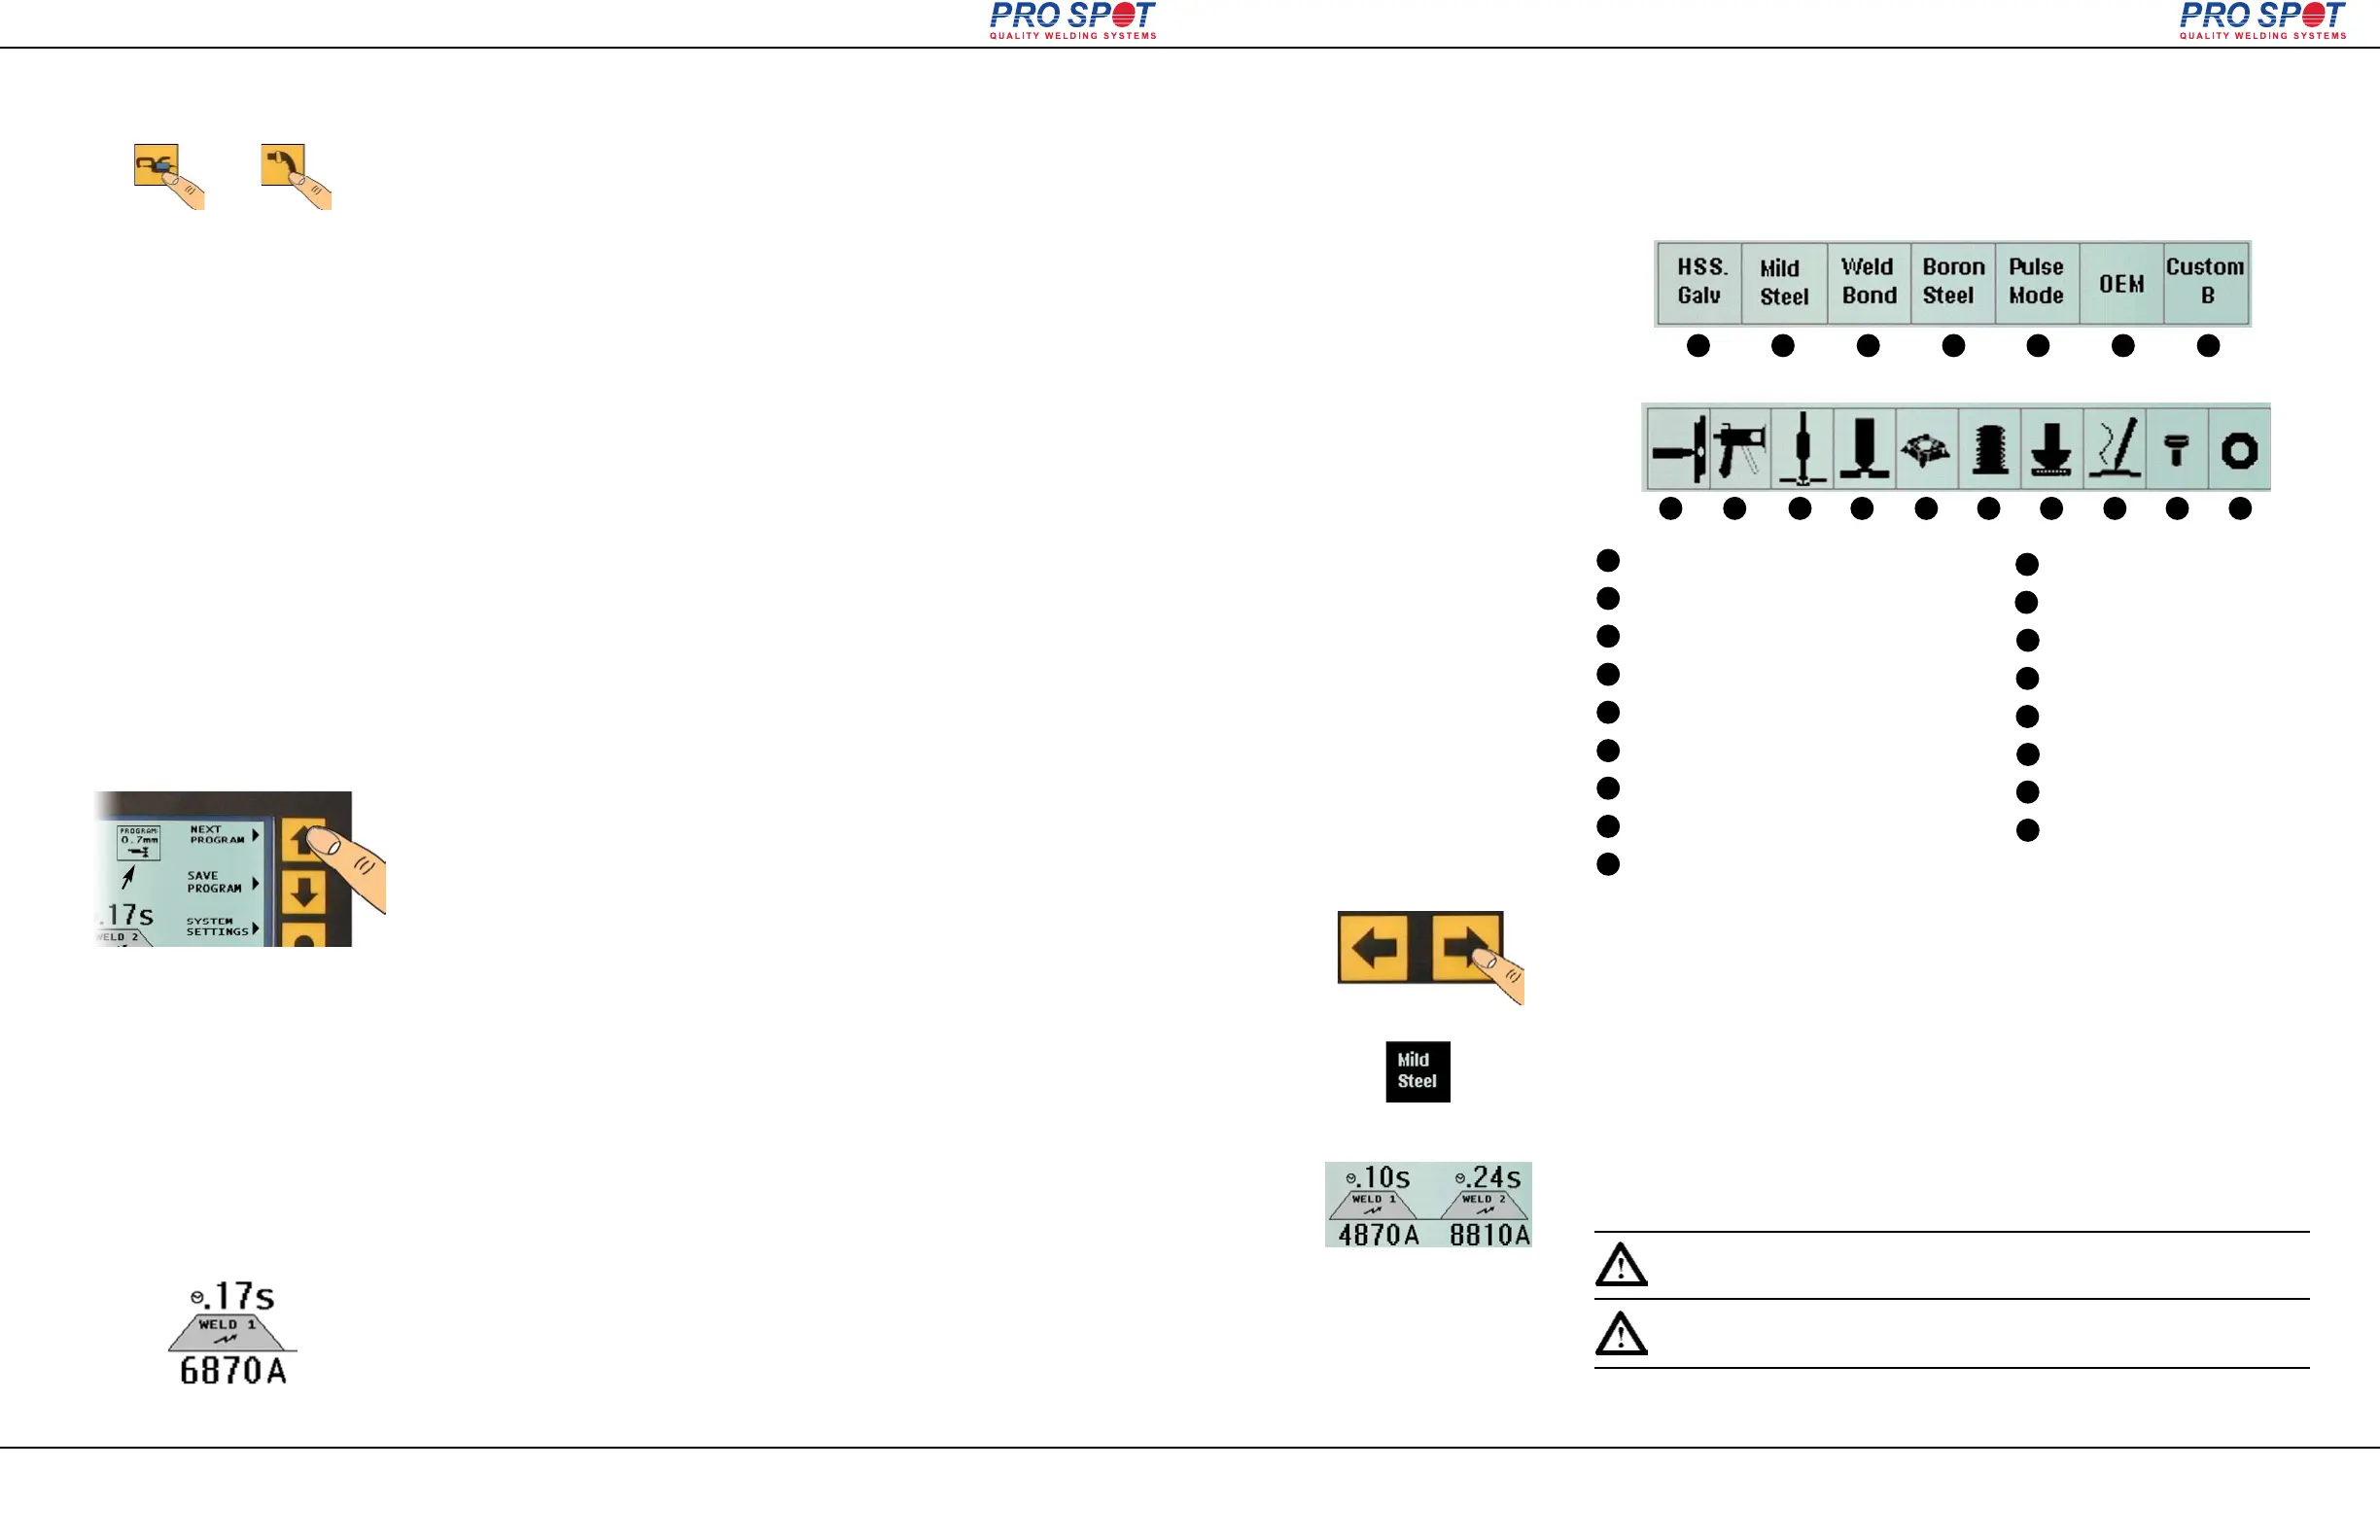
The i4 features 6 different strength weld power modes. It defaults to 0.7mm pro-
gram. To change weld program press “Next Program” (fig. 4.7).
The program box indicates the weld power (thickness).
For example, when welding two HSS Galv. metals that are 1.2mm thick, you
should use the 1.2mm program.
If more power is desired, press “Next Program” to reach the next level.
NOTE: The Factory Password (1234) must be entered in order to modify weld
programs. To enter the Factory Password press the Help button while booting at
the third screen to access the System Settings menu. The text located near the
Down Arrow button reads WELD SETTING CONTROL MODE: AUTO/MANUAL.
Auto is selected by default. Press the Down Arrow button to enter Manual mode.
In the PASSWORD REQUIRED pop up window enter 1234 using the arrow keys.
Exit by pressing the Open Circle button. The welder is in manual mode and weld
programs can now be modified.
The time and current automatically change with each respective weld power
mode.
Referring to fig. 4.8: The top value indicates the time duration that will be applied
during the weld and the bottom value indicates the weld power in weld amperage
that will be applied during the weld.
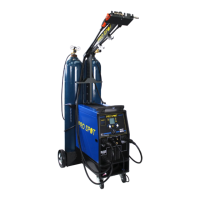
The i4 is a multi-functional resistance spot welder. It is equipped with a four weld
cable system for your convenience. Two of the weld cables are connected to the
Two-Sided Spot Gun and the other two are connected to the Single-Sided Weld
Gun.
To select a weld mode, press the respective mode button (fig. 4.6)
Once the welding mode is selected, a group of related weld programs become
available to the user (see section 4.8 “Setting the default weld programs”)
Figure 4.6
Pneumatic air is used for:
- forcing the spot gun to close and open.
- cooling the welding cables that are connected to the spot gun.
The air pressure is regulated with the air regulator, and the set pressure is indicat-
ed on the pressure gauge. Default pressure is 90 PSI.
Change the air pressure as follows:
1. Unlock the pressure regulator by pulling on the adjustor knob till it snaps into
the unlocked position.
2. Turn the pressure regulator knob clockwise to increase or counter-clockwise to
decrease the air pressure.
3. Lock the pressure regulator by returning the knob to the lock position.
Figure 4.7
Figure 4.8
Page 15
4.7 Setting the weld time and current
4.6 Setting/Changing the weld program
4.5 Setting the pneumatic air pressure
4.4 Choosing the weld mode
i4
4 Operation
4.8 Setting the default weld programs
There are 17 weld programs featured in the i4 Spot Welder. Ten of these pro-
grams are associated with the Single-Sided Gun and seven are associated with
the Two-Sided Spot Gun.
1
2
3
4
5
6
7
8
9
10
11
1
2
3
4
5
6
7
8
9
10
11
HSS Steel / Galv. Steel Welding
Mild Steel Welding
Weld Bonding
Boron Steel Welding
Pulse Mode
OEM-Specific Programs
Custom Program
Single-Sided Spot Welding
Pro Pull Dent Removal
Note: Two-Sided welding mode and Program No. 1 are set by default
when the i4 is turned on.
Page 16
All Info Copyright © Pro Spot International Inc.
12
13 14
15 16
17
12
13
14
15
16
17
Two-Sided Programs
Single-Sided Programs
Figure 4.9
Dent Pulling
Contact Shrinking
Nut Welding
Bolt Welding
Stitch Welding
Carbon Rod Shrinking
Rivet Welding
Washer Welding
The welding programs are selected on the Control Panel. Select the welding pro-
gram by using the Left and Right navigaton buttons (fig. 4.9)
The selected program is indicated by a highlighted black box over the program
name (fig. 4.10).
In any welding mode there are 6 power level programs: 0.7mm - 2.5mm. To
switch between programs press the “Next Program” button (fig. 4.7).
Some programs require a double-weld in one cycle (fig. 4.11). Those welds auto-
matically deliver Weld 1, programmed delay, then Weld 2. This is a very sophisti-
cated weld feature for controlling exact temperature into the weld area and to pre-
heat it.
Figure 4.10
Figure 4.11
i4
Note: Mode recto- verso de soudage et le programme de soudage n °
1 sont définies par défaut lorsque le i4 est allumé.