7 Printing
● Make sure that the nozzle and the bed are heated to the desired temperature. If you
forget to preheat the printing nozzle and the bed before printing, the printer will
automatically check the temperatures of the nozzle and the bed; printing will start
when the desired temperature is reached - it can take several minutes. However, we
recommend preheating the printer beforehand as described in the chapter 6.3.8
Loading the filament into the extruder.
Do not let the preheated printer idle. When a printer is preheated and non-printing,
material in an extruder degrades over time - it may cause the nozzle to jam up.
● Watch the first few printed layers to be sure filament has attached to the bed
properly (5 to 10 minutes).
● Press the LCD-knob and choose the Print from SD option from the menu, press to
confirm and pick the desired model file_name.gcode. The printer will start printing
the object.
The filename (.gcode) must not contain any special characters otherwise the
printer is not able to display the file on the LCD.A list of acceptable characters would
be clearer
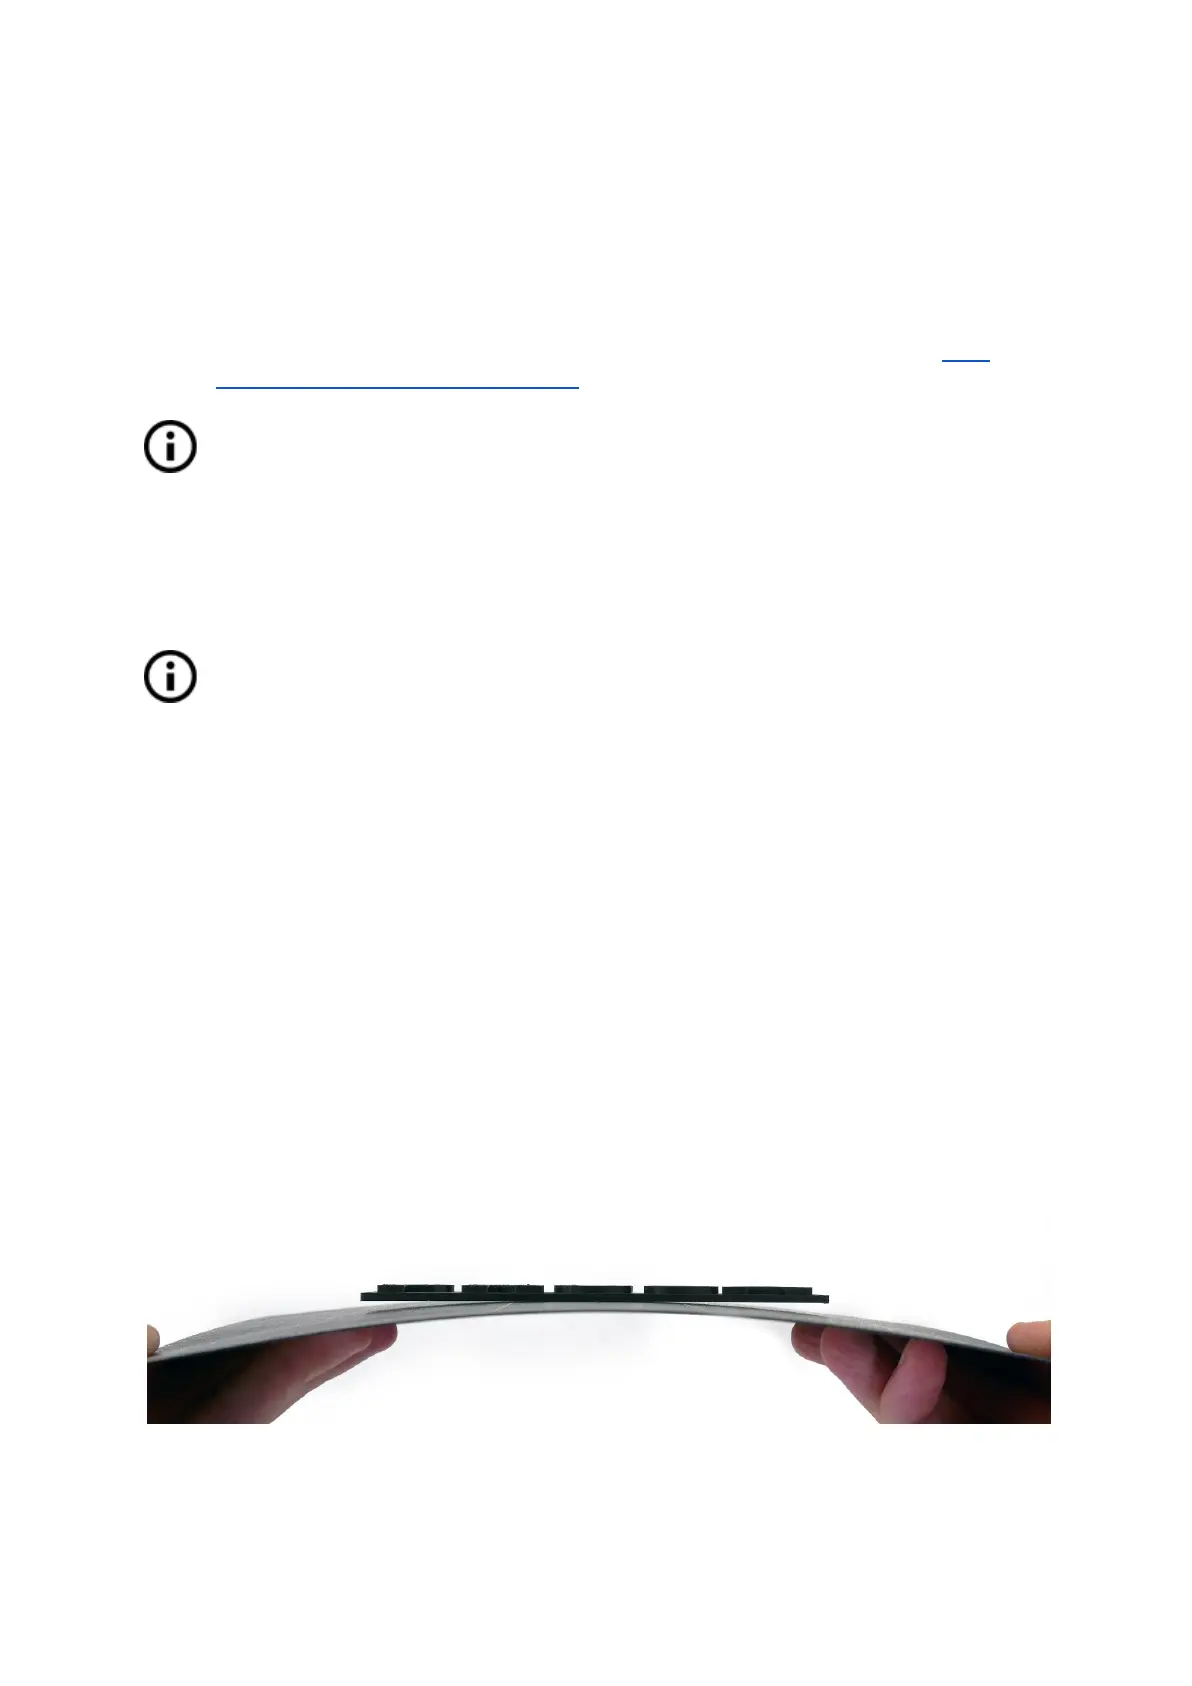
7.1 Removing objects from the printer.
Removing prints from the build plate is much easier because of the ability to remove and
bend the build plate. Different thermal expansion of the steel sheet and plastics used in 3D
printing also helps with detaching prints after the plate has cooled down.
● When printing is finished, let the nozzle and heatbed cool down before removing the
printed object. Always handle the printed objects when the temperature of the bed
and nozzle drop to room temperature. When the bed is hot, objects are very hard to
remove. Remove the steel sheet from the printer and bend it slightly; prints should
pop off.
● If you experience any troubles removing the object (especially the small ones), you
can use a flat tool like a spatula with rounded corners to prevent damage to the
PEI. Slide the spatula under the corner of the object and gently push until the print
pops off.
Pict.
14
-
Removing
the
model
from
the
PEI
print
surface
by
bending
the
steel
sheet
26