3D-printed elements of the printer that can be improved upon can be found at
http://www.prusa3d.com/prusa-i3-printable-parts/.
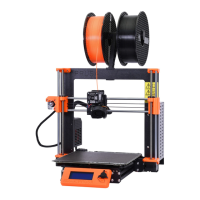
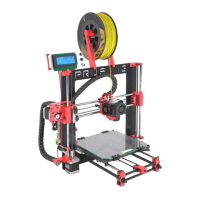
4 Original Prusa i3 MK3 printer
Unlike the printer kit, it’s completely assembled and almost ready to print. After plugging in,
and running the necessary calibration, you can print a 3D object in a matter of minutes after
unpacking the printer. Keep in mind, you can use our support email when you purchase the
assembled printer. Do not hesitate to write us if you need any advice or help. We will gladly
help with any specific prints.
3D printers use two different diameters of filament: 2.85 mm and 1.75 mm (you can
find more in the chapter Materials
). The 1.75mm version is used more worldwide,
although there is no difference in printing quality. The filament is provided on a spool
where you can find the basic information - filament maker, material (ABS, PLA, etc.)
and filament diameter. 2.85 mm filament is commonly called 3 mm.
This printer supports only a 1.75 mm filament. Please check that the filament diameter is
1.75 mm before inserting it into the extruder. Do not try to insert wider filament; it could
damage the extruder.
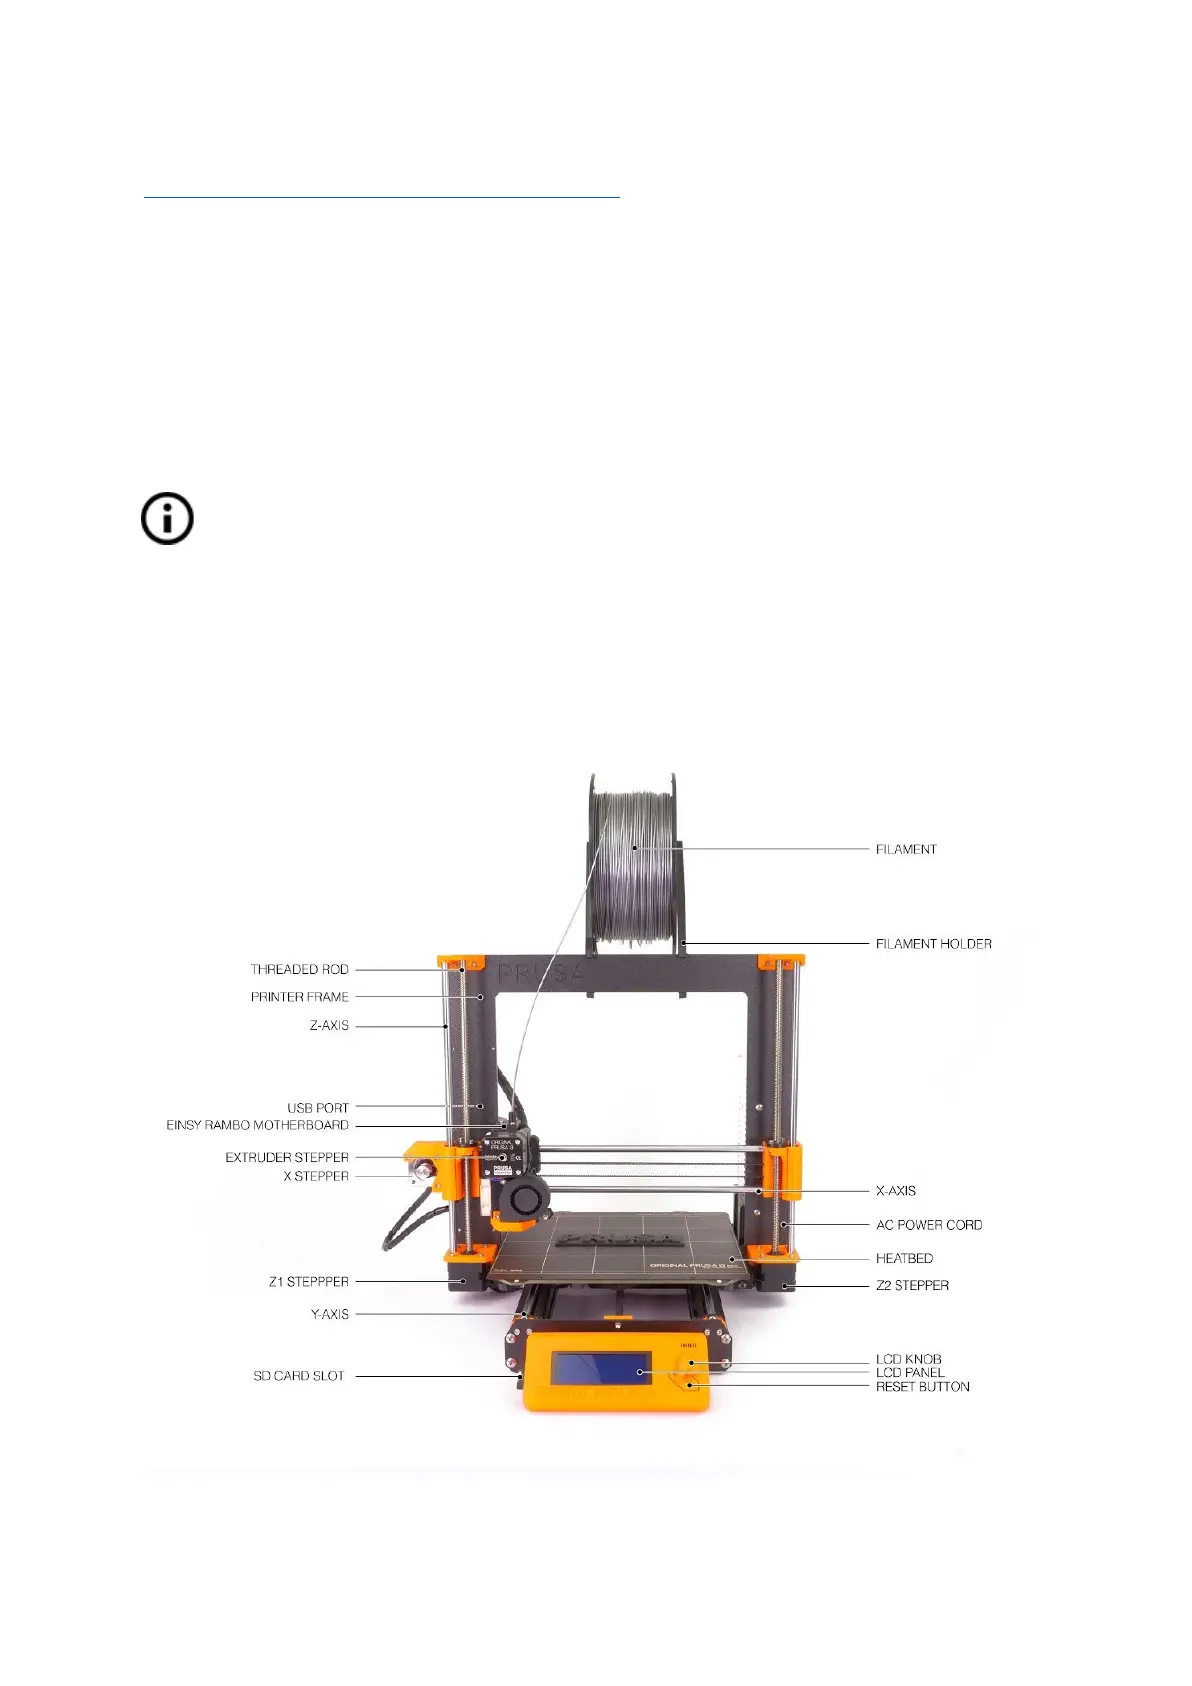
Pict.
1
-
Original
Prusa
i3
MK3
printer
description
8