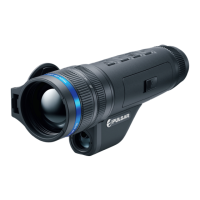
Warning! The display of a thermal imager may have 1- 2 pixels represented
as bright white or coloured (blue, red) dots which cannot be deleted and are
not a defect.
Restore Default Pixel Map
This option allows the user to return all previously disabled defective pixels to
their original state.
1. Press and hold the MENU (6) button to enter the main menu.
2. Select the submenu General Settings with the UP (5)/DOWN (7) buttons.
3. A short press of the МENU (6) button opens the submenu.
4. Use the UP (5)/DOWN (7) buttons to select the Defective Pixel
Repair icon.
5. Press the MENU (6) button to enter the submenu.
6. Use the UP (5)/DOWN (7) buttons to select the Restore Default Pixel
Map icon.
7. Activate the function by briefly pressing the MENU (6) button.
8. Using the UP (5)/DOWN (7) buttons, select Yes if you want to return to the
factory pixel map and select No if you do not.
9. Confirm your selection with a short press of the MENU (6) button.
Default Settings
1. A short press of the MENU (6) button opens the submenu Default
Settings .
2. Select the Yes option to reset to factory settings or No to cancel using the UP
(5)/DOWN (7) buttons.
3. Confirm your selection with a short press of the MENU (6) button.

 Loading...
