Pulsar® Precision Operaon and Installaon Manual (Model PS-1HCE) Rev 2.0 04/2022
19
8 PreventaveMaintenance
8.1 PreventaveMaintenanceSchedule
Roune maintenance of the Pulsar® Precision Feeder is minimized when proper pool water balance is maintained. Maintain pool water
chemistry as follows:
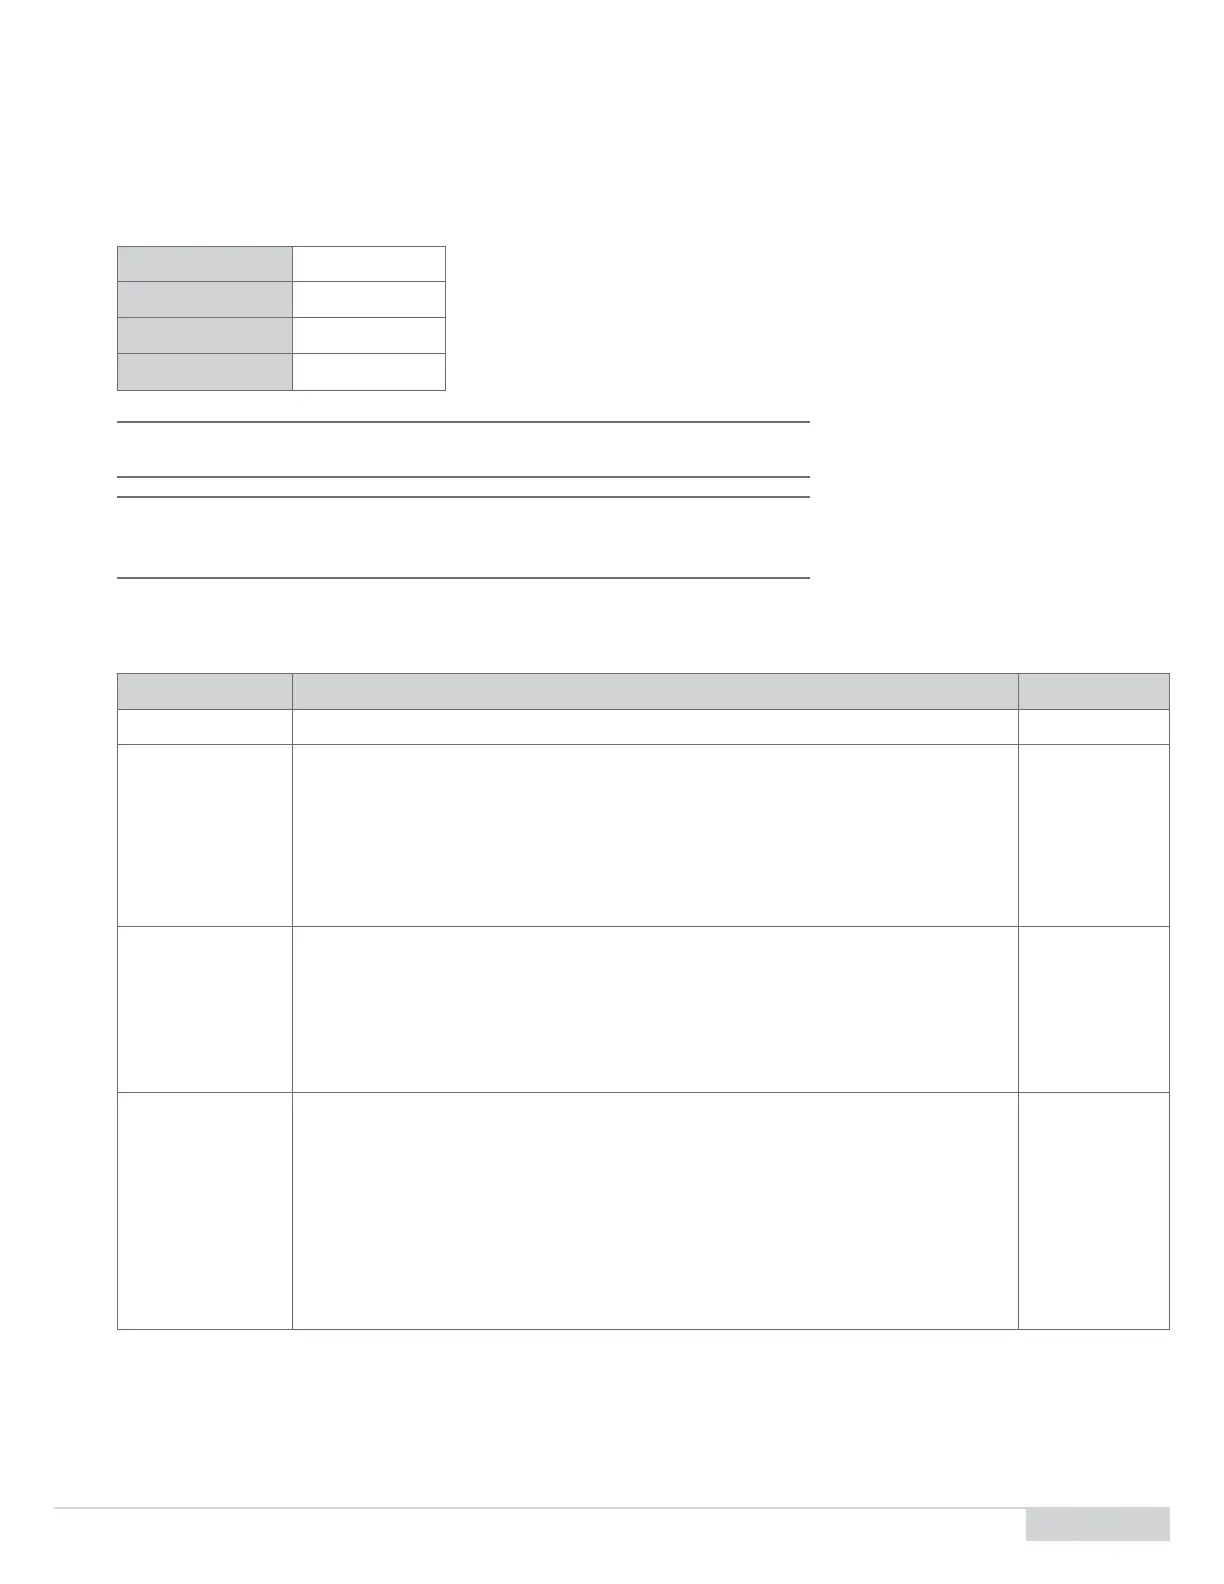
TotalAlkalinity 60 – 80 ppm
CalciumHardness 200 – 1800 ppm
PH 7.2 - 7.6
LSI –0.3 - +0.5
Note: Adherence to these recommendaons at all mes will ensure the most eecve and
economical performance of the feeder
Note: The use of Carbon Dioxide gas (CO2) to lower pH will raise the Total Alkalinity
signicantly. High total alkalinity (over 80 ppm) will increase scale and solids buildup in
feeder.
Complete each of the following tasks during the rst week of each month.
Table3. MonthlyMaintenance
AconNeeded MaintenanceProcess TimetoComplete
Change/clean basket See Clean the Grid Basket (Online Cleaning Instrucons) on page 21.
Inspect inlet and
outlet plumbing
ngs
Verify that there are no leaks at any of the inlet and outlet ½" feeder ngs and 1 ½" booster
pump and venturi piping and ngs, including the booster pump itself.
1. Close all isolaon ball valves and re-plumb / replace any leaking piping and ngs.
2. If leaking is observed at the pump motor, the pump sha seal and impeller will have to be
replaced. Refer to the booster pump manual troubleshoong guide and repair parts list for
addional informaon.
2 min
Inspect booster
pump
1. Visually check for leaks on and around the pump, including the sucon and discharge piping
and ngs.
2. Close inlet and outlet 1 ½" ball valves and ghten or replace any leaking ngs.
3. If leaking observed at the pump motor, the pump sha seal and impeller is likely burned.
4. Refer to pump manual in the Appendix, page 24, for replacement parts and instrucons.
5 min
Inspect inlet line
strainer assembly
1. With pressure in the line, visually inspect the strainer basket for leaks. Replace the enre
basket assembly if leaking.
2. Close inlet ball valve.
3. Remove strainer basket and visually inspect for cracks and debris.
4. Remove strainer screen and wash it out prior to replacing it back into the basket.
5. If screen appears damaged or has a hole in it, replace with a new screen.
6. Re-install the strainer basket back into the strainer body.
10 - 15 min