Page 5 / 8
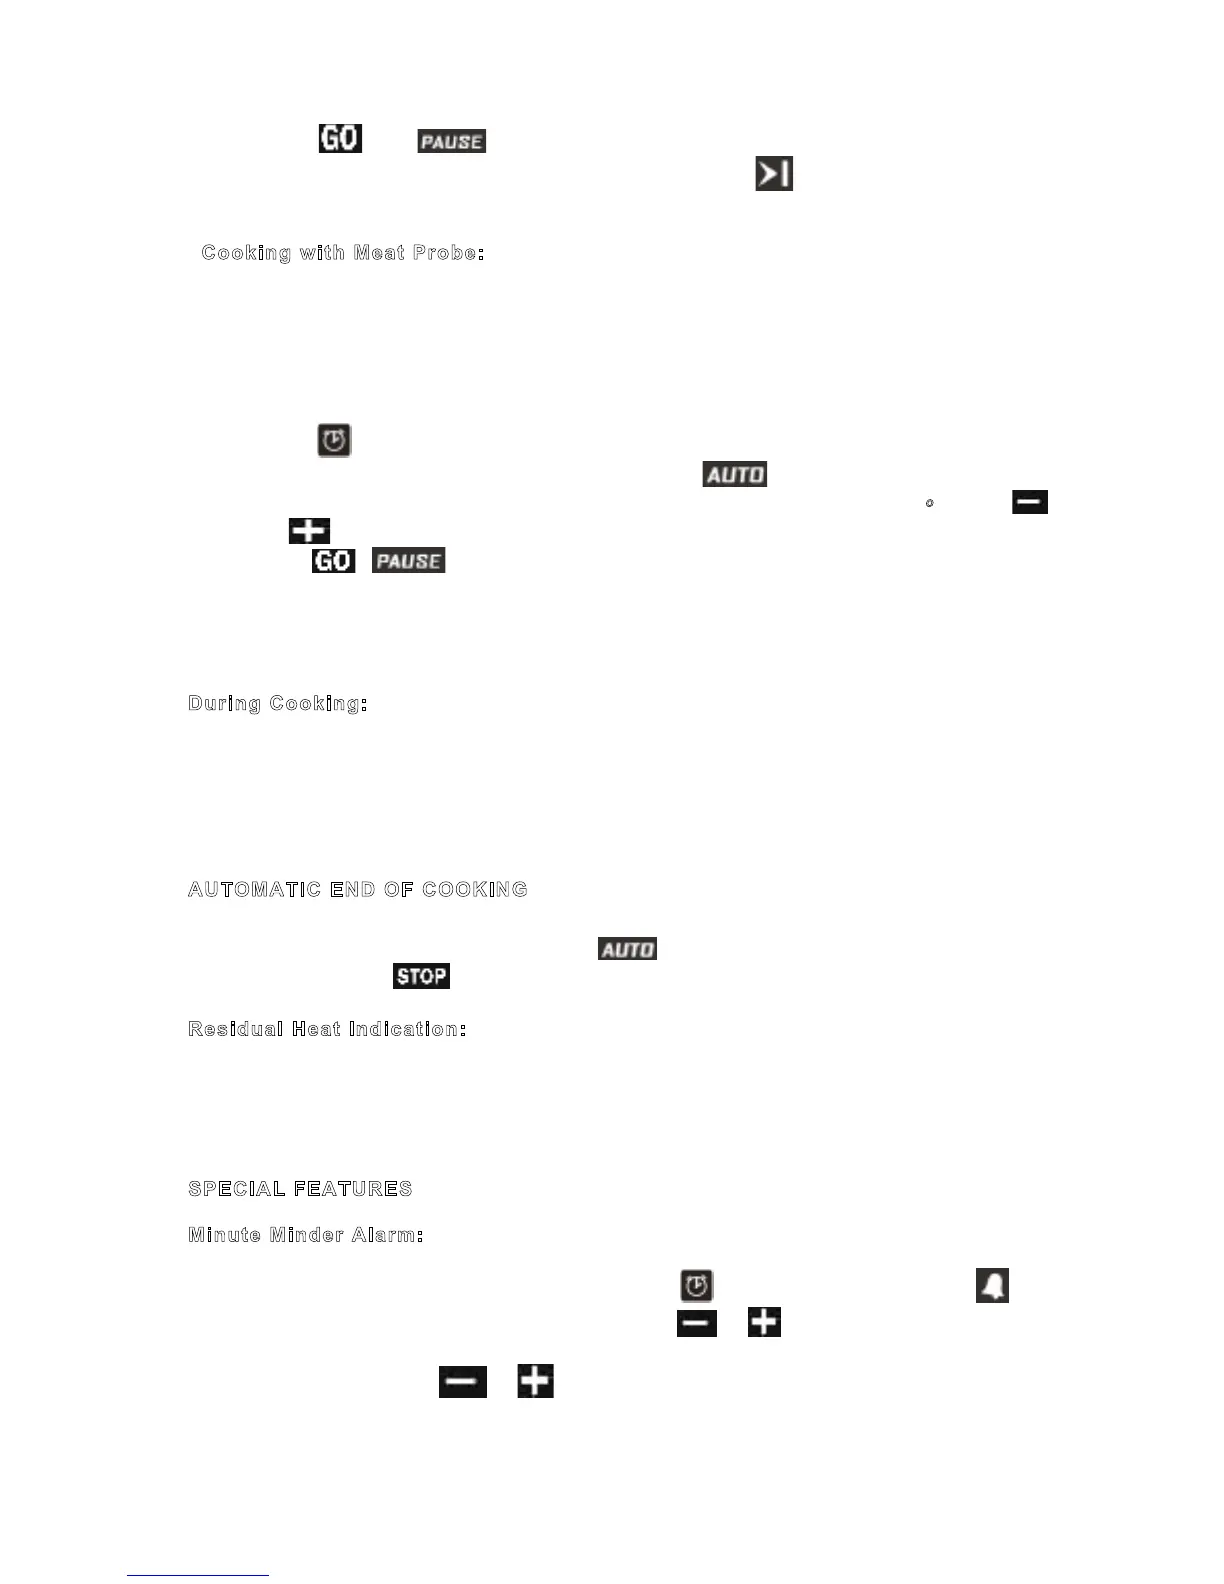
4) Touch key, disappears, cooking starts. The cooking end time is
displayed on the timer display, together with symbol .
Delayed Cooking:
This method is used when no * meat probe is used and you want the food to be ready at a
certain time in future. Therefore, this method called ‘Delayed Cooking’
1) Go through steps 1 to 3 of tımed-duratıon cooking (setting the cooking duration)
2) Touch key again, flashes on the timer screen together with the current
cooking end time.
3) Adjust the desired end time using and keys. on the status display may
disappear whereas is still there, indicating that a delayed cooking is
programmed and cooking will not start immediately.
4) Touch key, disappears, cooking starts. The cooking end time is
displayed on the timer display, together with symbol .
* Cooking with Meat Probe:
Meat probe is a sensor, connected to plug inside the oven and inserted into the meat to be
cooked. Using the meat probe, cooking is automatically ended when the meat reaches the
desired temperature.
1) Select the desired function and adjust (if needed) the temperature as described
before in this document.
2) Touch key. The default value of the meat probe temperature will flash on the
right two digits of the timer/meat probe display. will appear on the screen.
3) Adjust the desired meat temperature at cooking end in the range 20-99 ºC using
and
keys.
4) Touch , disappears, cooking starts. The actual meat temperature is
displayed on the left, the adjusted end temperature on the right portion of the
timer/meat probe display.
* Optional feature.
During Cooking:
The 5 bars on the temperature display give an indication about the actual oven
temperature. Each bar is assigned to 1/5 th of the adjusted value. The up-arrow near (˄) the
bar flashes, when the heating elements are currently active.
After cooking ends automatically, the temperature display will indicate the residual
heat, if any (see: Residual Heat Indication), will be flashing and buzzer will sound for
7 minutes. Touching will cancel the latter.
Residual Heat Indication:
After cooking has ended manually or automatically, if the internal oven temperature
is above 60 °C, ‘down arrow’ (˅) on the right side of heat bars flashes every 2 second and
also “hot” is displayed on the temperature display. Each one of the 5 heat bars symbolizes
now 60 °C. This indication goes on until the oven temperature falls below 60 °C.
SPECIAL FEATURES
Minute Minder Alarm:
In standby mode (when cooking something related)
key once to touch the icon on
the screen by tapping the left until it starts to blink.
or keys to set the time using. 7
seconds, then stops blinking. 7 minutes during the set time is reached, the alarm sounds.
The alarm can be stopped
or tapping the keys.
Alarm Clock:
In standby mode (when cooking something related) key twice to touch the icon on
the screen by tapping the left until it starts to blink. or keys to set the time using.
7 seconds, then stops blinking. The set time is reached, the alarm starts sounding. The
alarm can be stopped or tapping the keys.
ERROR INDICATIONS
When situations which prevent normal operation occur, the device enters error
mode. Device is in the standby status but an error code is displayed on Time of Day
Display. Even if the error recovers, this code will remain on the display until key is
touched. A total number of 8 error codes exist:
Error Definition and possible causes
Communication error between UM and PM boards
DKB2-XX-POC400 data cable connector may be loose on either side
DKB2-XX-POC400 data cable may be defect
POC 400 PM may be defect
Oven Cavity Temperature Sensor Open Circuit
PT–1000-M2-XXX sensor connector may be loose on the PM
PT–1000-M2-XXX sensor may be defect
POC 400 PM may be defect
Page 5 / 8
4) Touch key, disappears, cooking starts. The cooking end time is
displayed on the timer display, together with symbol .
Delayed Cooking:
This method is used when no * meat probe is used and you want the food to be ready at a
certain time in future. Therefore, this method called ‘Delayed Cooking’
1) Go through steps 1 to 3 of tımed-duratıon cooking (setting the cooking duration)
2) Touch key again, flashes on the timer screen together with the current
cooking end time.
3) Adjust the desired end time using and keys. on the status display may
disappear whereas is still there, indicating that a delayed cooking is
programmed and cooking will not start immediately.
4) Touch key, disappears, cooking starts. The cooking end time is
displayed on the timer display, together with symbol .
* Cooking with Meat Probe:
Meat probe is a sensor, connected to plug inside the oven and inserted into the meat to be
cooked. Using the meat probe, cooking is automatically ended when the meat reaches the
desired temperature.
1) Select the desired function and adjust (if needed) the temperature as described
before in this document.
2) Touch key. The default value of the meat probe temperature will flash on the
right two digits of the timer/meat probe display. will appear on the screen.
3) Adjust the desired meat temperature at cooking end in the range 20-99 ºC using
and keys.
4) Touch , disappears, cooking starts. The actual meat temperature is
displayed on the left, the adjusted end temperature on the right portion of the
timer/meat probe display.
* Optional feature.
During Cooking:
The 5 bars on the temperature display give an indication about the actual oven
temperature. Each bar is assigned to 1/5 th of the adjusted value. The up-arrow near (˄) the
bar flashes, when the heating elements are currently active.