RadioLink Electronic Limited
www.radiolink.com
simultaneously and holding them down for one second), press “Enter” key once, the Model select function
will be chosen.
(2) Press “Enter” button, the current active model will be blinking.
(3) To activate a different model by pressing “Dec(-)” or “Inc(+)” button until the desired model blinks.
(4) Press “Enter” button, the selected model stops blinking, now the model has been selected.
(5) Return to the initial screen by pressing “Exit” button twice.
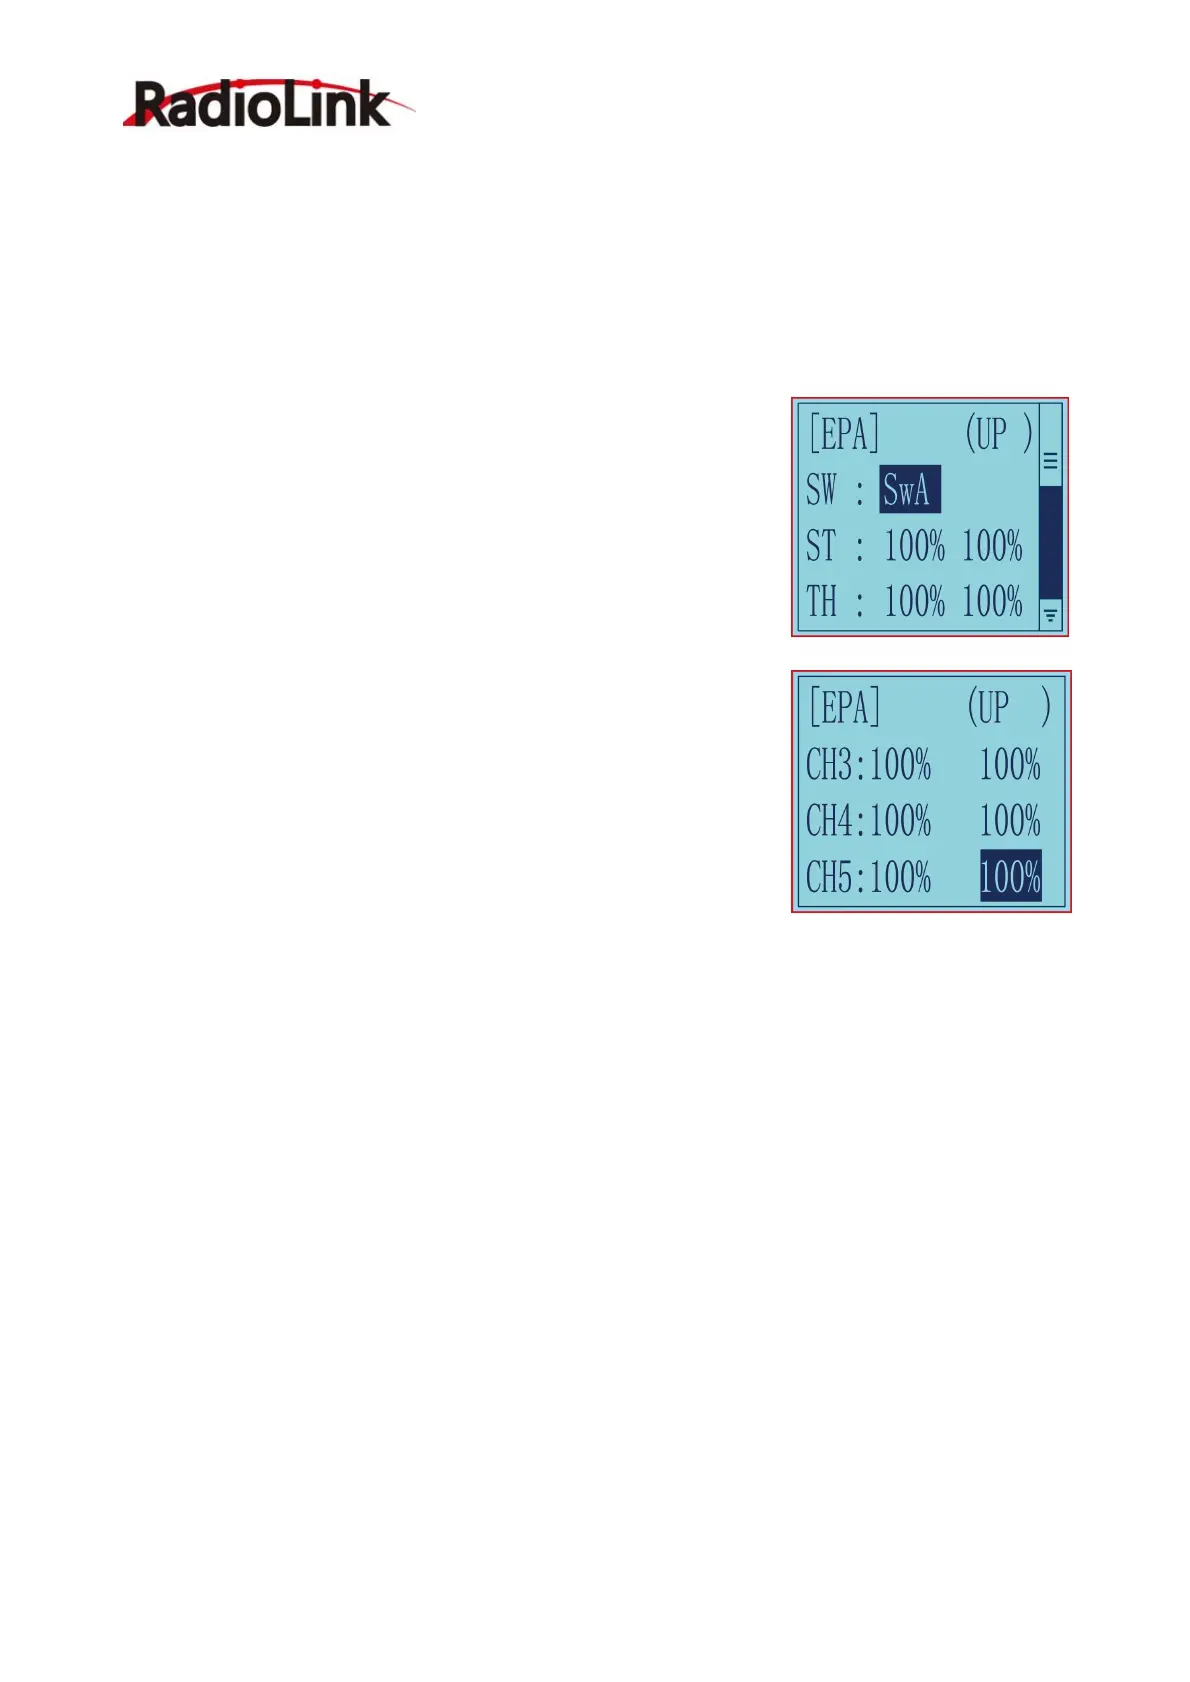
2.4 End Point Adjust "EPA"
Use EPA when performing left and right steering angle adjustments,
throttle high side/brake side operation amount adjustment, and channel 3
servo up side/down side operation amount adjustment during linkage.
Correct the maximum steering angle and left and right steering angles
when there is a difference in the turning radius due to the characteristics,
etc. of the vehicle.
Setting item (channel and direction)
Steering EPA Throttle EPA
ST:0%~120%(left/ right) TH:0%~120%(forward/brake)
Initial value:100% Initial value : 100%
Aux Servo EPA Aux Servo EPA
CH3:0%~120%(left/ right) CH4:0%~120%(left/ right)
Initial value: 100% Initial value: 100%
Aux Servo EPA
CH5:0%~120%(left/ right)
Initial value: 100%
End point adjustment
(1) Long press "Exit" and "Enter" button simultaneously for one second to enter the function menu of RC4GS
V3. Press "Inc(+)" button at the bottom of the screen to move the cursor to "3. EPA", and then press " Enter”
button to enter the function setting interface.
(2) Switch setting: Set a switch or button to switch in different end points.
A. You can set SWA, SWD, or the lock modes of these two switch buttons LK-A, LK-D.
B. "NULL" means no switch assigned. After setting the end point parameter of the corresponding channel,
the transmitter will always execute the set end point by default.
C. UP (up)/DOWN (down: It indicates the position of the selected switch. Push/Press the switch to
different positions to set different end points.
D. Setting method: Press "Dec(-)" or "Inc(+)" button at the bottom of the screen to move the cursor to
"NULL" next to the switch, then press "Enter" button, the corresponding setting starts to flash, then press
"Dec(-)" or "Inc(+)" button to select the switch or button to be set, and press "Enter" button to confirm the
option after the selection. The switch setting stops flashing and the switch setting is complete.
(3) Set the end point of each channel: press “Dec(-)” or “Inc(+)” button to move the cursor to the rate next to
the channel, and then press the “Enter” button, the corresponding value starts to flash , and then press

 Loading...