WinLink 1000 Installation and Operation Manual Chapter 2 Installation and Setup
Installation and Setup 2-3
• 110V/240V adaptor
• IDU wall-mounting drilling template
• Spare RJ-45 connector
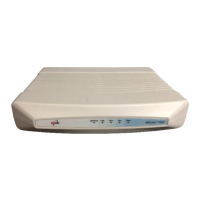
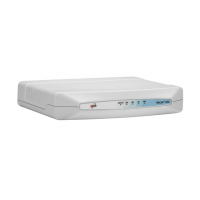
(Optional) IDU-C Package Contents:
• IDU-C
• For AC model, 110v/240 VAC with 3-prong connector cable
• For DC model, –24VDC or -48 VDC with 3-pin terminal block
connector (green)
• IDU standard 1-U, 19” carrier rack
• Spare RJ-45 connector
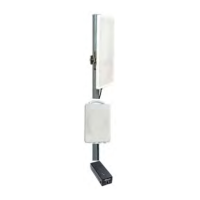
External antenna (if ordered)
ODU/IDU Cable at length ordered (optional)
2.4 Installation and Setup
Physical installation of the WinLink 1000 system installation includes
the following steps:
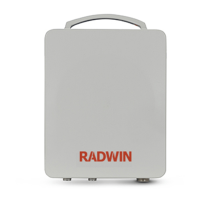
1. Installing ODU at both sites of the link.
2. Installing ODU cable and connecting ODU to IDU at both sites.
3. Connecting power.
4. Installing the management program on the network management
station.
5. Running the Installation wizard from the management program.
6. Aligning the ODUs.
7. Connecting user equipment to the local and remote IDUs.
 Loading...