Raisecom
ISCOM RAX711 (B)Product Description
Raisecom Technology Co., Ltd.
Step 1 Ensure that the rack is stable.
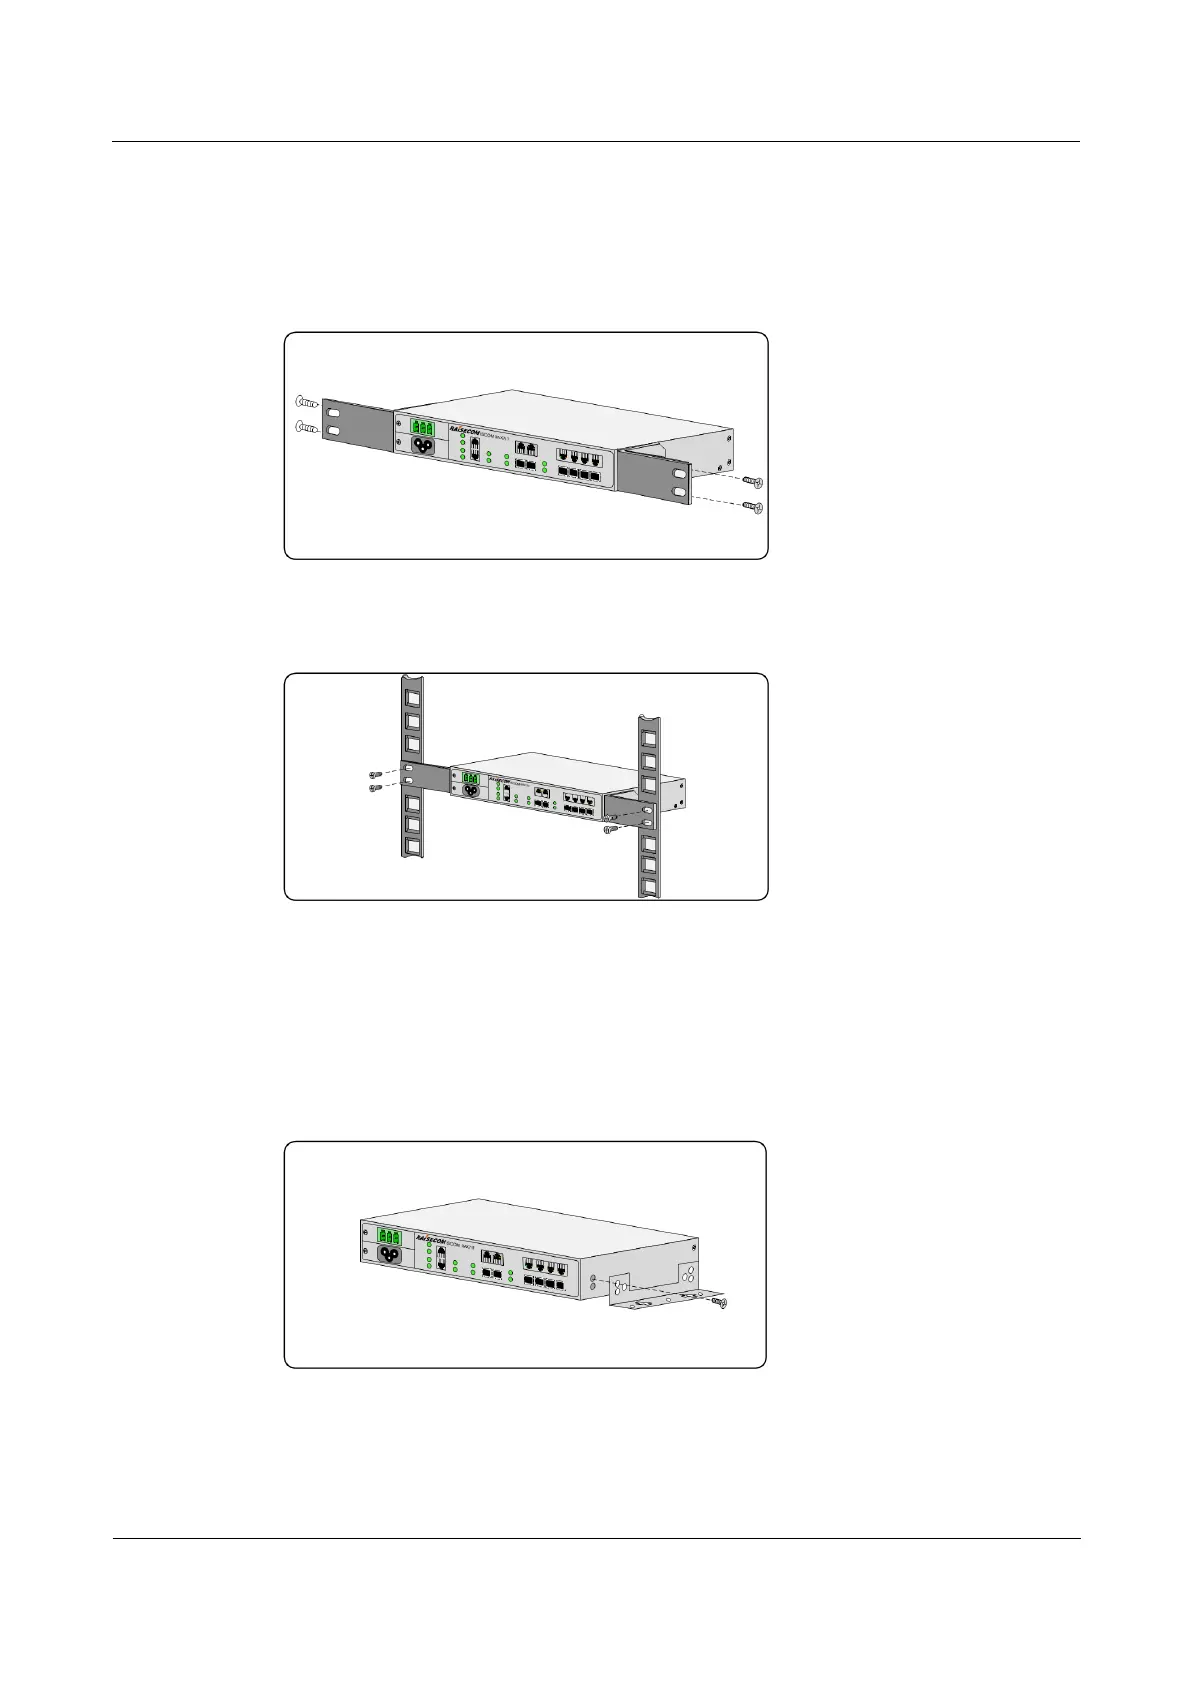
Step 2 Install two customized brackets on the two sides of the ISCOM RAX711 respectively, and fix
them with screws, as shown in Figure 4-1.
Figure 4-1 Installing customized brackets
Step 3 Use screws to fix two customized brackets to the rack horizontally, as shown in Figure 4-2.
Figure 4-2 Installing the device horizontally on the rack
Installing device on wall
The ISCOM RAX711 supports being installed on wall, with steps as below:
Step 1 Install two long wall-mount brackets to two sides of the ISCOM RAX711 respectively (take
the right side for example), and fix them with screws, as shown in Figure 4-3.
Figure 4-3 Installing long wall-mount brackets
Step 2 Drill four holes on the wall properly, and fix the ISCOM RAX711 vertically on the wall, as
shown in Figure 4-4.