Raisecom
ISCOM RAX711 (B)Product Description
Raisecom Technology Co., Ltd.
Choose the fiber connector properly as required on site.
Appearance
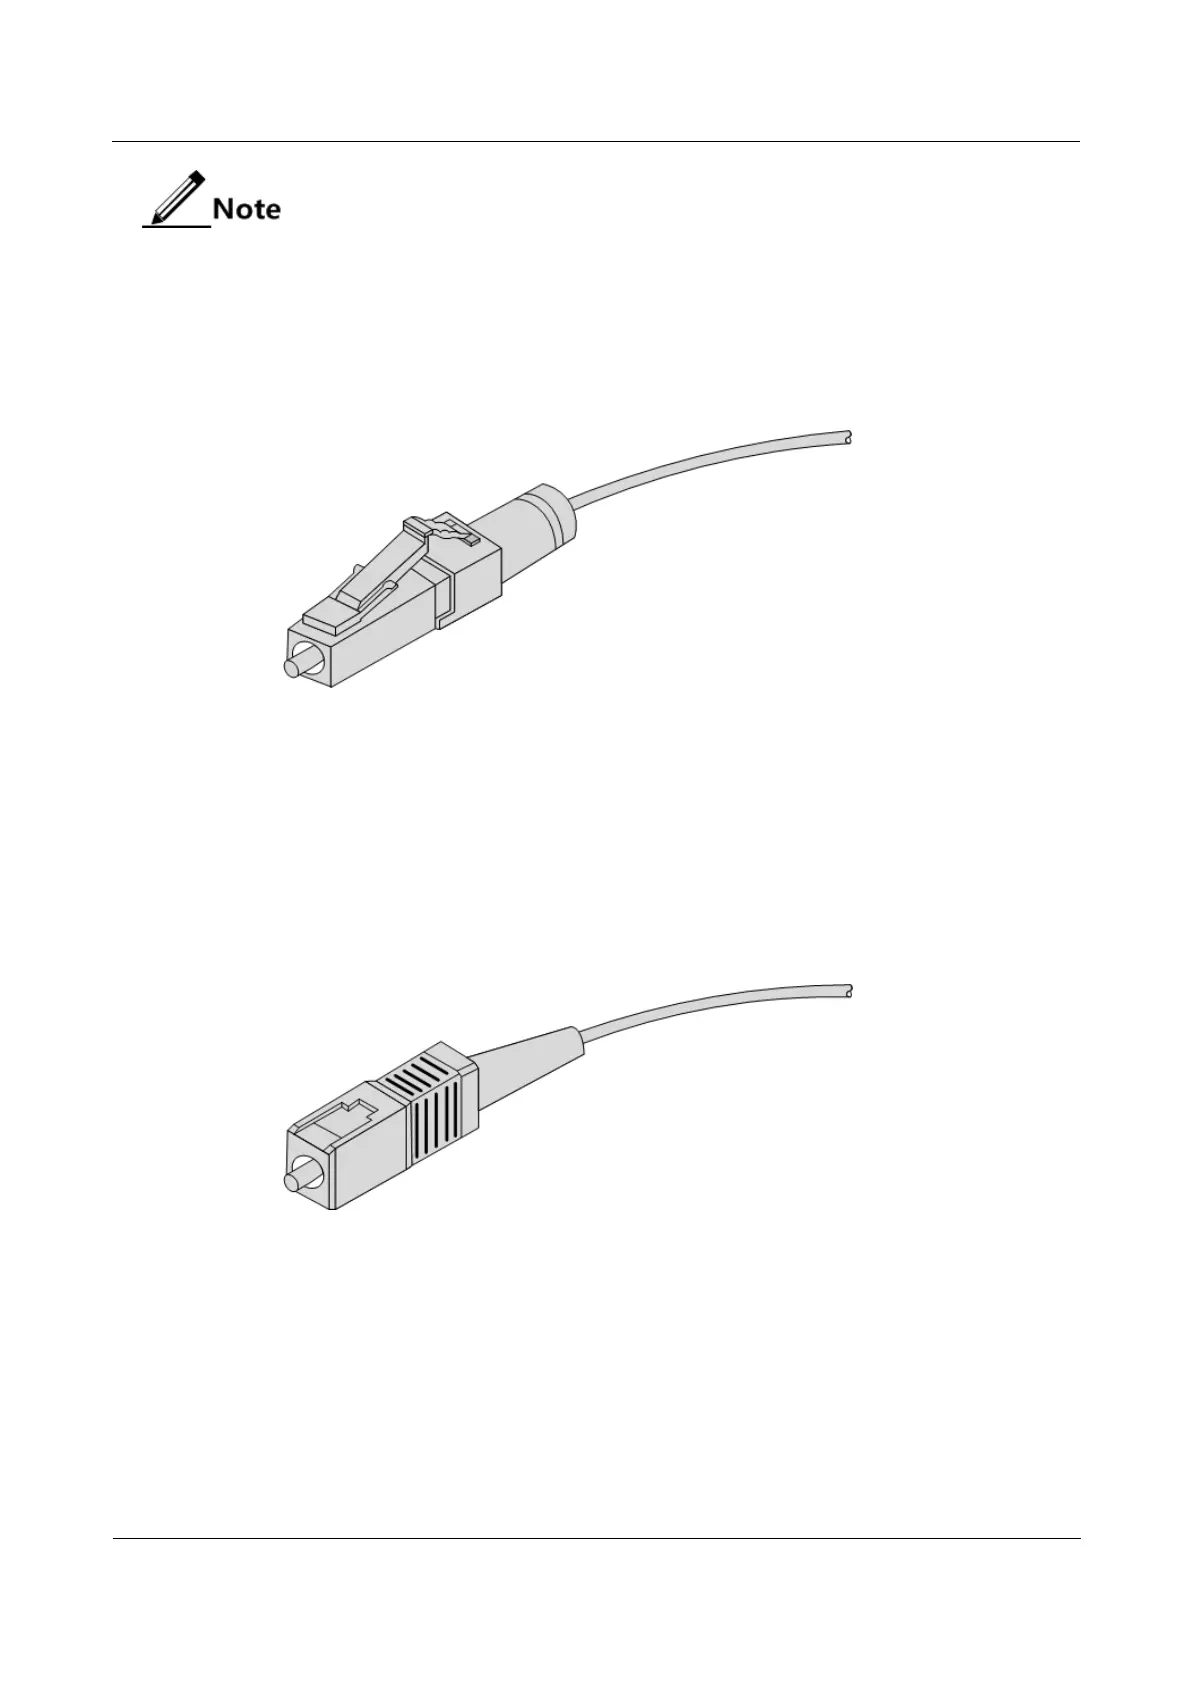
Figure 6-8 shows the LC/PC fiber connector.
Figure 6-8 LC/PC fiber connector
When connecting or removing the LC/PC optical connector, align the connector with the
optical interface, and do not rotate the fiber. Operate the fiber as below:
Align the head of the fiber jumper with the optical interface and insert the optical fiber
into the interface gently.
To remove the fiber, press the latch on the connector, press the fiber head inwards
slightly, and pull the fiber out.
Figure 6-9 shows the SC/PC fiber connector.
Figure 6-9 SC/PC fiber connector
When connecting or removing the SC/PC optical connector, align the connector with the
optical interface, and do not rotate the fiber. Operate the fiber as below:
Align the head of the fiber jumper with the optical interface and insert the optical fiber
into the interface gently.
To remove the fiber, press the fiber head inwards slightly, and then pull the fiber out.
Figure 6-10 shows the FC/PC fiber connector.