Raisecom
ISCOM RAX711 (B)Product Description
Raisecom Technology Co., Ltd.
Connecting clock cable
Connect the clock cable as below:
Step 1 Choose a proper length for the clock cable according to cabling path, and make a clock cable
accordingly.
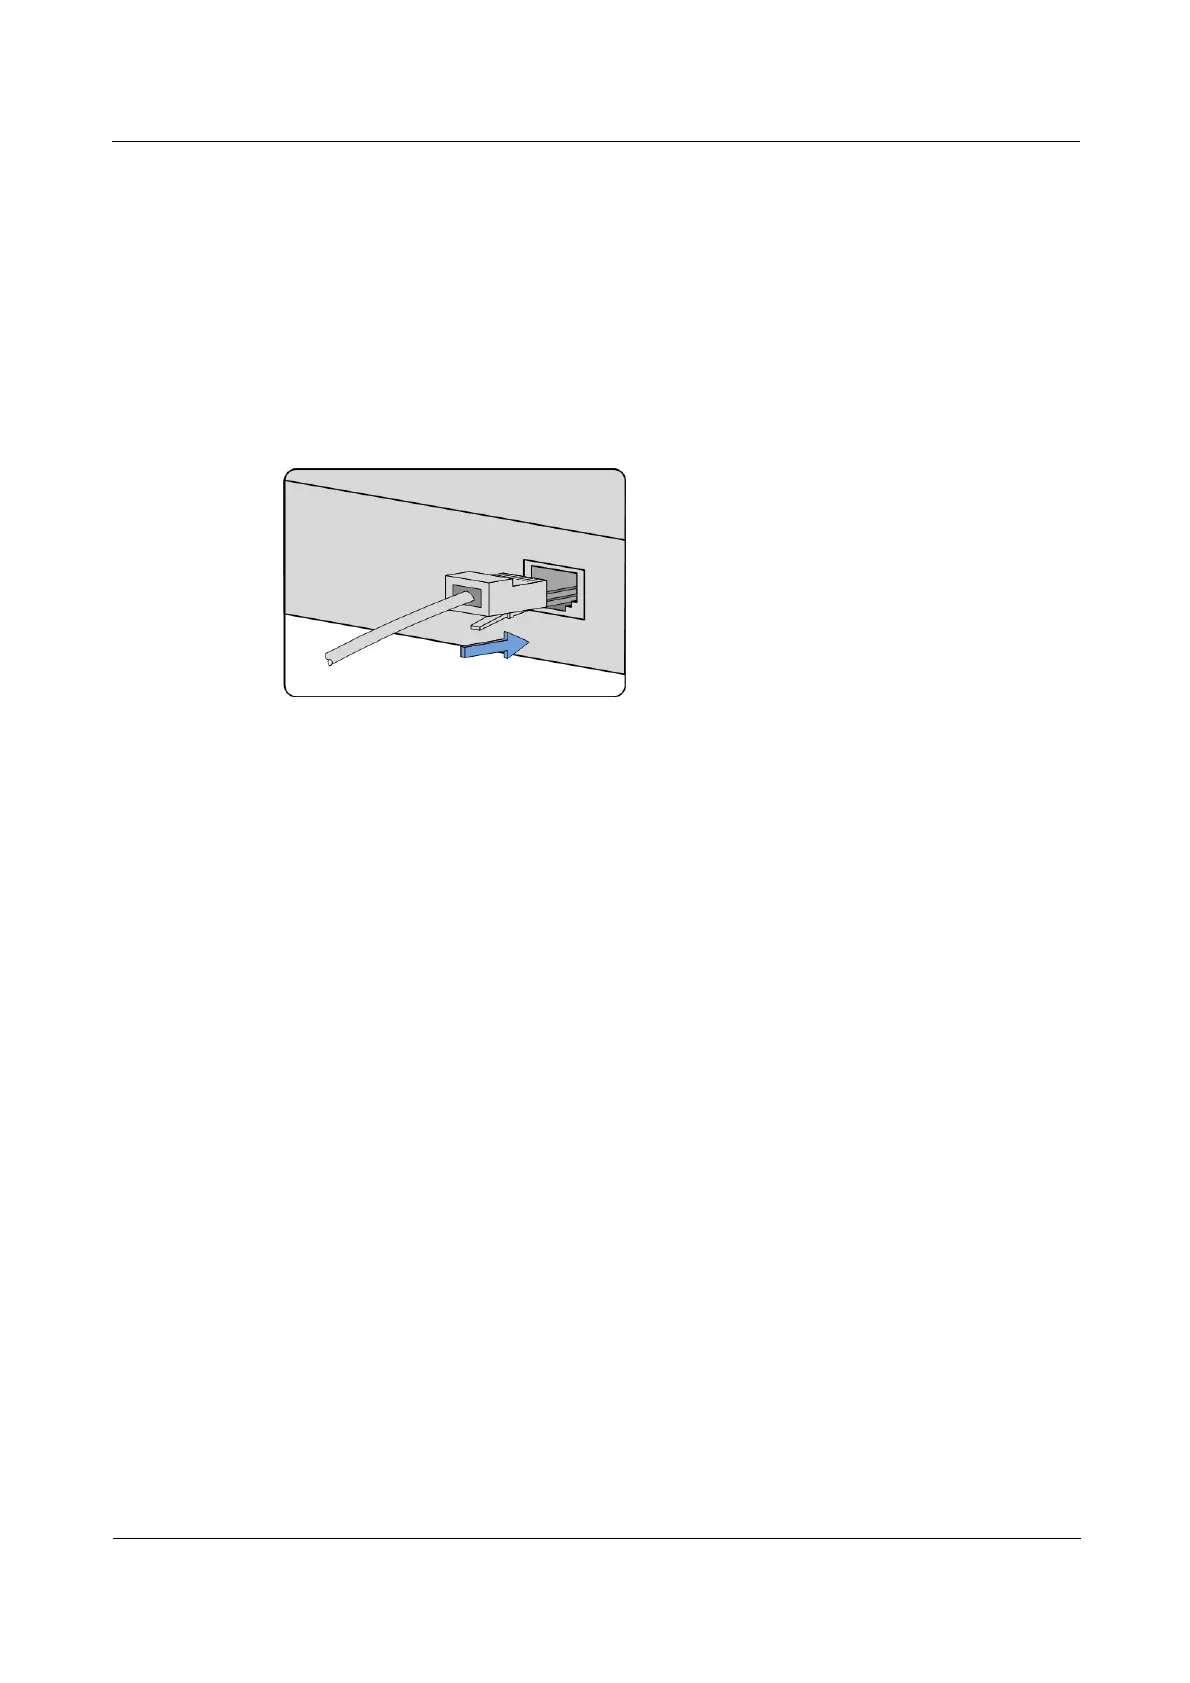
Step 2 Insert the RJ45 connector of the clock cable into the clock interface of the ISCOM RAX711,
and insert the other RJ45 connector of the clock cable into the clock interface of the peer
device, as shown in Figure 4-12.
Figure 4-13 Connecting clock cable
4.3 Installing software
The ISCOM RAX711 is installed with all necessary software before delivery so that it can be
powered on immediately after hardware installation is complete.
You can upgrade software of the ISCOM RAX711. For details, see ISCOM RAX711
Configuration Guide.
For details about installation and operations about the NView NNM network management
software, see NView NNM related manual.