Raisecom
ISCOM6820-GP (A) Installation Guide
Raisecom Proprietary and Confidential
Copyright © Raisecom Technology Co., Ltd.
Step 2 Make the chassis facing up and uplift the chassis with your hands.
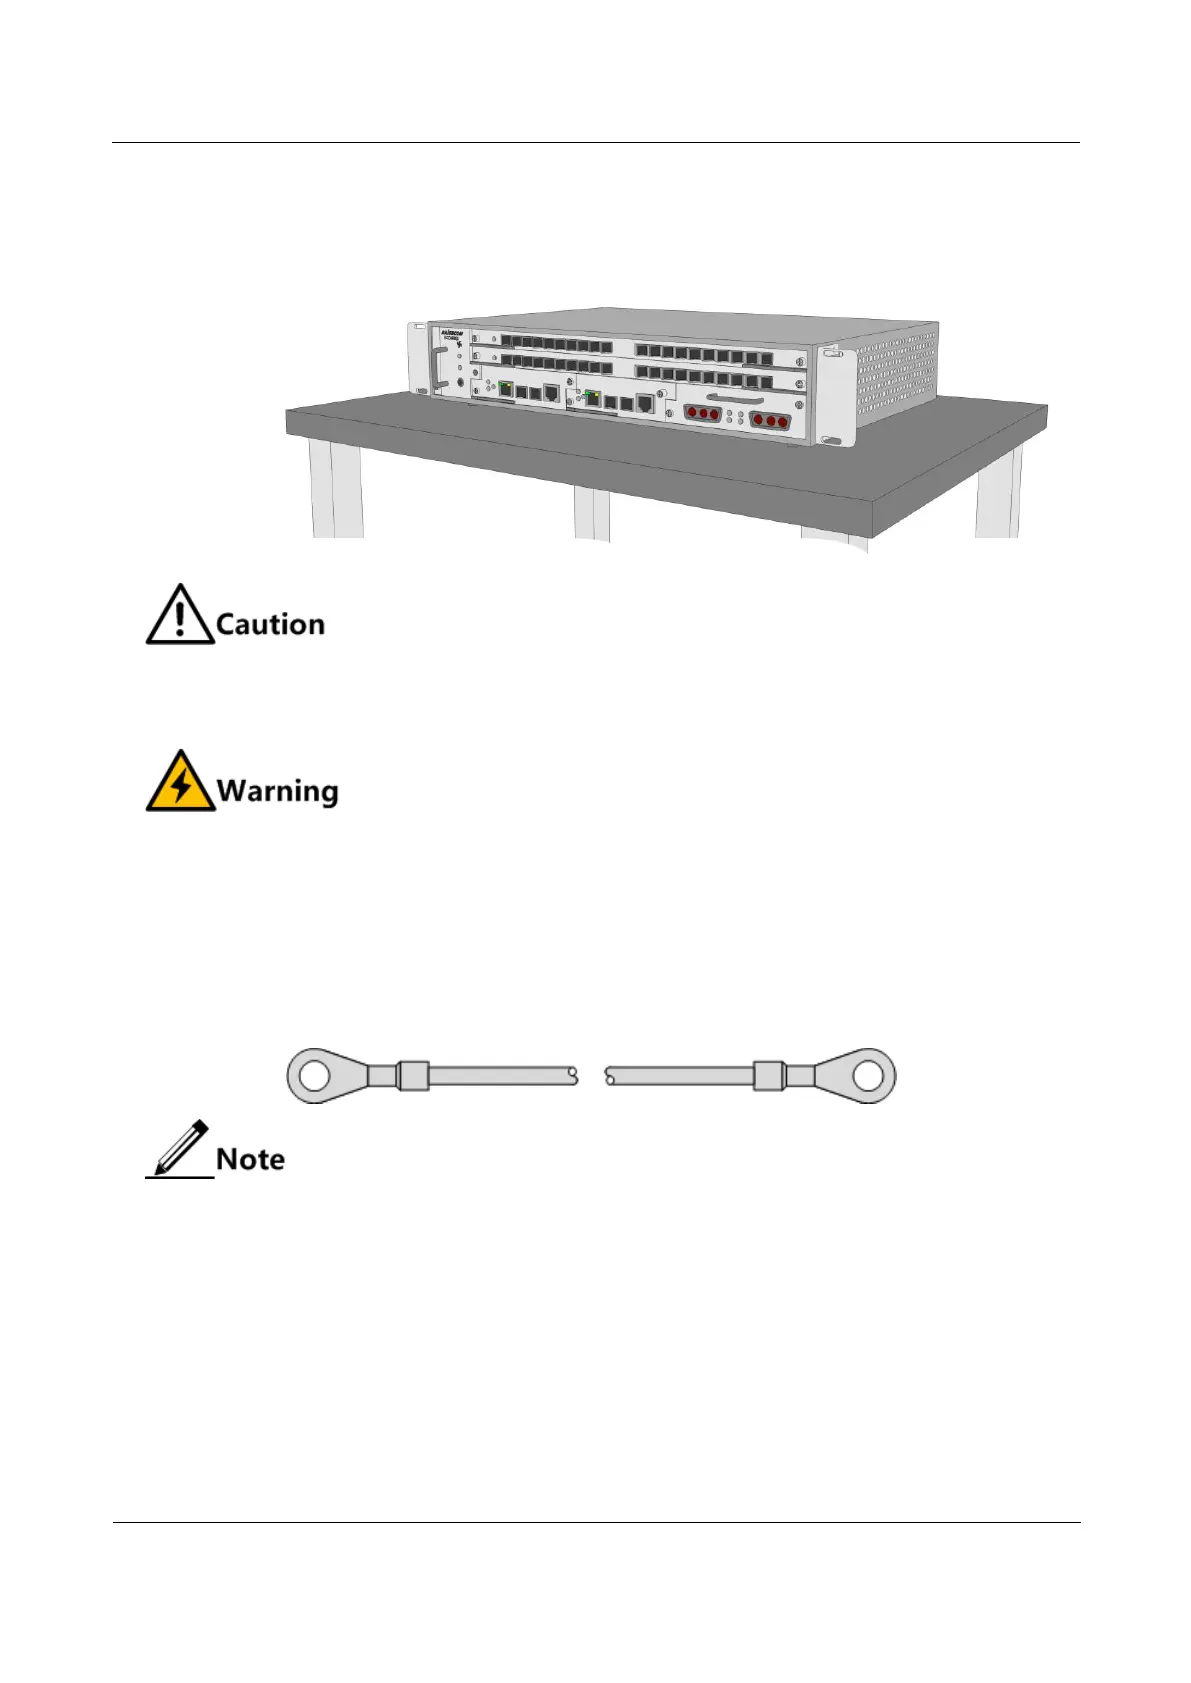
Step 3 Put the chassis on the workbench slowly and steadily, as shown in Figure 3-7.
Figure 3-7 Installing chassis on workbench
Do not lay heavy objects on the chassis.
3.3.4 Connecting ground cable
Connecting the ground cable properly is an important guarantee for lightning
protection, shock proof, and anti-interference. When installing and using the device,
ensure that the ground cable is properly connected; otherwise, personnel injury or
equipment damage may occur.
The terminal of the ground cable is an OT non-insulated terminal, as shown in Figure 3-8. The
coaxial cable is a 2.5 mm
2
yellow/green copper flame-retardant cable.
Figure 3-8 Ground cable
The ground cable cannot be longer than 30m and should be as short as possible;
otherwise, a ground bar should be used.
The ground terminal is located on the bracket of the ISCOM6820-GP, as shown in Figure 3-9.
 Loading...
