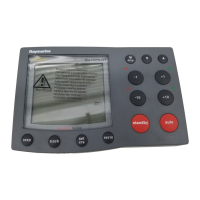
Chapter 5: Installing the ST7001+ 49
5 Installing the ST7001+
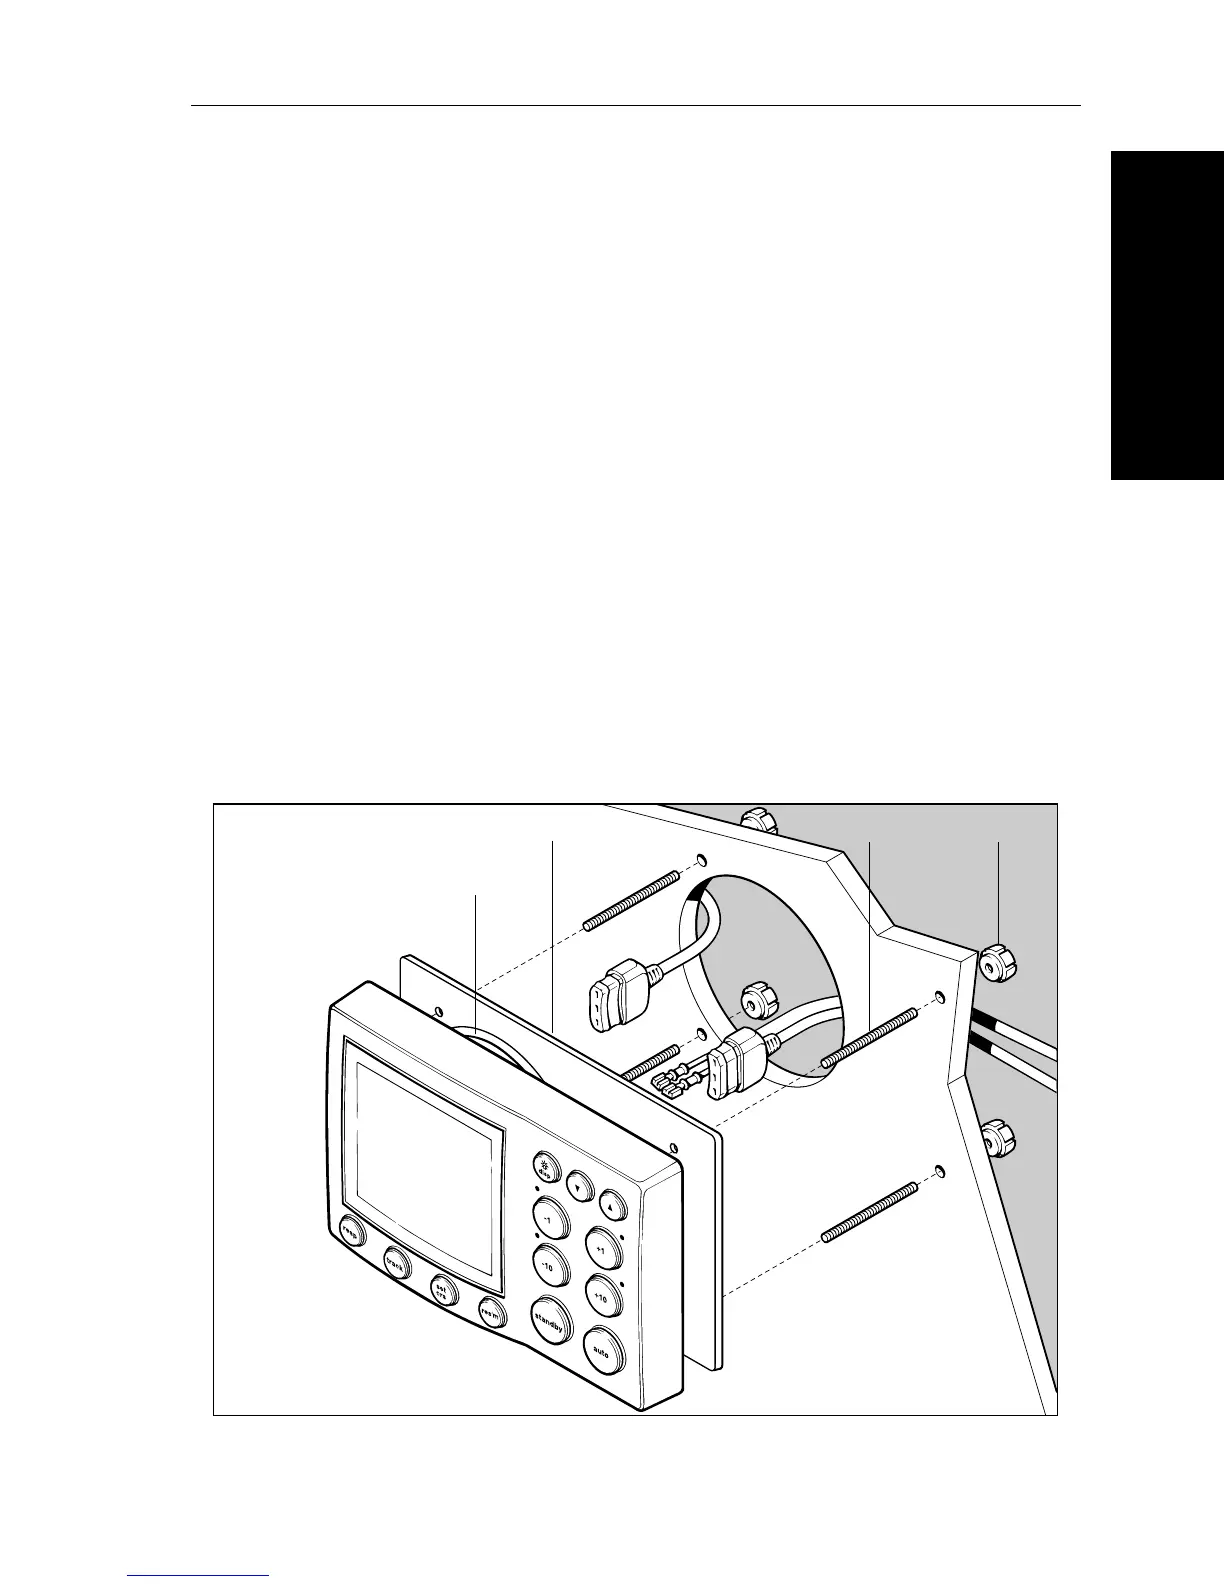
5.2 Control unit installation
To fit the control unit:
1. Apply the template (supplied at the back of this handbook) to the
selected bulkhead.
2. Mark the centers of the four fixing holes and the cable boss.
3. Drill four 5 mm (
3
/
16
in) diameter holes for the fixing studs.
4. Use a 90 mm (3.55 in) diameter cutter to drill the hole for the
cable boss.
5. Peel the protective sheets from the self-adhesive gasket, then stick
the gasket into position on the rear of the control unit.
6. Screw the four fixing studs into the threaded sockets on the rear of
the control unit.
7. Pass the SeaTalk/NMEA cables through the bulkhead and
connect them to the appropriate terminals (as described later in
this chapter).
8. Assemble the control unit to the bulkhead.
9. Secure the control unit with the thumb nuts provided.
Hand-tighten the thumb nuts – do NOT use a wrench.
Fixing stud Thumb nut
Cable boss
Self-adhesive gasket
D4226-2
 Loading...