Chapter 3: Getting Started 23
3.7 Using the Locked Heading Facility
If your RayData is connected to other instruments which supply
heading information, you can use the RayData Locked Heading facility
to specify the heading on which you wish to steer.
Note: If you are using a SeaTalk connected autopilot, its locked
heading will over-ride the RayData’s locked heading, and will be
displayed on the RayData Locked Heading screen with a PILOT
HEADING indicator. The RayData facility does not control the
autopilot’s heading.
To select the current heading as the locked heading, simply press
ÚÚ
ÚÚ
Ú
and
ÙÙ
ÙÙ
Ù
together from any page (except those that indicate that this
key combination is used for a different purpose). The Locked Heading
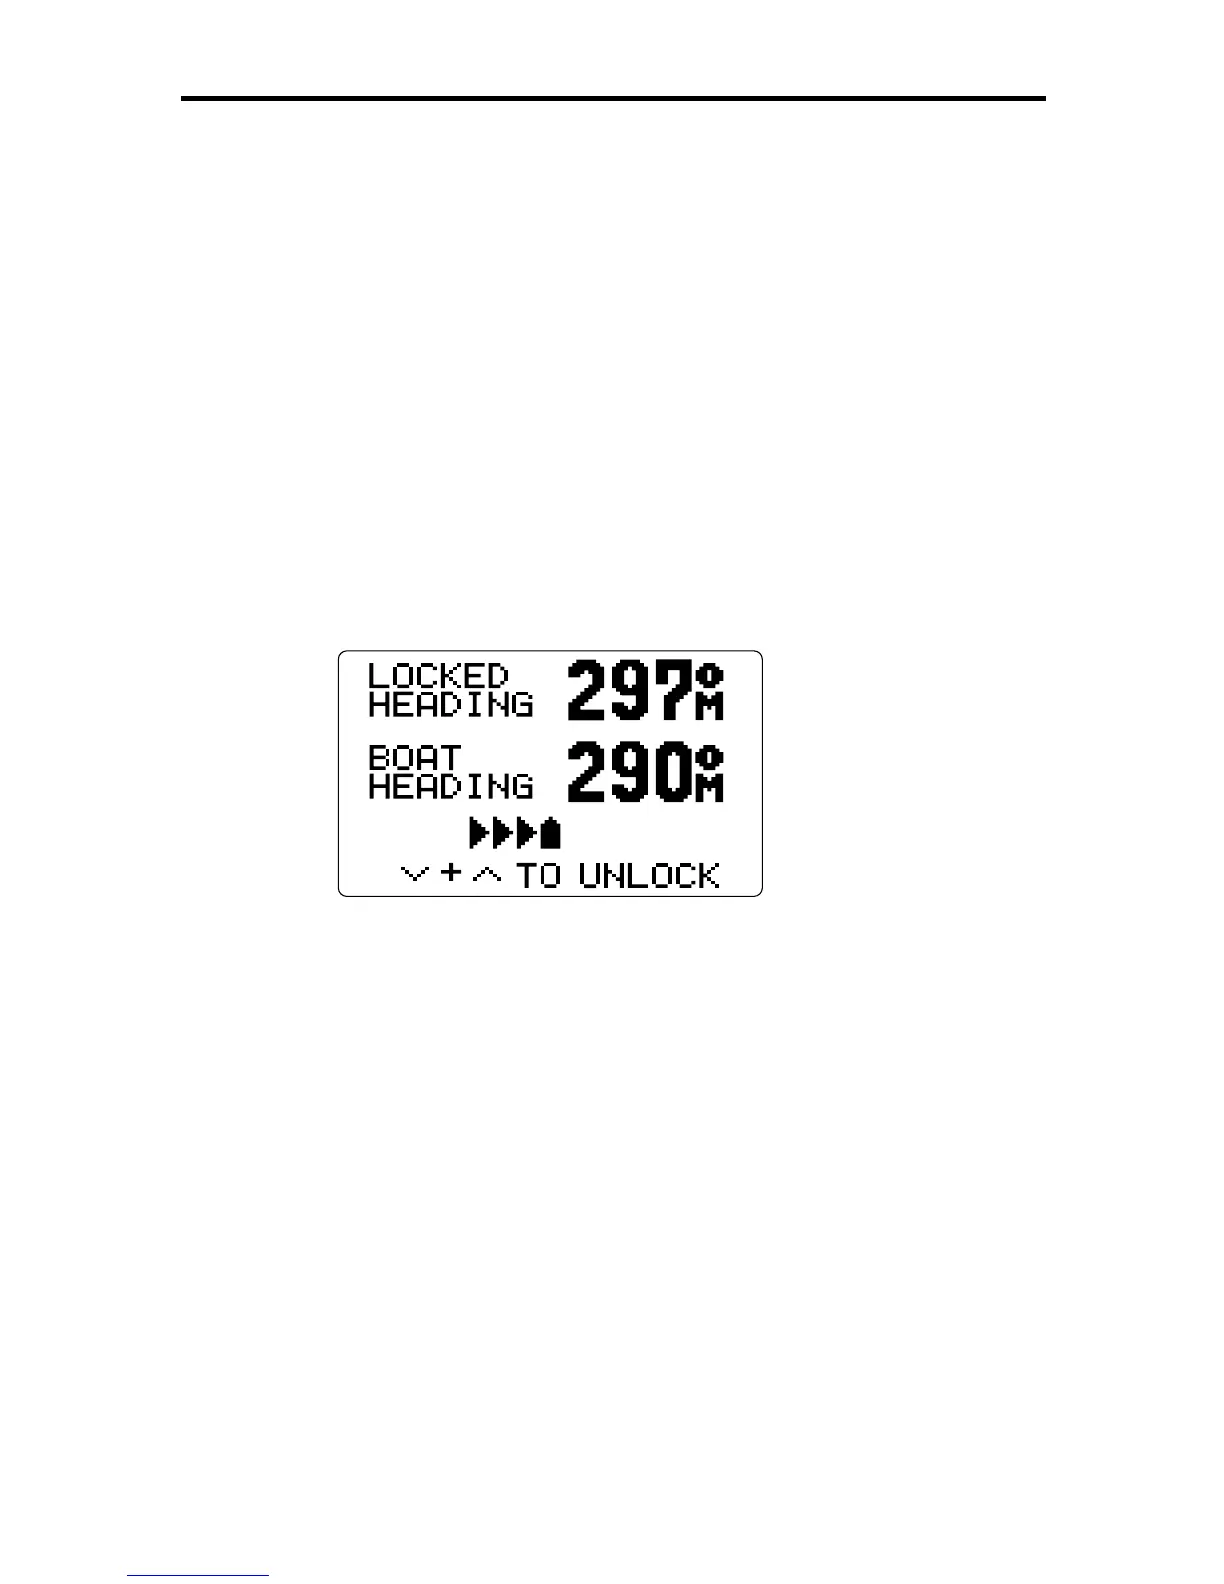
page is displayed, as shown below.
D3064-1
This page shows both the locked heading and the current heading. The
steering bargraph allows you to see at a glance in which direction and
how far you are straying from the locked heading, and take corrective
action.
If you wish to change the locked heading, you can use the
ÙÙ
ÙÙ
Ù
or
ÚÚ
ÚÚ
Ú
keys to increase or decrease its value.
To unlock the heading, press
ÚÚ
ÚÚ
Ú
and
ÙÙ
ÙÙ
Ù
together again.
Press DEPTH to return to the previous Depth Chapter page, or press
the SPEED or NAV key to display a different main page.
For further information, refer to the “Locked Heading” section at the end
of Chapter 6.