COPYRIGHT © 2014 RED.COM, INC
RED DSMC OPERATION GUIDE
955-0020_V5.1, REV-H | 142
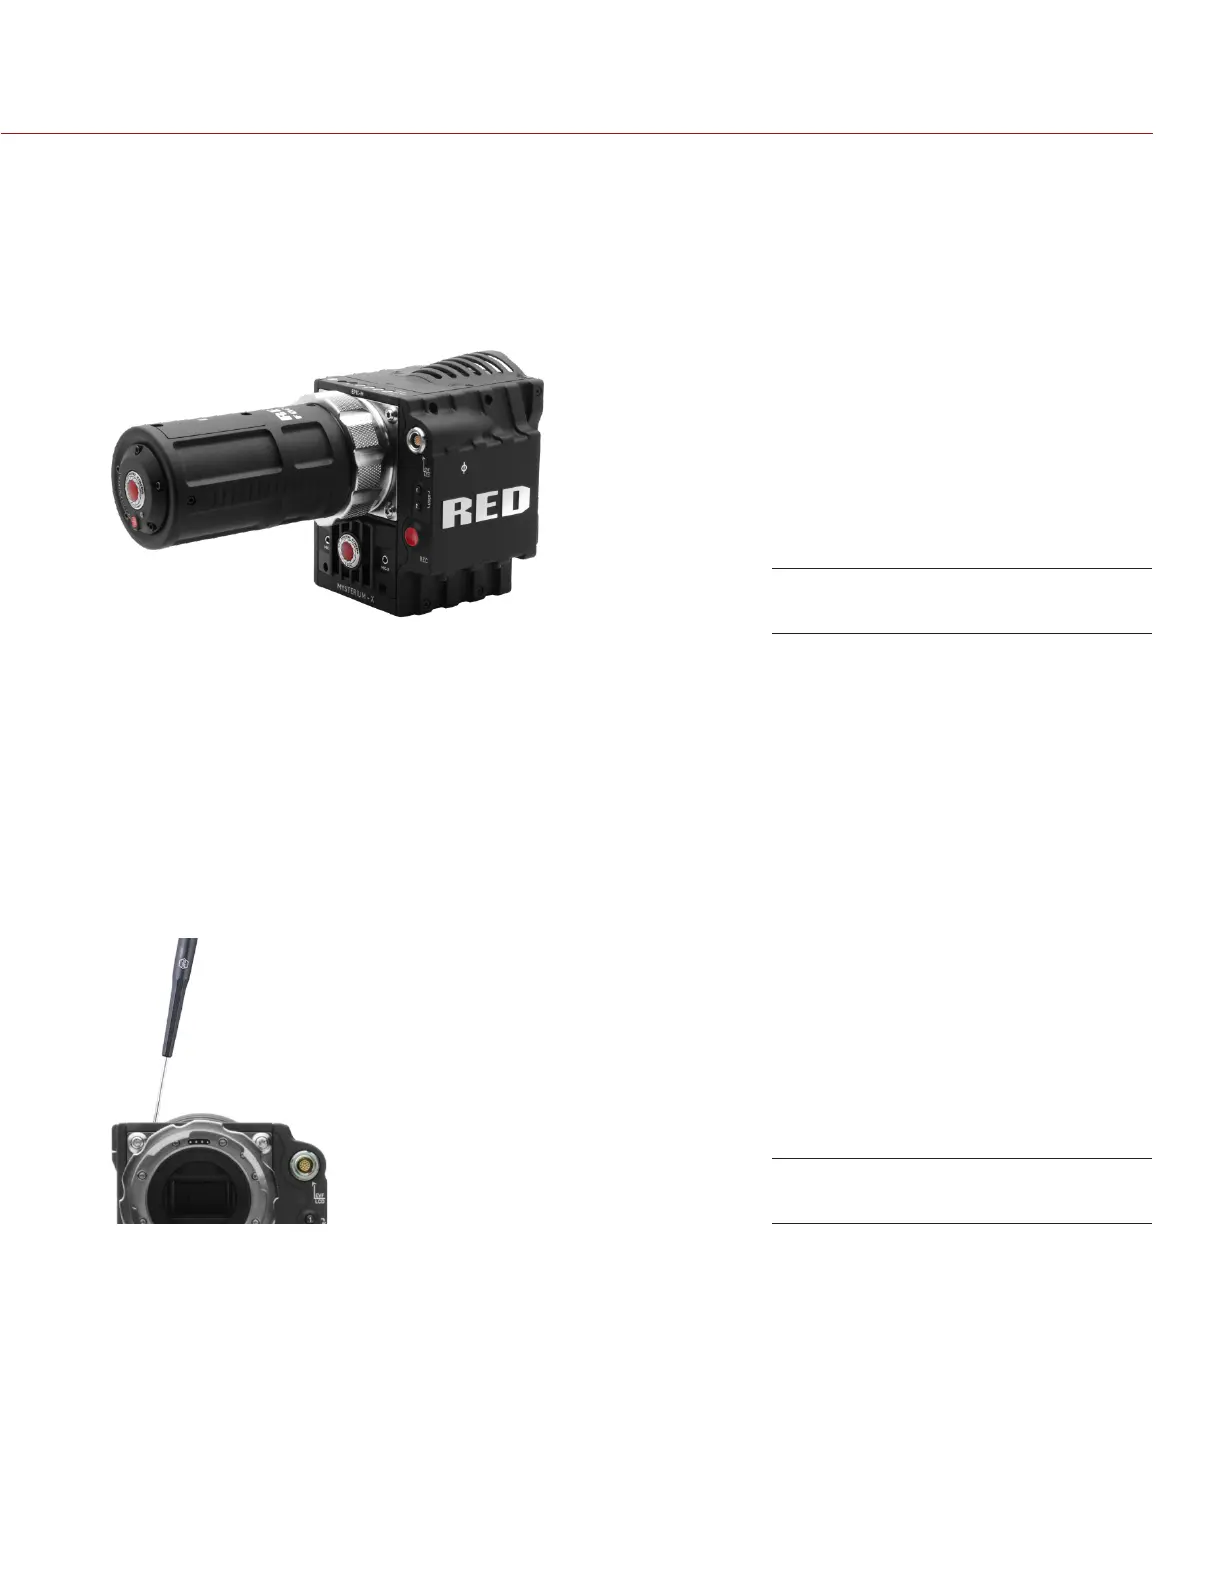
1. Remove the screw-in plug located in the back focus adjustment opening using a T10 Torx driver.
2. Place the camera on a level, stable surface or mount the camera on a tripod.
3. Install RED Focus to the camera PL mount.
4. Remove the camera lens or sensor cover if equipped.
5. Install RED Focus onto the camera in the position shown.
6. Ensure RED Focus is secured to the camera with the camera lock ring.
7. Power up the camera.
8. Power up RED Focus.
NOTE: Remember that RED Focus will AUTOMATICALLY power down after 3 minutes. Press the Red button
on the front to power back up.
9. Go to Settings > Display > Tools.
10. Select Magnify.
NOTE: The “Focus” option located under Settings > Display > Tools can serve as a good double-check for
proper focus during this procedure.
11. Insert a T10 Torx driver into the back focus adjustment screw. The screw is oriented at approximately 80°
as shown.
12. Carefully and slowly, rotate the back focus adjustment screw to achieve optimum focus.
13. Turning CLOCKWISE moves the sensor forward.
14. Turning COUNTER-CLOCKWISE moves the sensor rearward.
NOTE: The center of the image will never be in perfect focus as the lines are less than 1/3 of a pixel in size.
The back focus adjustment mechanism is self-locking, and does not require a supplementary locking screw.
15. Install the screw-in plug in the back focus adjustment opening using a T10 Torx driver.
RED Focus Installed on DSMC
Back Focus Adjustment