18 | E33-10 FPI Direct Vent Gas Insert
|
18
installation
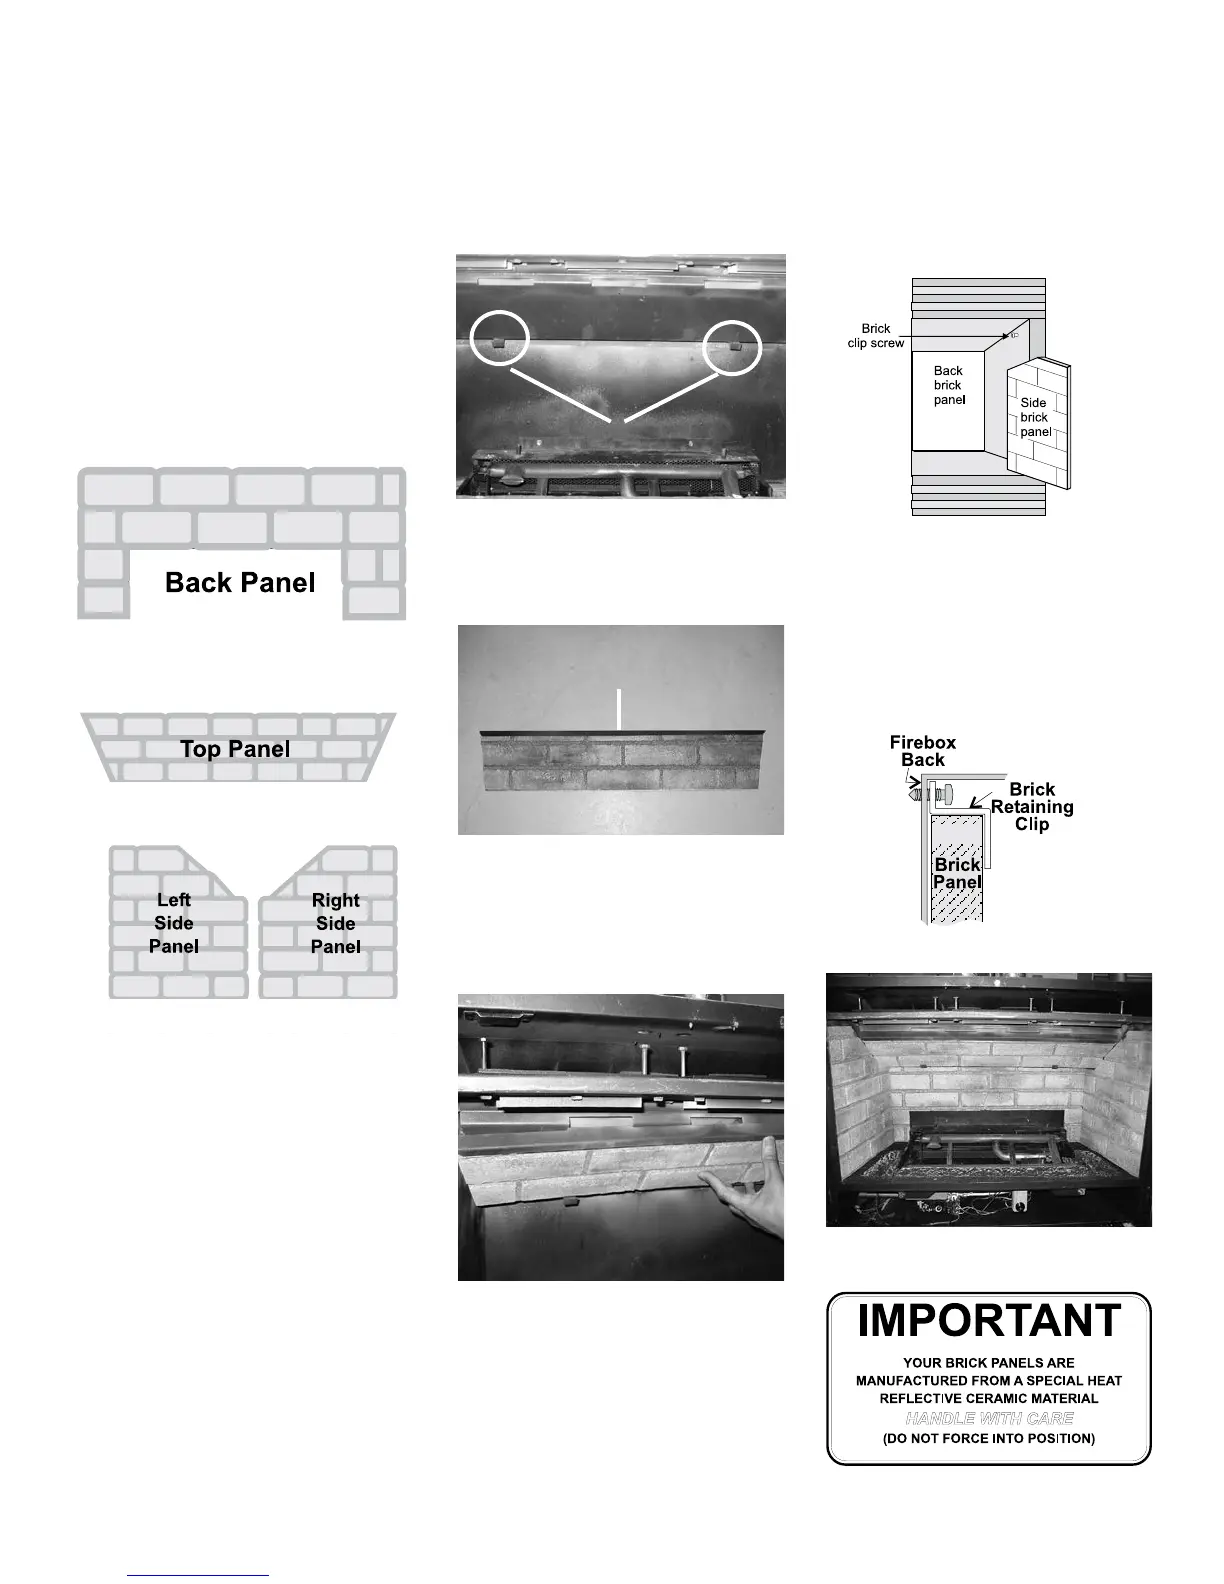
Diagram 1
BRICK PANEL INSTALLATION
1) Remove safety screen and glass door if
installed.
2) Remove the logs if they are already installed.
Note: the grate must be removed in order to
remove the bottom log. Ensure you slide the
bottom coal o to the right-hand side to avoid
chipping.
3) Unwrap the brick pattern panels from the
protective wrapping. Handle the panels with
care as they can break easily.
Bottom Clips
Top Bracket
5) Place the top bracket onto the top edge of
the top panel (refer to Diagram 2).
Diagram 2
6) Slide the top panel and bracket assembly
carefully onto the bae plate ensuring the
panel is centered. Make sure the tabs of the
top bracket t into the bae openings (refer to
Diagram 3).
7) Insert the back panel by sliding it between the
sidewalls of the rebox and the rear log support.
Diagram 3
8) Before installing the side brick panels, remove
the screws from the side brick clips (refer to
Diagram 4).
Diagram 4
9) Insert the side panel by positioning it at against
the side walls. Tilt the panel
towards the middle of the rebox, then insert
the bottom front corner. Repeat on the other
side.
10) Install the 2 brick retaining clips, one on each
side.
Completed Installation
4) Remove the two screws from the bottom of
the bae plate. Install the bottom clips onto
the bae plate (refer to Diagram 1).
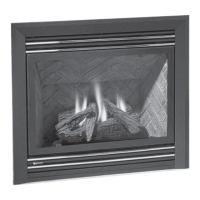
OPTIONAL
BRICK PANEL
Optional Brick Panel Set:
Part # Description Qty
Top (brick) panel 1
Back (brick) panel 1
Left (brick) panel 1
Right (brick)panel 1
340-043 Top bracket 1
340-094 Bottom clips 2
511-031 Brick clips 2