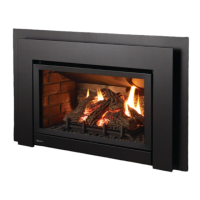
22 | E33-10 FPI Direct Vent Gas Insert
|
22
installation
CONVERSION KIT 342-969 FROM NG TO LP
for E33-10 using SIT 829 NOVA Gas Valve
THIS CONVERSION MUST BE DONE BY A QUALIFIED GAS FITTER
IF IN DOUBT DO NOT DO THIS CONVERSION !!
Each Kit contains one LP Conversion
Kit Contains:
Qty. Part # Description
1 904-529 5/32" Allen Key
1 904-641 BurnerOrice#50
1 918-590 Label "Converted to
LPG"
1 908-528 Red LPG Label
1 910-037 LPInjector
(PilotOrice)
1 910-582 Stepper Motor
1 919-453 InstructionSheet
1. Shutoffthegassupply.
2. Removesafetyscreenandglassdoor.
3. Removethelogsandgrate(referLog
InstallationsectioninE33Manual).
Ensureyouslidethebottomlog03-17off
totheright-handsidetoavoidchipping.
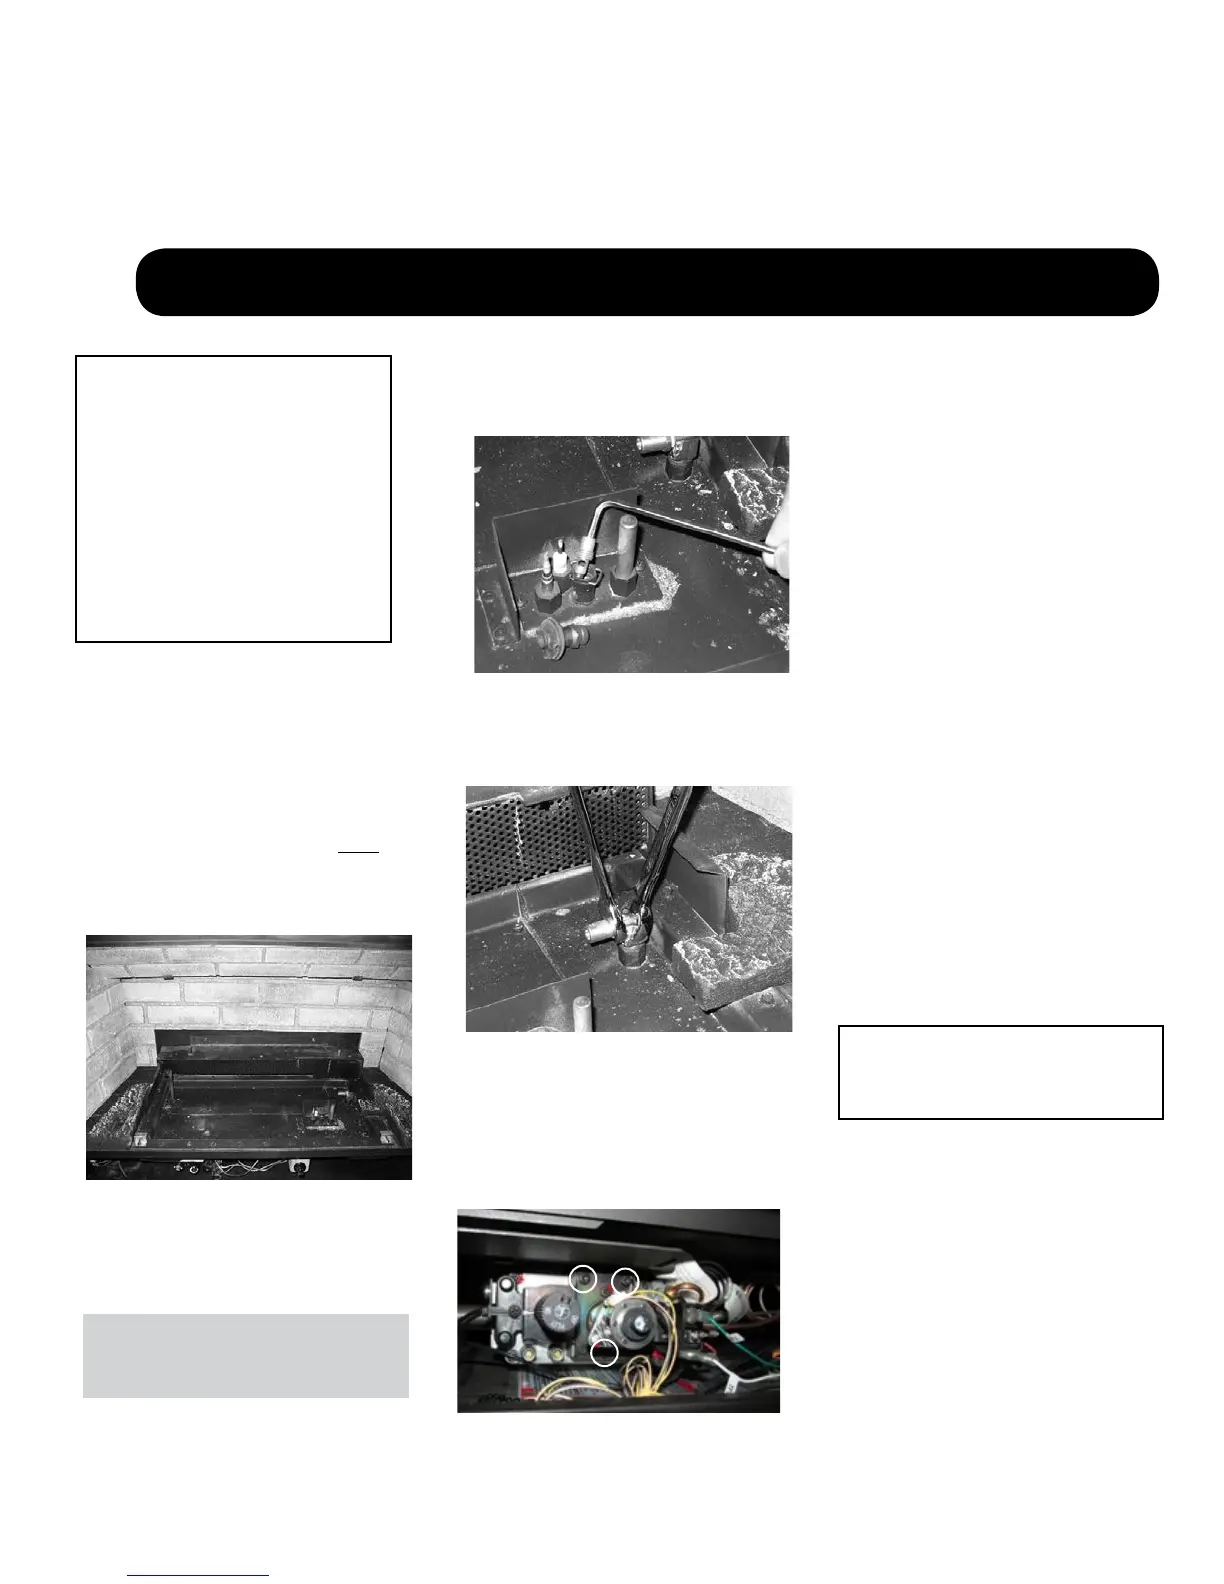
4. Removeburnerbyunscrewingthe2
screws.
5. Pulloffthepilotcaptoexposethepilot
orice.
6. Unscrewthepilotoricewiththe5/32"
allenkeyandreplacewiththeLPGpilot
oriceprovidedinthekit,thenreinstall
thepilotcap.
Burner Orice Removal
7. Removeburneroricewitha1/2"wrench,
whileusinga9/16"wrenchtoholdonto
theelbowbehindtheoriceanddiscard
orice.
8. ReinstallnewburneroriceLPstamped
#50andtighten.
9. RemoveNGsteppermotorbyremoving3
screwsinlocationsshownbelow–replace
withLPsteppermotor,secureinplace
with3screws.
E33-10
ConversionfromNGtoLP
forE33-10usingSIT829NOVAGasValve
THIS CONVERSION MUST BE DONE BY A QUALIFIED GAS FITTER
IF IN DOUBT DO NOT DO THIS CONVERSION !!
Installation of LP
Conversion Kit:
Installer Notice:
These instructions must be left
with the appliance.
WARNING!
Alsocheckthatthepilotandmainburnerinjec-
torsareappropriateforthegastype.
10.Checkforgasleakswithapropersoapy
solutionorleakdetector.
11.Checkforpropersparkbetweenthe
ignitorandpilotcap.Referto"Lighting
Procedure"sectionofthemanualforlight-
ingsequence.
12.Checkpilotames.Correctamepattern
has3strongblueames.Adjustmentcan
bemadebyturningtheslottedscrewat
thetoprightcornerofthevalve.Referto
"MaintenanceInstructions"sectionofthe
manualforcorrectamepatterns.
13.Checkinlet(11"WCmin)andoutlet(10"
WC)pressures.Referto"GasPipePres-
sureTesting"sectionofthemanual.
14.ReverseSteps5to3.
15.Attachthelabel"Thisunithasbeencon-
vertedtoLP"nearorontopoftheserial#
decal.
16.Replaceyellow"NG"labelwithred"LP"
label.
17.Checkoperationofamecontrol.
18.Checkforproperameappearanceand
glowonlogs.
Remove NG Stepper motor and
replace with LP Stepper motor