16 | Regency Ultimate
™
U1500E Gas Fireplace
installation
OPTIONAL FRAMING KIT INSTALLATION
919-807 08.21.17
OPTIONAL FRAMING KIT
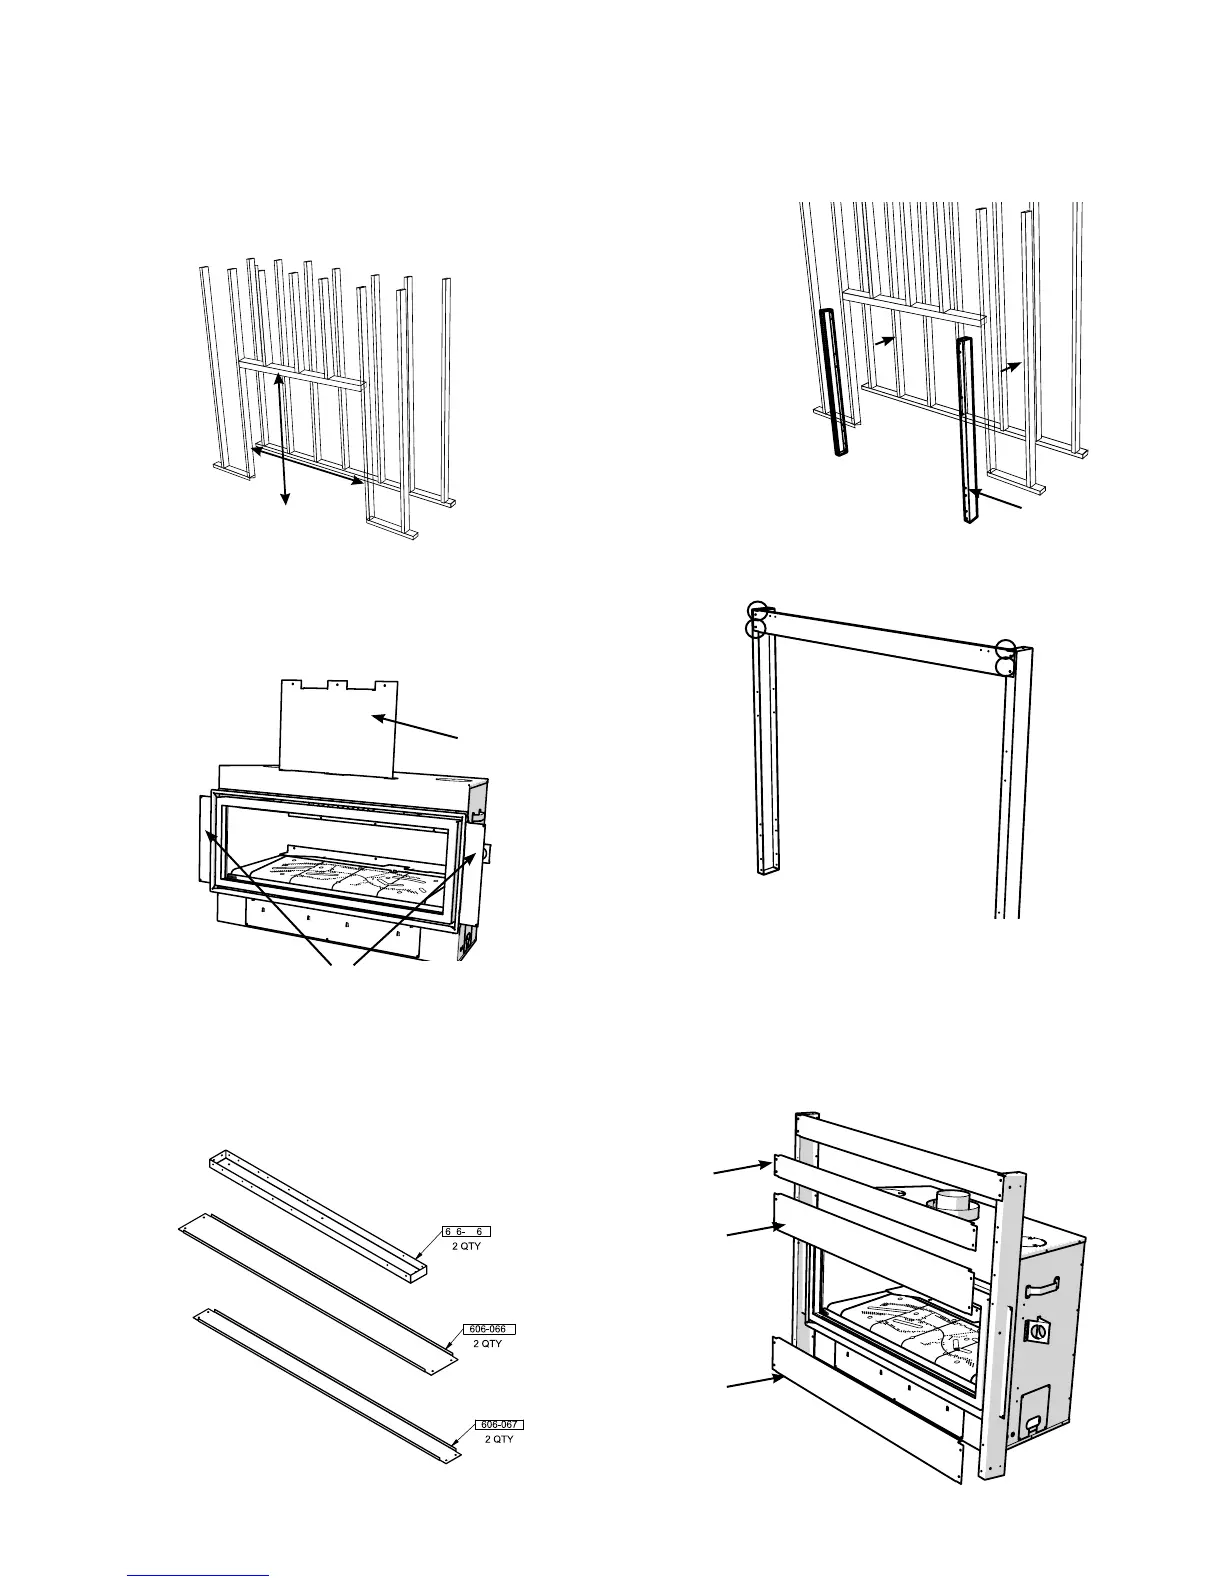
1. Construct the timber framing, ensure inside dimensions are 48-5/8" H x
55" W as shown below.
55"
48-5/8""
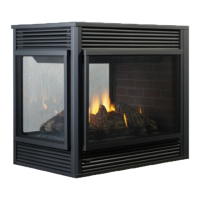
2. Bend both side nailing strips from the side of the appliance until
positioned as shown below.
Determine the overall combined thickness of the non-combustible board
+ finished material being used. The nailing strips can be adjusted up to
1-1/2" .
Remove top nailing strip (by removing 3 screws) and recycle.
Nailing Strips
Remove Top
Nailing Strip
3. Adjust the nailing strips by loosening 2 screws on each nailing strip -
adjust and retighten screws.
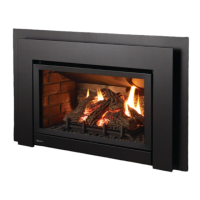
4. Attach both vertical studs (676-036)A to the vertical timber studs and
secure using 6 screws (2 at bottom, 2 at top and 2 on sides) as shown.
NOTE: Ensure the flat side of the steel stud is facing the wood framing.
(676-036)A
Flat side out
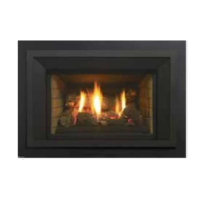
5. Secure horizontal steel header stud (606-067) with 2 screws per side as
per diagram.
6. Slide the unit into position. Hook up gas, venting, electrical and
conversion kit (if purchased) prior to installing the remaining steel studs.
7. Secure the upper horizontal steel studs as shown with 2 screws per
side.
8. Secure the 2 remaining large horizontal studs (606-066)A with 2 screws
per side as shown.
Large stud
(606-066)A
Large stud
(606-066)A
Header stud
(606-067)A
Horizontal
stud
(606-067)A
7
03
A
A
A