43
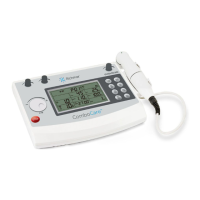
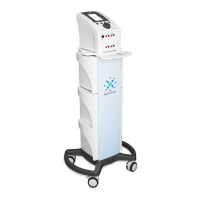
1. To turn on the device, press the ON/OFF
switch to [
] icon which is located on the
side of the device.
2. When you turn the ComboCare™ on,
the device will perform a self-check for
about 6~8 seconds, and then the default
parameters will display the last treatment
mode.
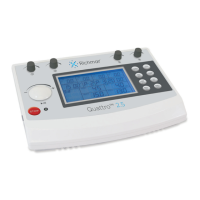
3. Press channel button to enter channel 1
and channel 2 parameter setting mode.
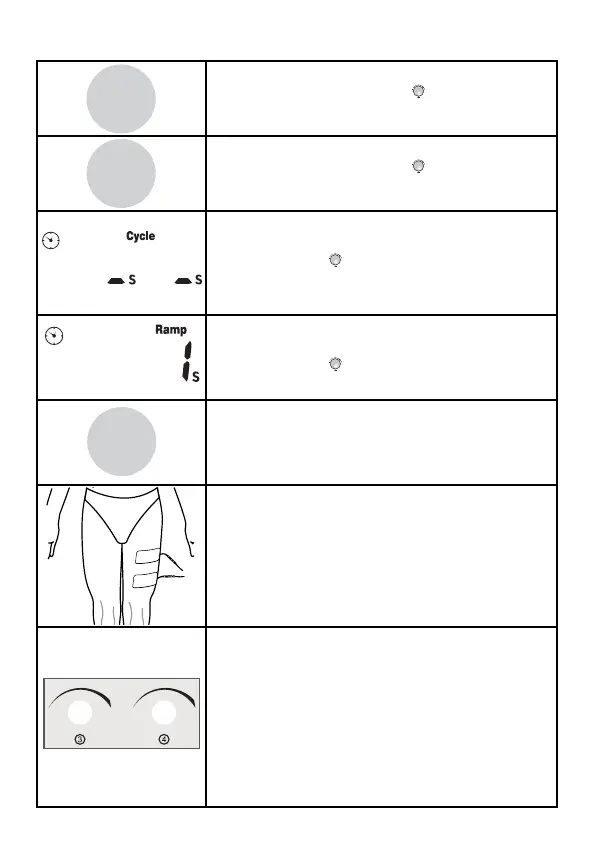
4. Press the [Waveform] button to choose
the therapeutic waveform. Then rotate the
central controller dial (
) to select “Russian
S” or “Russian A” waveform.
5. Press the [Program/Save] button to
choose between P1-P10. Then rotate the
central controller dial until the desired
program number is displayed.
6. There are two modes in the device:
Normal/Default Mode and Professional Mode
To switch from Normal to Professional, press
and hold the [Step] button until you hear a
“Beep”. The program will change from P1 to
S1 for professional mode.
In Professional Mode, each program has 2
treatment steps. Press the [Step] button
again and the display will show like the figure
to the left. The parameters of each step can
be set according to the following methods.
7. Press the [Waveform] button to choose
CC for constant current.
8. Press the [Duty] button, and then rotate
the central controller dial (
) to set the
parameter from 10% to 50%, 10%/step.
9. Press the [Freq.] button and then rotate
the central controller dial (
) to set the
frequency from 20Hz to100Hz, 5Hz/step.
10. Press the [Time] button, and then rotate
the central controller dial (
) to set the
treatment time from 1min to 60min, 1min/step.
11. Press the [Time] button again to choose
Cycle time, and then rotate the central
controller dial (
) to select the cycle time
(contr/ relax) from “-/-(continuous)”, “5/5”,
“4/12”, “10/10”, “10/20”, “10/30” and “10/50”.
12. Press the [Time] button again to choose
Ramp time, and then rotate the central
controller dial (
) to select the ramp time
from 1s, 2s and 5s.
13. Press and hold the [Save] button until you
hear a “beep” sound if you want to save all
settings. Note: The settings will not be saved
if you have not followed the step above.
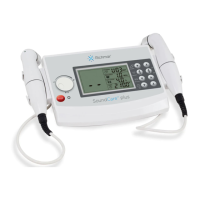
14. Place the electrodes on the patient.
You will need to use at least one channel,
with two electrodes. You can also use two
channels with four electrodes as shown int
he figure to the left. Place electrodes at least
2” but no more than 6” apart, per channel.
15. Adjust the output intensity and start
treatment by rotating the output intensity
adjustable knobs on the control panel.
(0.5mA/step or 0.5V/step). The “STIM”
symbol in the LCD indicates there is intensity
output. Some waveforms have a pause in the
middle of treatment and then it will start up
again. DO NOT increase intensity if “STIM” is
not blinking at the top.
Beat L.
P. Dur.
Freq.
Time
Cycle
Ramp
Program
Save