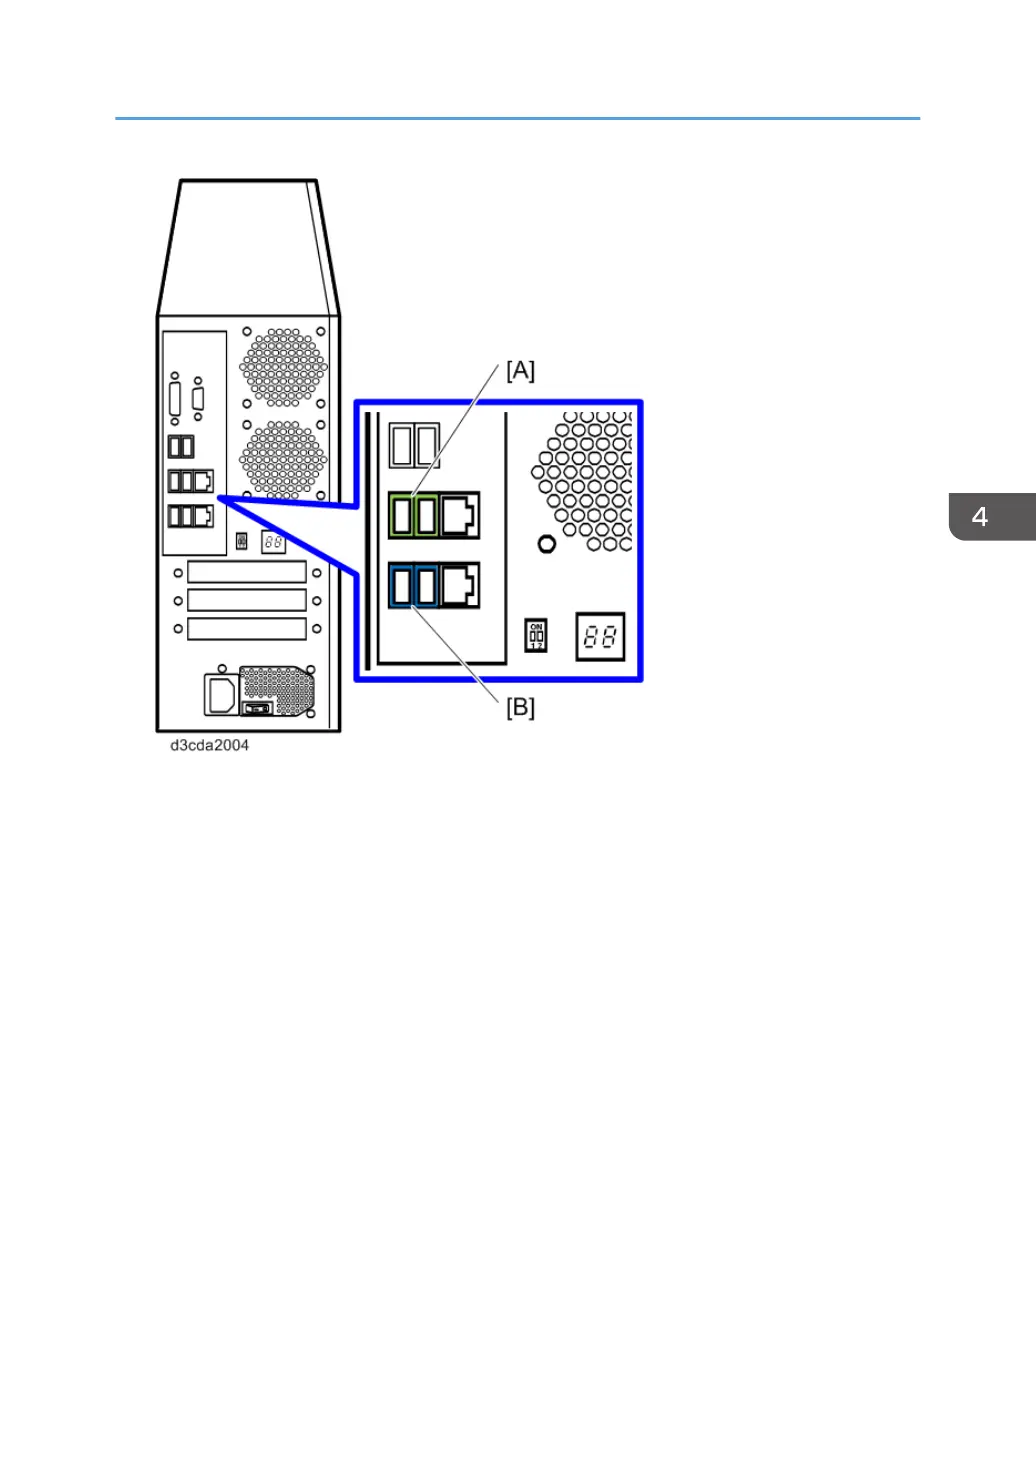
[A] USB 2.0 ports
[B] USB 3.0 ports
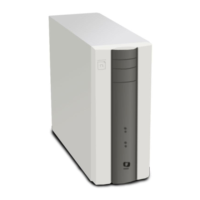
10. Turn the main power switch of the E-24B to ON, then press and release the soft power
push button on the front of the E-24B and wait until installation is complete. (The E-24B
shuts down automatically after installation is complete.)
The diagnostic LEDs increment quickly to initialize, then the diagnostic LEDs display C1, C2, C3
continuously, showing that installation (file transfer phase) is under progress.
Installation (file transfer phase) takes approximately 10 minutes. The LED on the USB flash drive
should show that files are being transferred.
11. Turn the main power switch of the E-24B to OFF and remove the USB flash drive from the
E-24B.
12. Reconnect all cables that you removed earlier from the E-24B rear panel.
System Software Installation Procedure
115


 To Next Page