11. Enter the login user name of the destination computer, and then press [OK].
12. Press [Change] under "Login Password".
13. Enter the password of the destination computer, and then press [OK].
14. Enter the password again to confirm, and then press [OK].
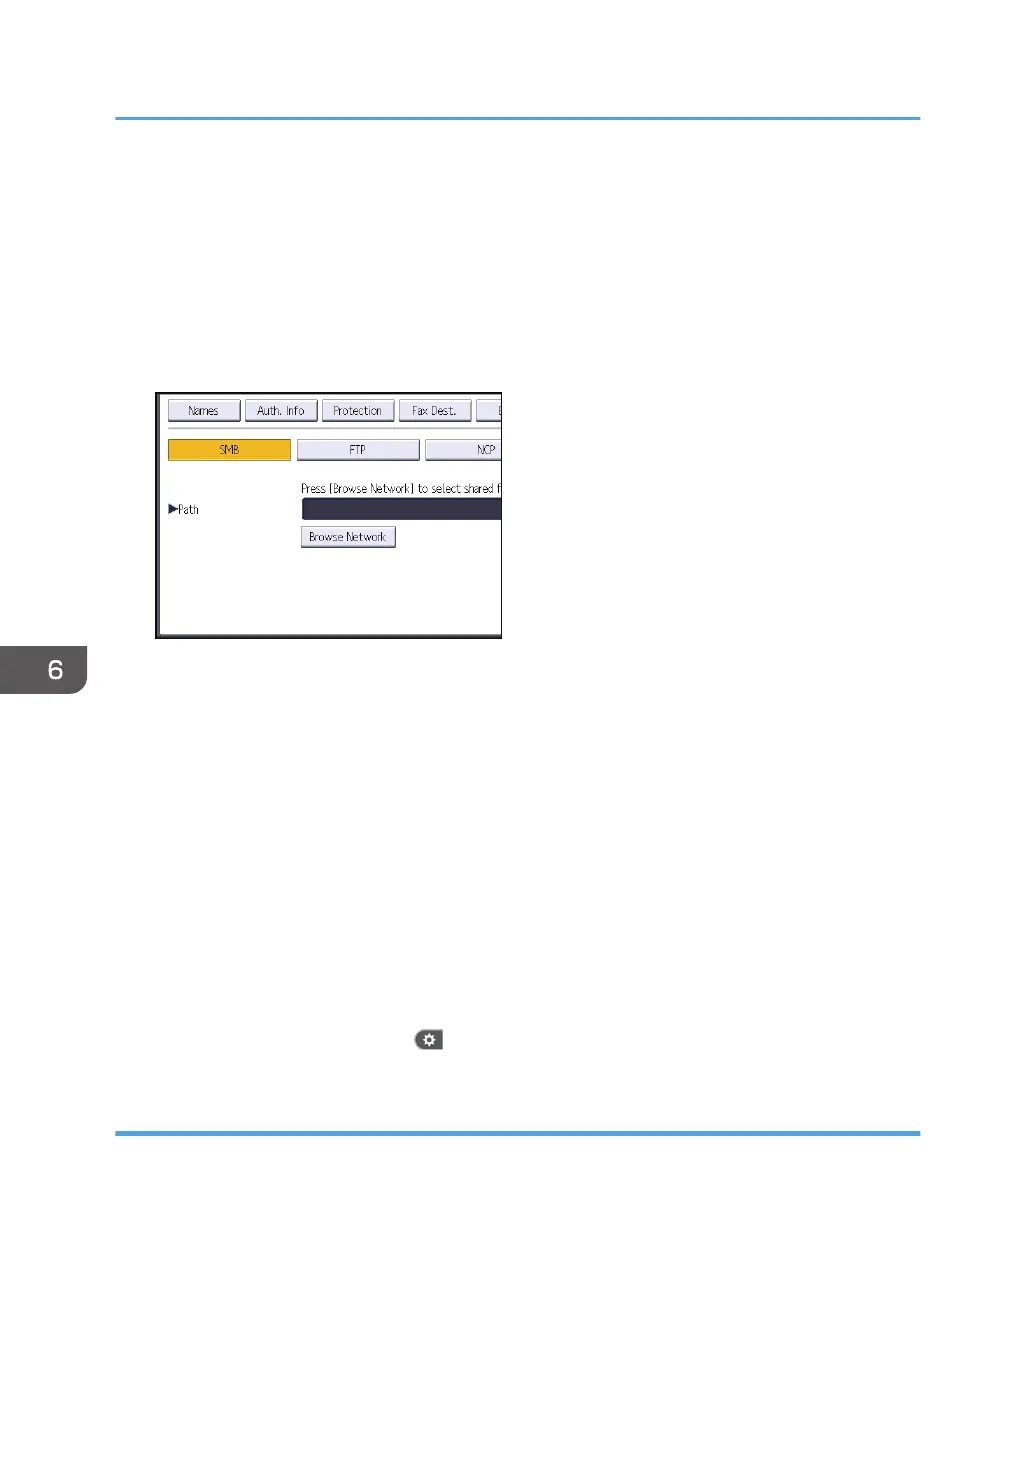
15. Press [Folder].
16. Check that [SMB] is selected.
17. Press [Change] or [Browse Network], and then specify the folder.
To specify a folder, you can either enter the path manually or locate the folder by browsing the
network.
18. Press [Connection Test] to check the path is set correctly.
19. Press [Exit].
If the connection test fails, check the settings, and then try again.
20. Press [OK].
21. Close the Address Book screen.
• When using the standard operation panel
Press the [User Tools/Counter] key.
• When using the Smart Operation Panel
Press [User Tools/Counter] ( ) on the top right of the screen.
Locating the SMB folder manually
1. Press [Change] under "Path".
2. Enter the path where the folder is located.
For example: if the name of the destination computer is "User", and the folder name is "Share", the
path will be \\User\Share.
6. Scan
110
 Loading...