Ricoma Quick Start Guide12
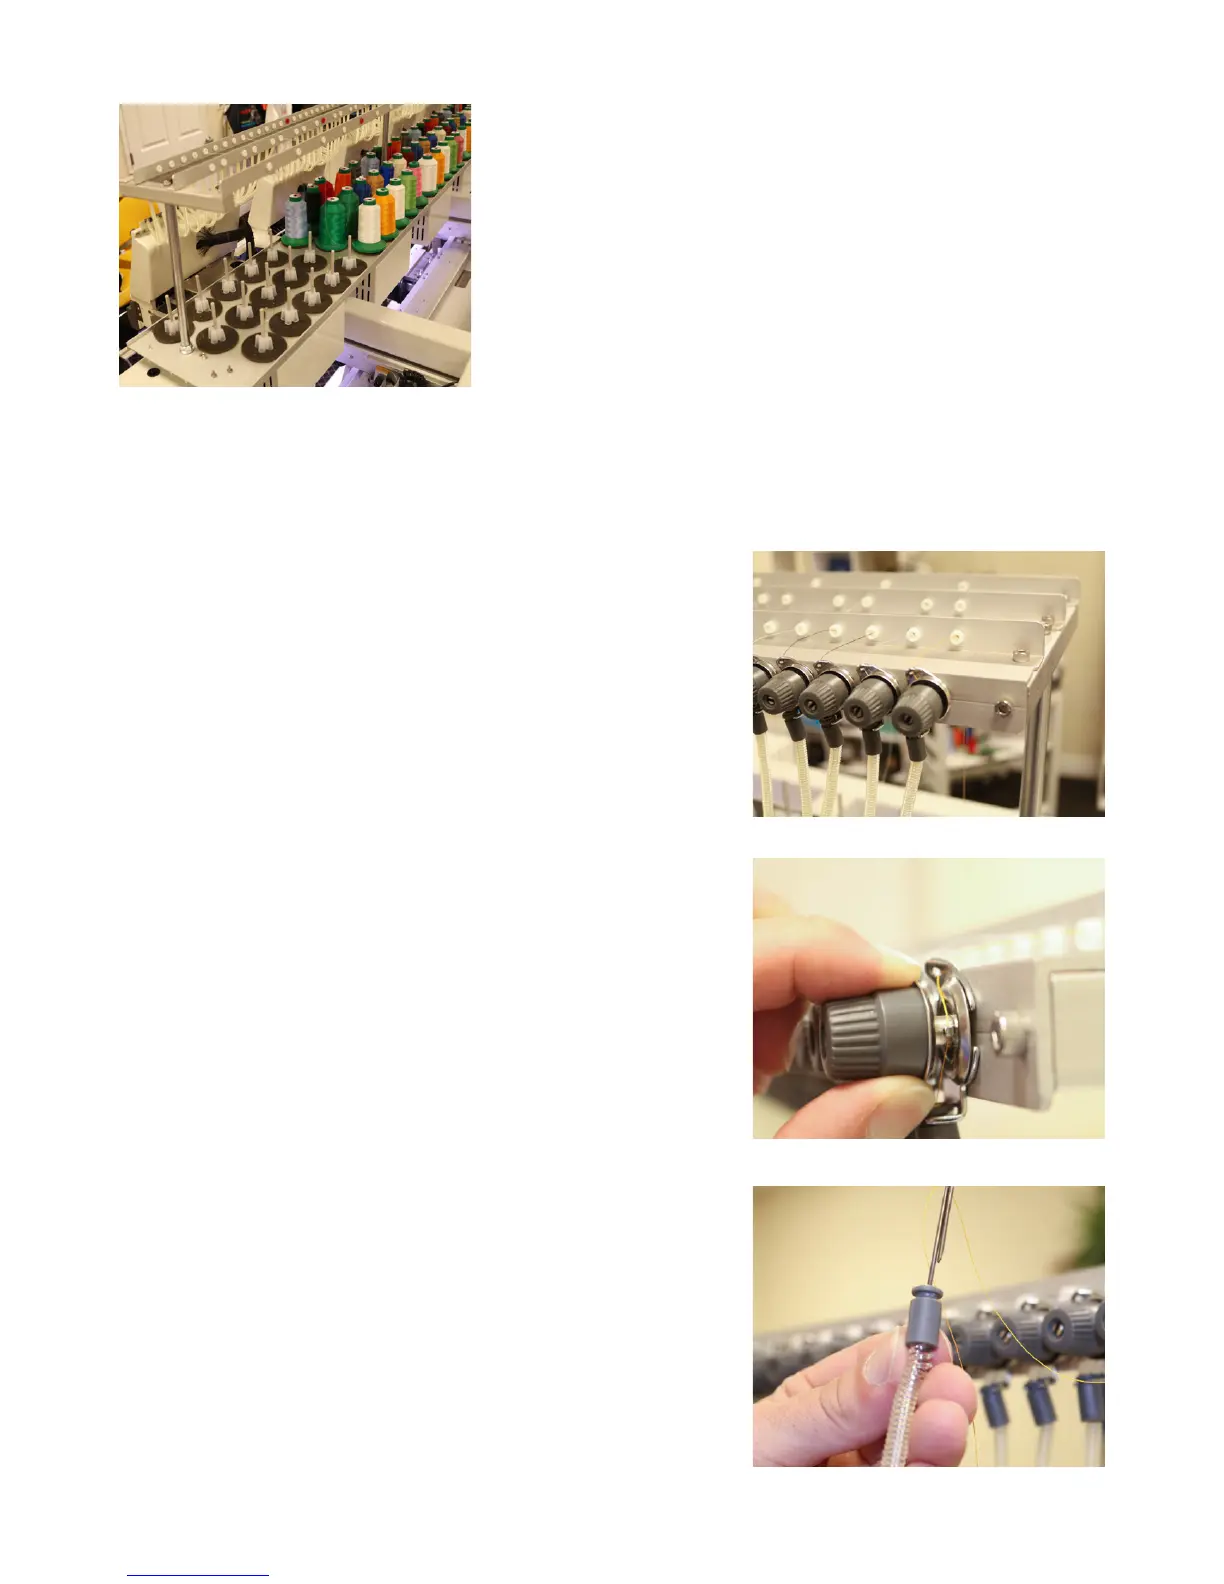
1. Thread each spool through the eyelets on the upper thread
rack until they reach the top tension knobs. S e e F i g u r e 1 9 .
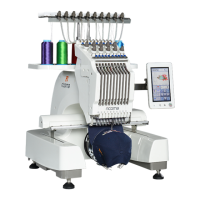
2. Next, pass the thread through the small eyelet located
behind the rst tension knob. Position the thread to the
right side of the top tension knob in between the tension
disks, making sure the thread is inside the tab at the 3
o’clock position. To ensure you’ve completed this step
correctly, make sure the metal plates on the tension knob
are touching after you’ve positioned the thread. See Figure
20.
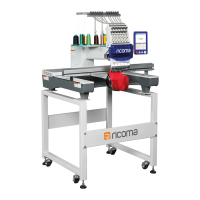
3. Unhook the thread tube from each side. Next, using the
included threading tool from your toolkit, hook the thread
to the end of the tool and feed the thread through the
plastic tube. Once the thread has been fed through the
tube, unhook the thread. See Figure 21.
4. Reattach the thread tube to each end.
To thread your machine from the very beginning, follow these
simple steps. You will use the eyelets on the thread rack to guide
the thread in a straight path toward the rst tension knob. Make
sure the thread passes through each eyelet. You will need to
thread the rst three cones in order from back to front. Then,
repeat this order with the next three cones and so forth. See
Figure 19.
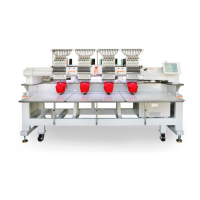
Before threading, you should be familiar with the thread path.
The back row of thread will be threaded through the back metal
rack. The middle row of threads will be threaded through the
middle metal rack. And the front row of threads will be threaded
through the front metal rack. See Figure 18.
TIP:
Figure 18
Figure 20
Figure 21
Figure 19
Threading the machine from start to finish