Ricoma Quick Start Guide
37
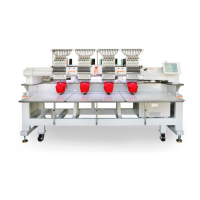
ADJUSTING THE DENSITY OF THE DESIGN
On the bottom left corner, you will nd the density selection, which allows
you to increase or decrease the density of your design. If you would like to
increase the density, tap the area where the number appears and input the
desired density value. After inputting the value, press “Enter,” and then “OK.”
See Figure 84.
Figure 84
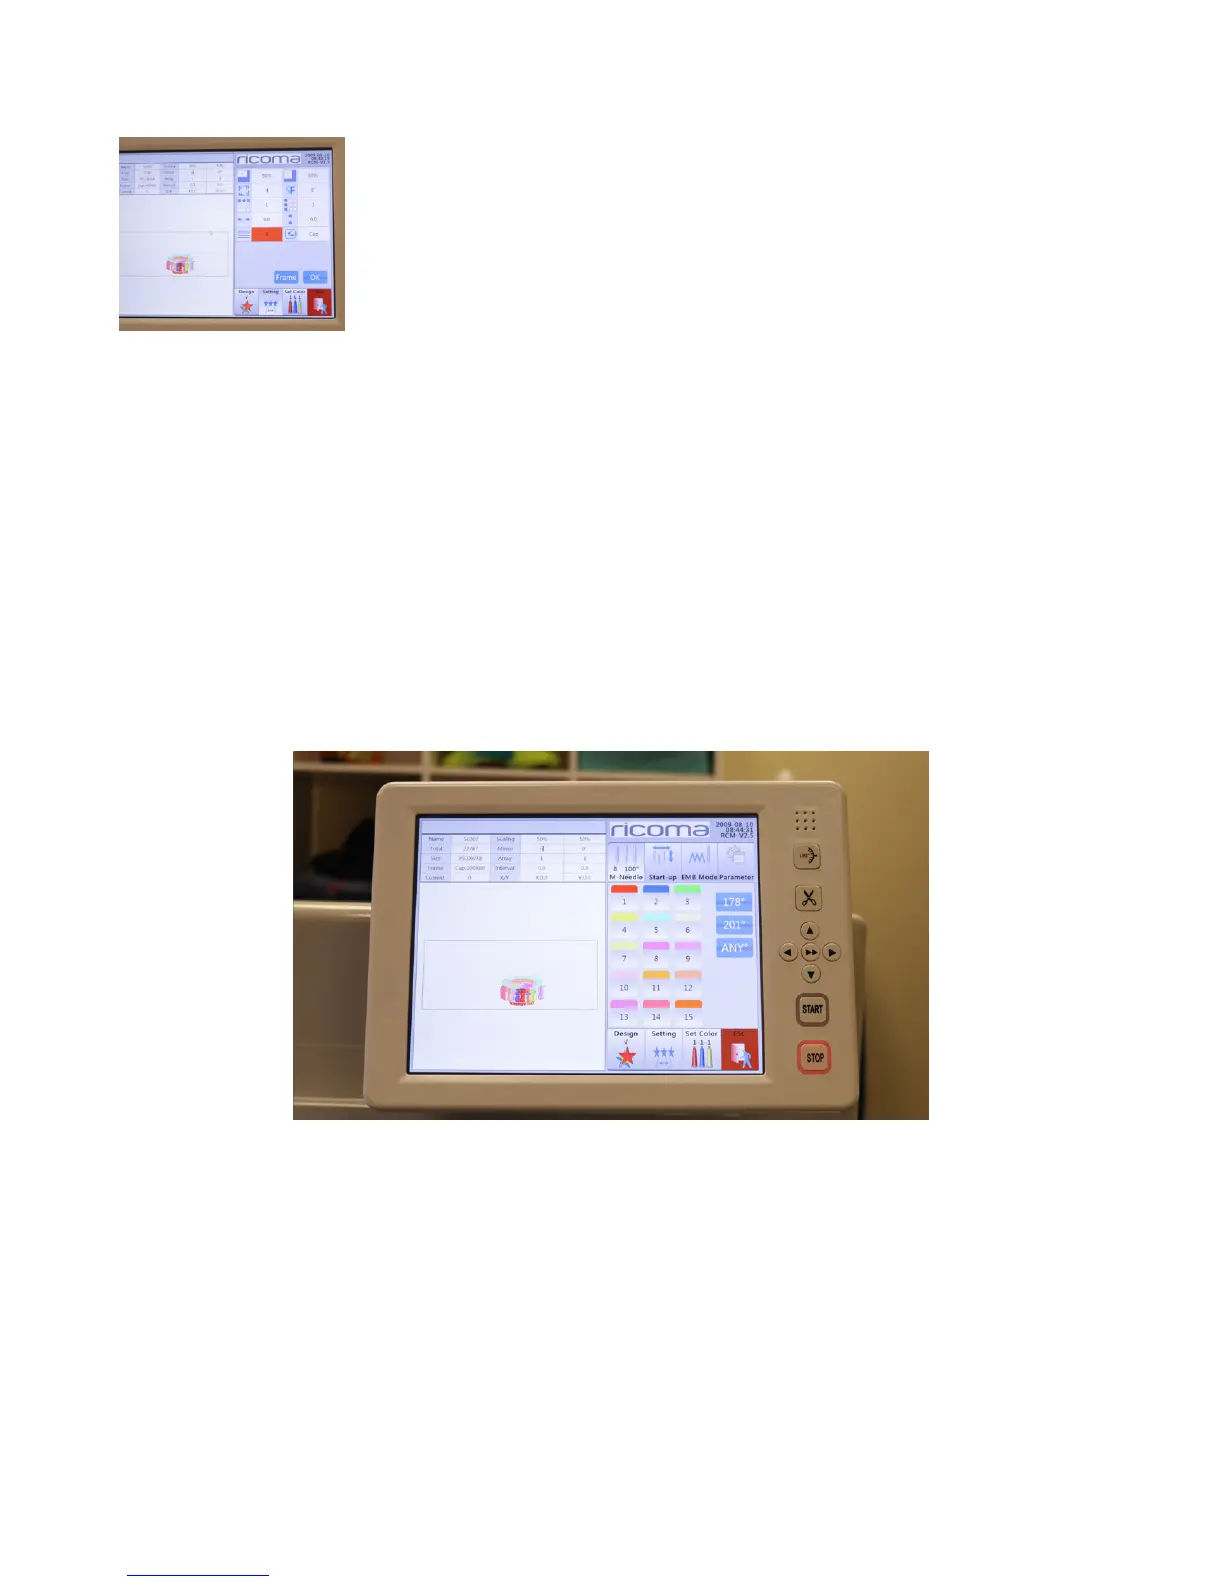
Color sequence settings
You can select the colors you are going to use for your embroidery project under the color sequence
settings menu. In this menu, you can also offset your frame during a color stop for applique embroidery
and slow down the speed of the machine during color certain color stops.
HOW TO SELECT A COLOR SEQUENCE
The menu will display the number of the needles you have selected for the embroidery job on the left
side. On the right side of the screen, you select the numbers of the needles you wish to use. See Figure
85.
The number in the left box highlighted in light blue represents the color stop for the needle. The number
in the white box represents the needle you have selected for that color stop.
The “repeat” function is used if you want to use the same color throughout the entire design. Instead of
inputting the same color in each color stop box, you can just input the rst needle and select “repeat.”
The machine will then repeat the same color for all color stops.
Figure 85