Ricoma Quick Start Guide8
The machine head indicator lights
are located on the top right of each
machine head. See Figure 7.
During working status, the machine
head indicator lights are green. If
you encounter a thread break while
embroidering, the indicator light will
ash red.
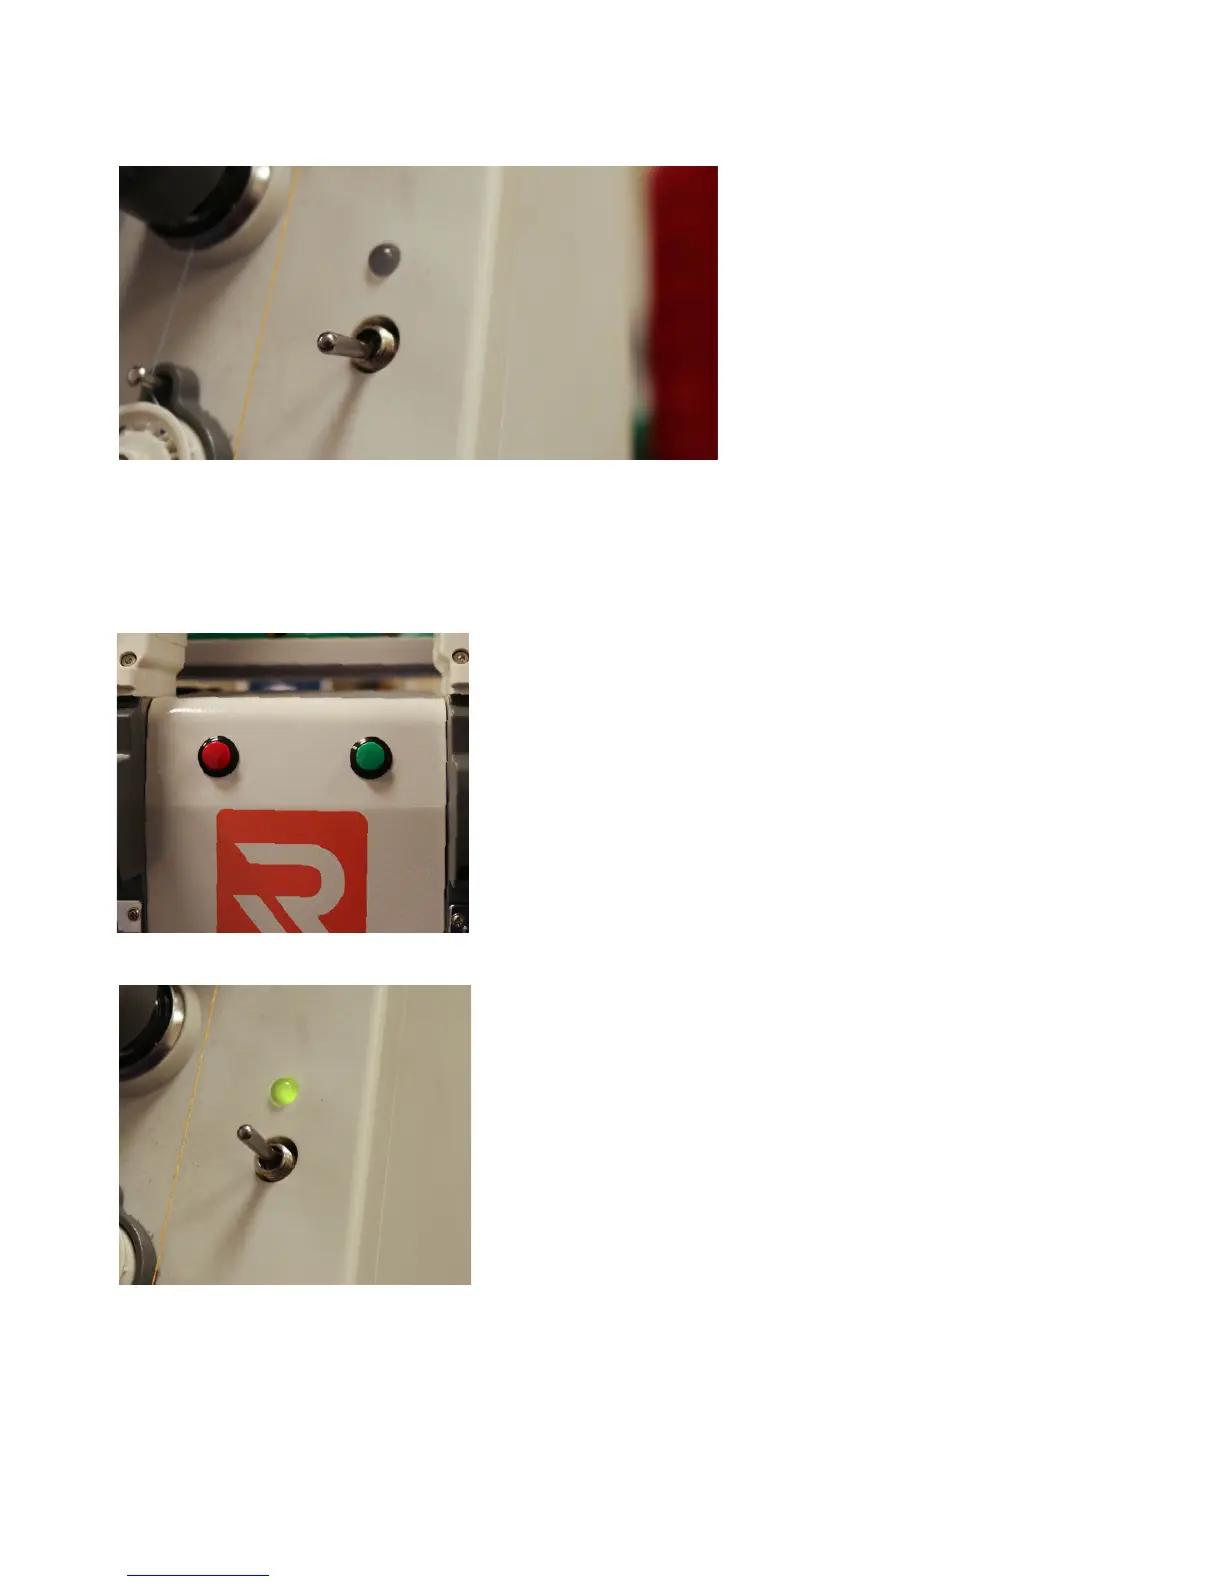
On the metal cover in between the machine’s heads, you’ll nd
start and stop buttons to make multi-head operation more
ecient. The red button is the stop button. The green button is
the start button. These buttons serve the same function as the
start and stop buttons on your panel that allow you to rewind
and forward through your design. See Figure 8.
To rewind slowly through your design, rst press the red button
to stop the machine. Then, hold the red button until you have
reached the area where you want to begin stitching again. Last,
tap the red button again to stop the machine from rewinding.
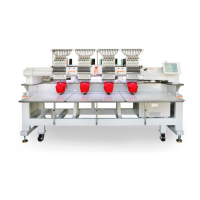
Next, locate the switch on the machine’s head. This will be
located underneath the machine head indicator light. Next, ip
the switch underneath the indicator light upward. See Figure 9.
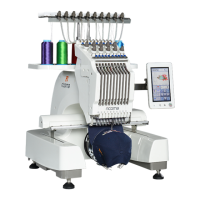
This action will trigger a red blinking light, and tell the machine
it’s in repair mode. See Figure 10.
You can now press the green button and the design will start
again and stitch over the missed part.
Figure 7
Figure 8
Figure 9
NOTE:
Machine head indicator lights
Start/stop button in between metal covers