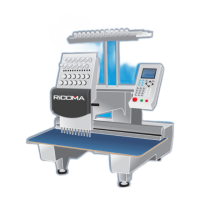
Ricoma Quick Start Guide20
How to attach the flat frame bracket
How to remove the flat frame bracket
How to insert the hoop into the machine
In order to run ats on your machine, you will rst need to connect the at frame bracket onto the
pantograph rail. This bracket will support your hoops when embroidering on at garments such as
polo shirts.
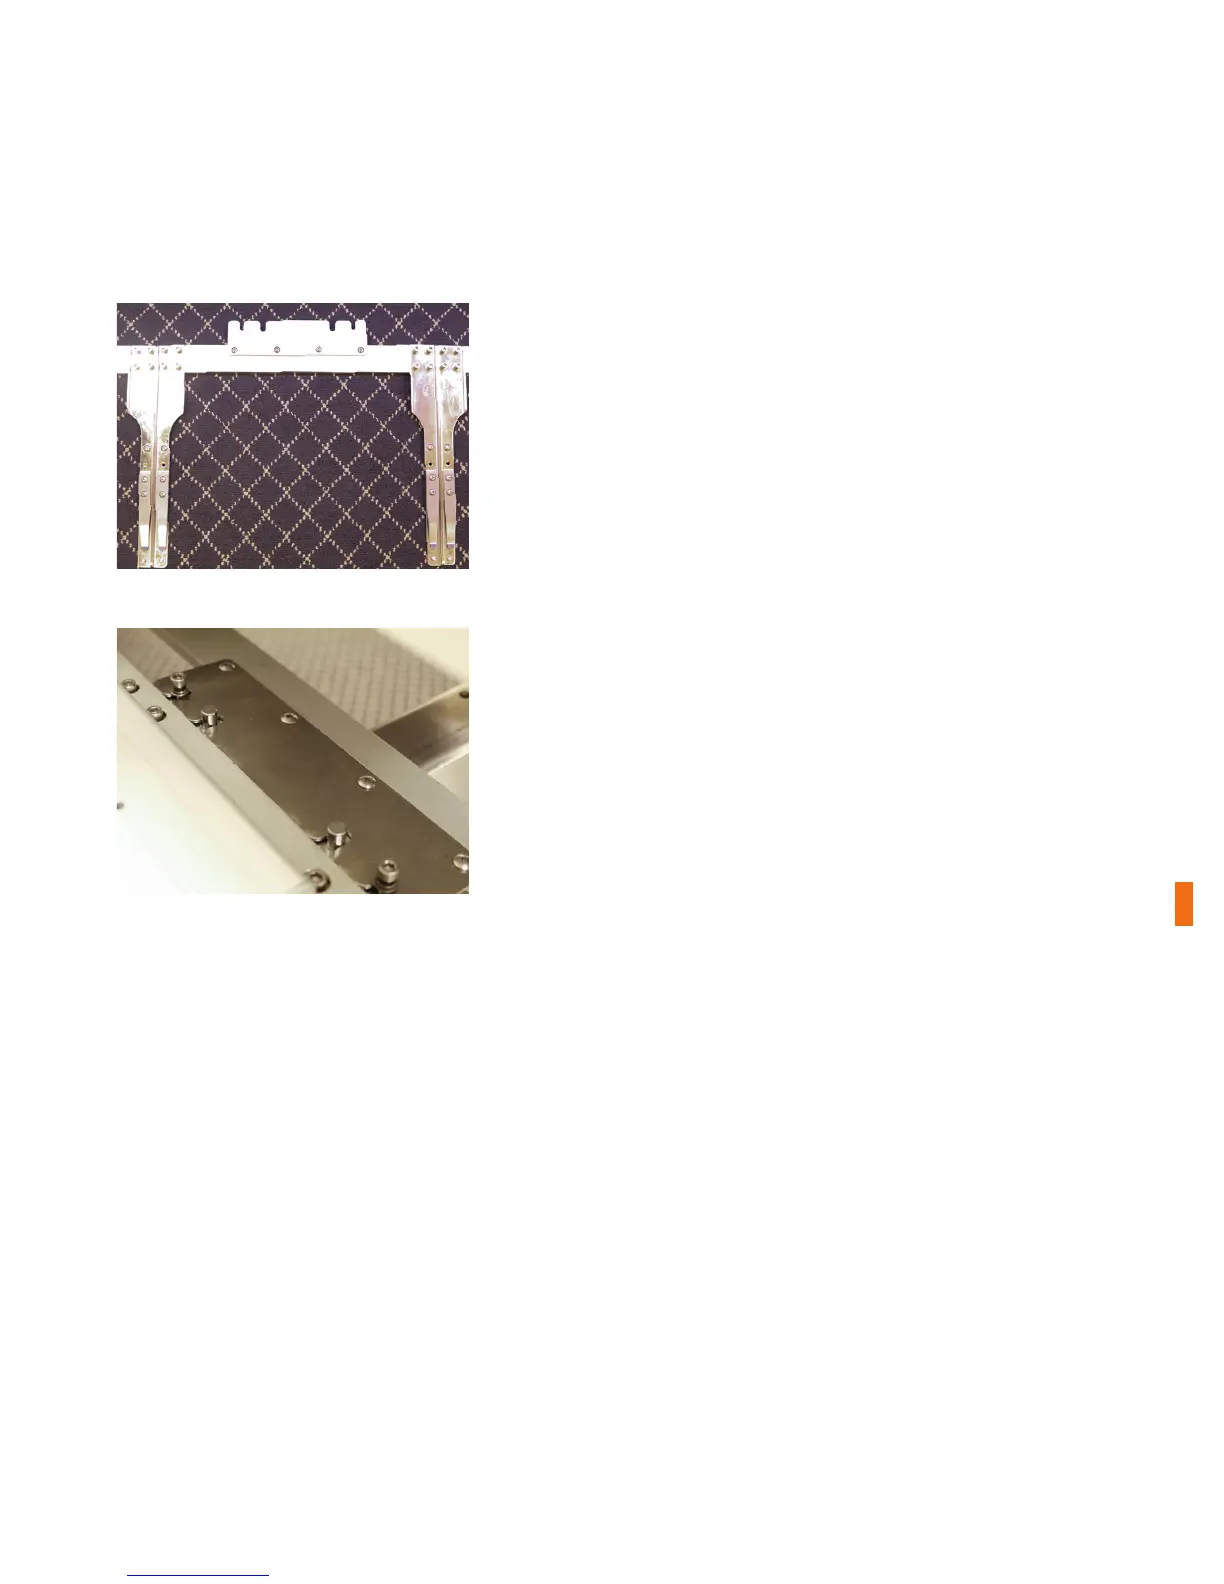
1. Locate the at frame bracket that comes with your machine.
When attaching the bracket to the pantograph rail, make the
curved side of each bracket arm is facing the inside and the at
side is facing the outside. See Figure 39.
2. Slide the bracket onto the pantograph rail, lining up the
slots on the ends of the bracket with the hex screws and the
slots on the inside of the bracket with the support pins. See
Figure 40.
3. Secure the bracket to the pantograph rail of the machine
using the 4 mm Allen wrench.
Note:
Figure 39
Figure 40
You will need to remove the at frame bracket when using the extended table or when embroidering
on caps. To remove the at bracket, loosen the arms by rotating the screws counterclockwise with
the 4 mm Allen wrench. Then, pull the arms straight out toward the front of the machine.
Note:
The metal arms of the hoops are designed to slip under the clips on the hoop brackets. To correctly
insert the hoop onto the brackets, make sure the open-ended slot (the U-shaped notch) is facing the
machine. You should see the U shape on the top edge of the hoop, and it should always be on the
right side. See Figure 41.