Ricoma Quick Start Guide
9
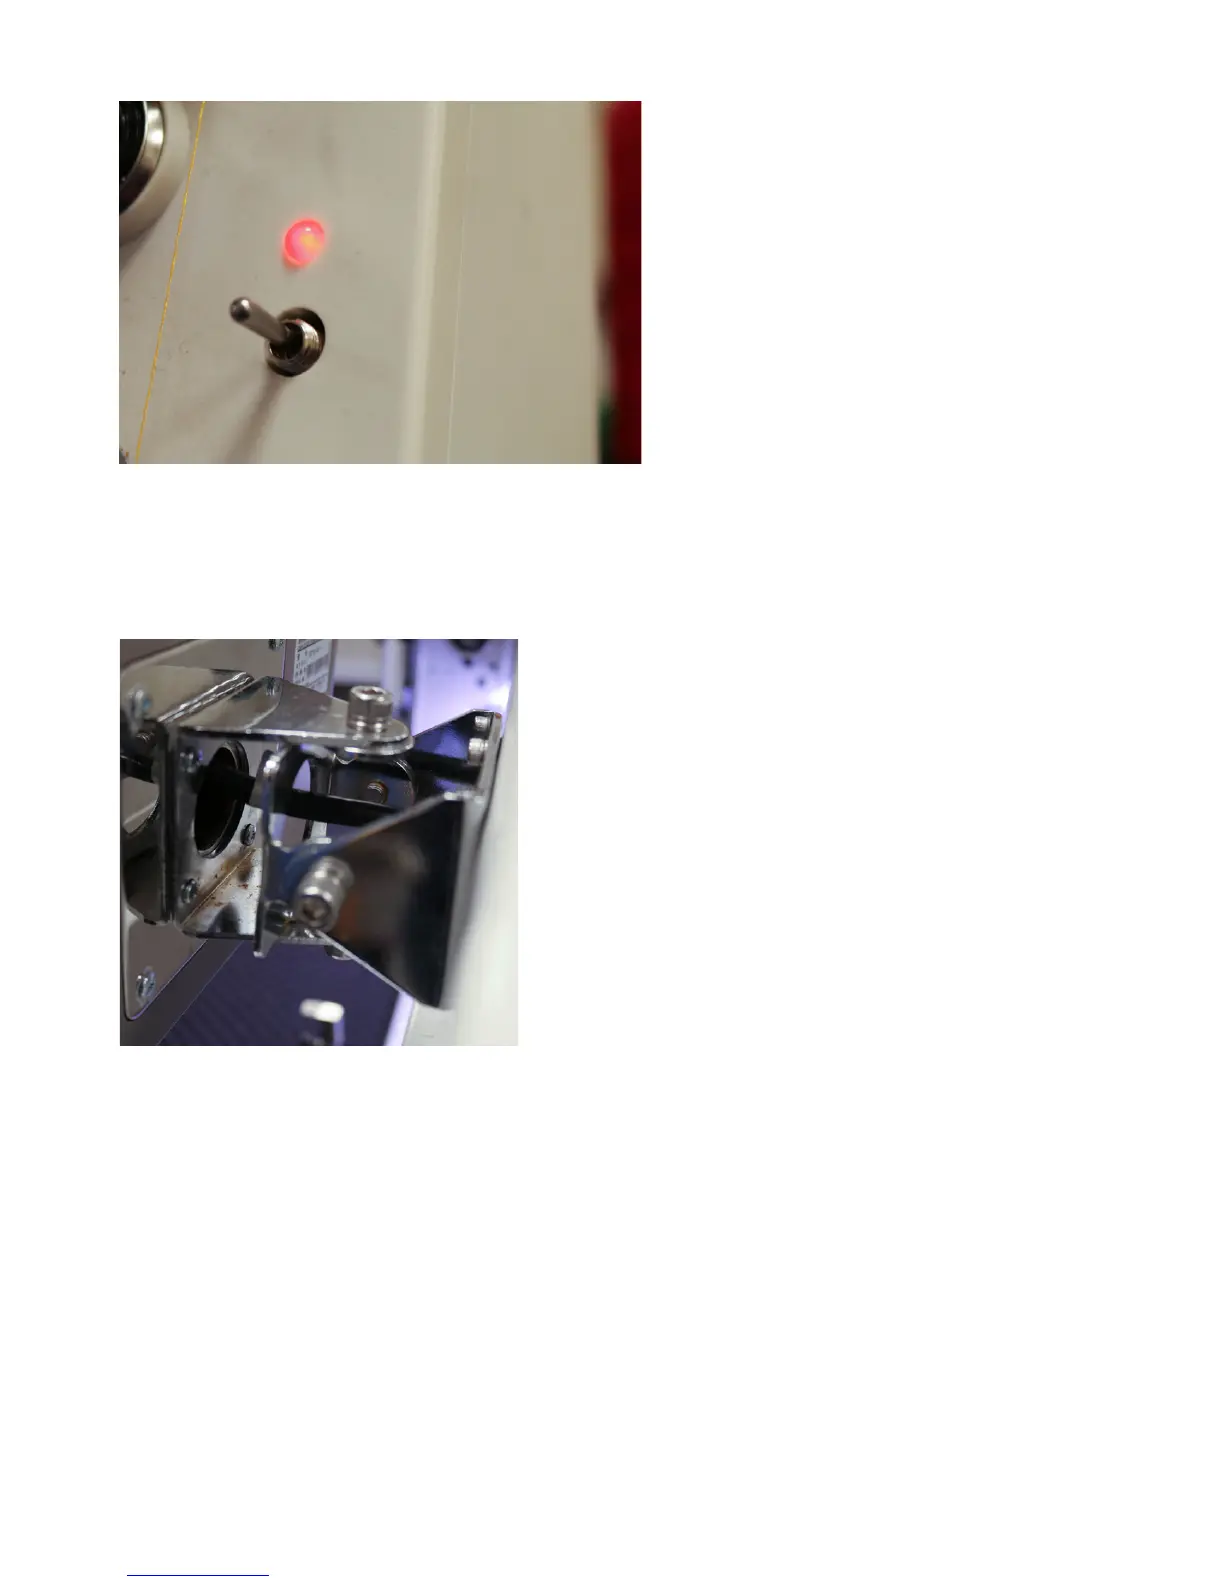
First, be sure to carefully remove the plastic wrap that
protects the panel. After removing it, you will nd four Allen
screws, which will allow you to adjust the placement of the
panel. See Figure 11.
Your touch-screen panel can be adjusted in two ways: up
and down or from side to side. To adjust the panel, use
the 5 mm Allen key included in your toolbox. To move the
panel from side to side, loosen the two Allen screws on the
top and bottom. Then, adjust the panel assembly until it’s
facing the desired position.
Next, tighten the screws using the 5 mm Allen key. To
move the panel up or down, loosen the two Allen screws
on the right and left. Next, adjust the panel assembly until
it’s facing the desired position. Last, tighten the screws using the 5 mm Allen key.
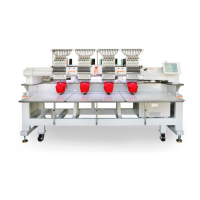
To fast forward slowly through your design,
press the green button only after you have
pressed the red button. Then, press the
red button to stop the machine from fast
forwarding. Press the green button again to
begin stitching from the desired point.
Note:
Figure 10
Figure 11
Adjusting the position of the panel