Ricoma Quick Start Guide
21
How to remove the hoop from the machine
How to install the extended table
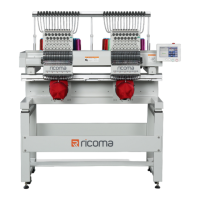
Figure 41
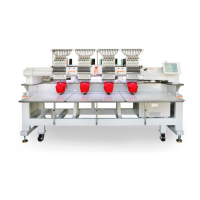
Figure 42
When inserted correctly and completely, the edge of the hoop slips under the recessed notch at the
end of the clip. The notches in the hoop will be held securely under the prongs near the end of the
clips. See Figure 42.
Note:
To remove the hoop, lift the hoop arms to release the pressure on the notches. The hoop brackets will
hold the hoops very tightly at rst, but it will gradually become easier to lift the hoop from the bracket
as you pull the hoop out.
EMBROIDERING WITH THE
EXTENDED TABLE
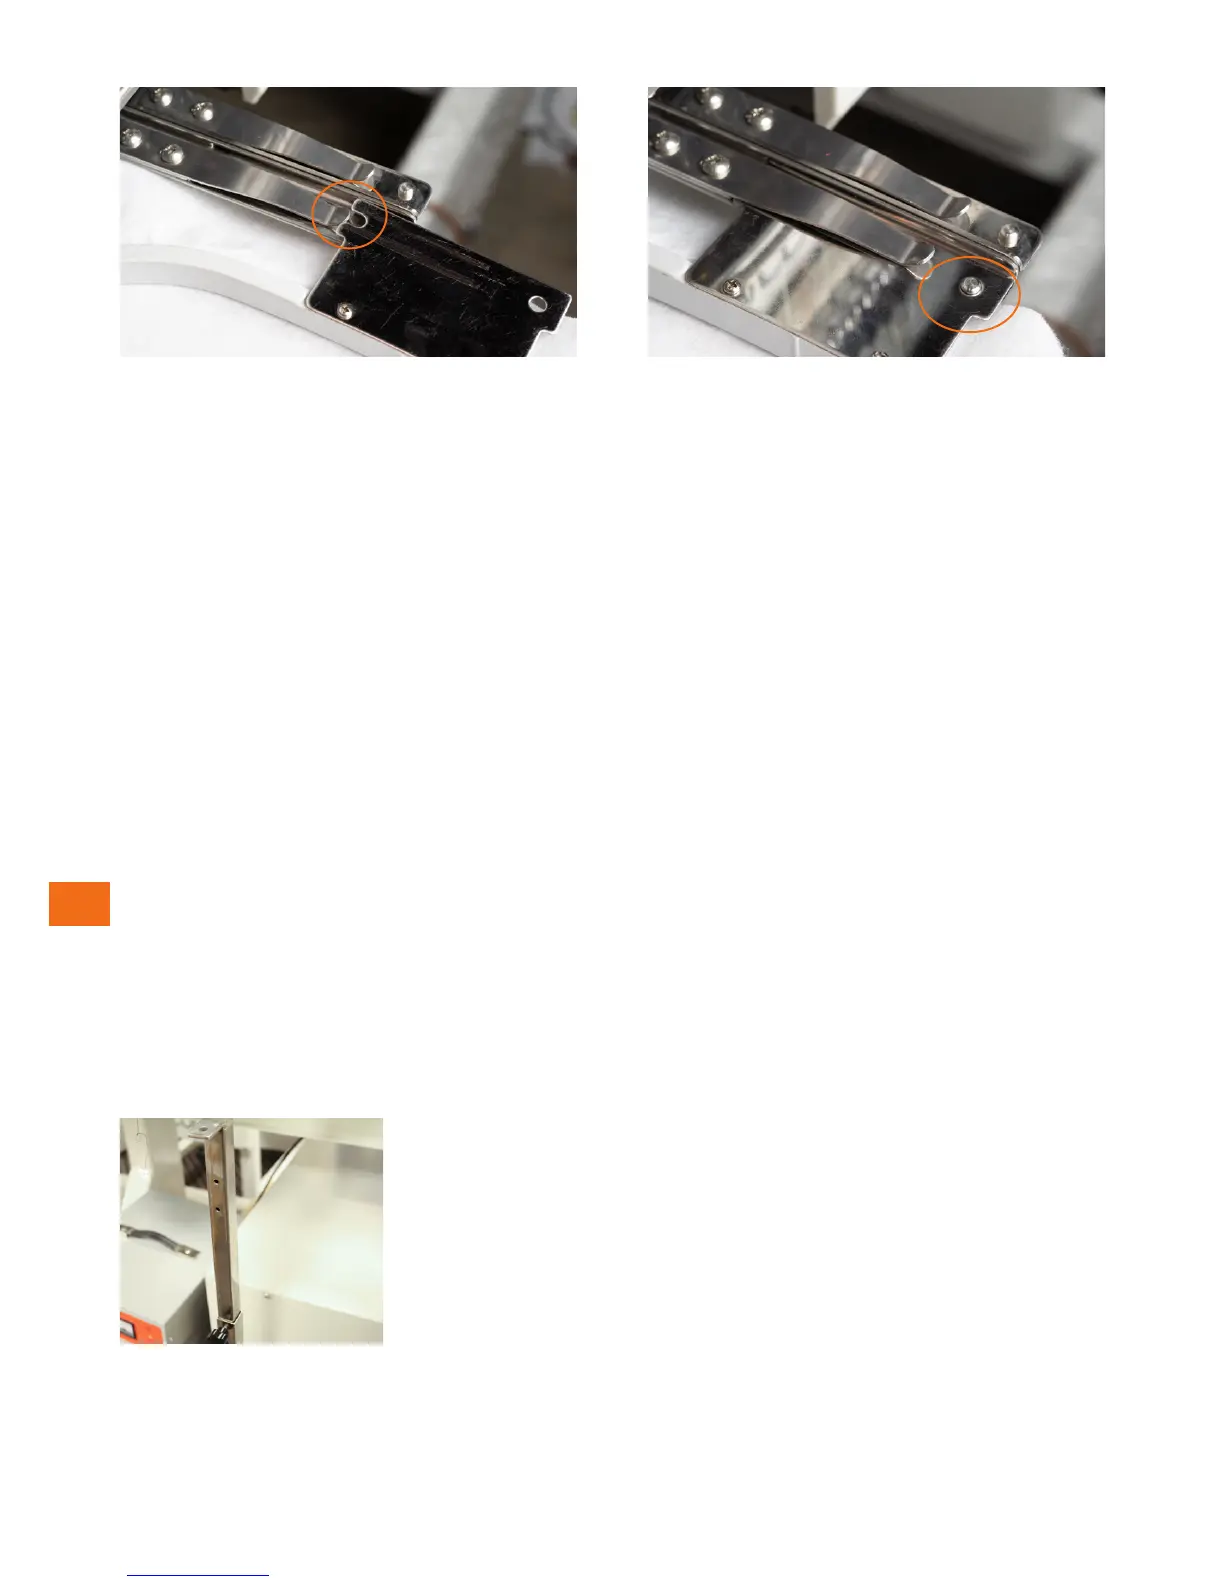
Figure 43
Your embroidery machine includes an extended table that can be used
as a workspace or to support your sash frame during embroidery.
Before installing the extended table, make sure your table support
pegs are secured into place because your table will rest on the pegs.
1. Begin by lifting the table support pegs. To do so, you will need to
loosen the hex screw on the bottom of the rod by rotating your 5
mm Allen wrench counterclockwise. See Figure 43.
2. After lifting the pegs, remove the black knobs to position the
pegs to your liking.
 Loading...