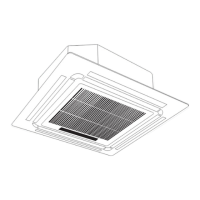
Rinnai 15 Multi Split Type AC
INDOOR INSTALLATION
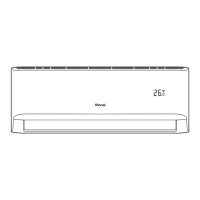
Rinnai 11 Multi Split Type Air Conditioner
INSTALLATION INSTRUCTIONS
Indoor Unit Installation (Wall Mounted Type)
Mounting Plate Dimensions
Different models have different mounting plates.
In order to ensure that you have ample room to
mount the indoor unit, the table to the right
shows mounting plate dimensions:
1. Fit the Installation Plate
1. Fit the installation plate horizontally on
a structural part of the wall with required
space around the installation plate.
2. If the wall is made of brick, concrete
or the like, drill 5mm diameter holes
in the wall. Insert anchor plugs for
the appropriate mounting screws.
Fit the installation plate on the wall
with five or eight type A screws.
3.
2. Drill pipework hole in the wall
1. Determine hole positions according to the
diagram detailed in Drill one (1) hole
slanting slightly to outdoor side.
Always use wall hole conduit when
drilling metal grid, metal plate or the like.
2.
Correct orientation of Mounting Plate
3. Condensate drain and refrigerant
pipe installation Drainage
MUST BE LEVEL !
Ensure that Mounting Plate is installed level.
NOTE: When the gas side connective pipe is
Ø16mm or more, the wall hole should be 90mm.
• Width of mounting plate
• Height of mounting plate
• Width of indoor unit relative to plate
• Height of indoor unit relative to plate
• Recommended position of wall hole (both
to the left and right of mounting plate)
• Relative distances between screw holes
1. Run the condensate drain hose sloping
downward.
2. When connecting an extension drain hose,
insulate the connecting part of extension
drain hose with a shield pipe, do not
let the drain hose droop or kink.
HINRP20M
HINRP26M & HINRP35M
348.4mm
179mm
403mm
101mm
136mm
230mm
231mm
190mm
121mm
Indoor unit outline
Left rear wall
722mm
Right rear wall
hole 65mm
hole 65mm
805mm
Right rear wall
Left rear wall
hole 65mm
hole 65mm
HINRP50M & HINRP60M
HINRP70M
199mm
165mm
527mm
603mm
106mm
129mm
322mm
247mm
173mm
139mm
Left rear wall
973mm
Left rear wall
1082mm
Right rear wall
hole 65mm
Right rear wall
hole 90mm
hole 90mm
hole 65mm
318mm
290mm
48mm
49mm
29mm
49mm
37mm
48mm
37mm
338mm
54mm
297mm
47mm
53mm
36mm
54mm
55mm
Rinnai 12 Multi Split Type Air Conditioner
INSTALLATION INSTRUCTIONS
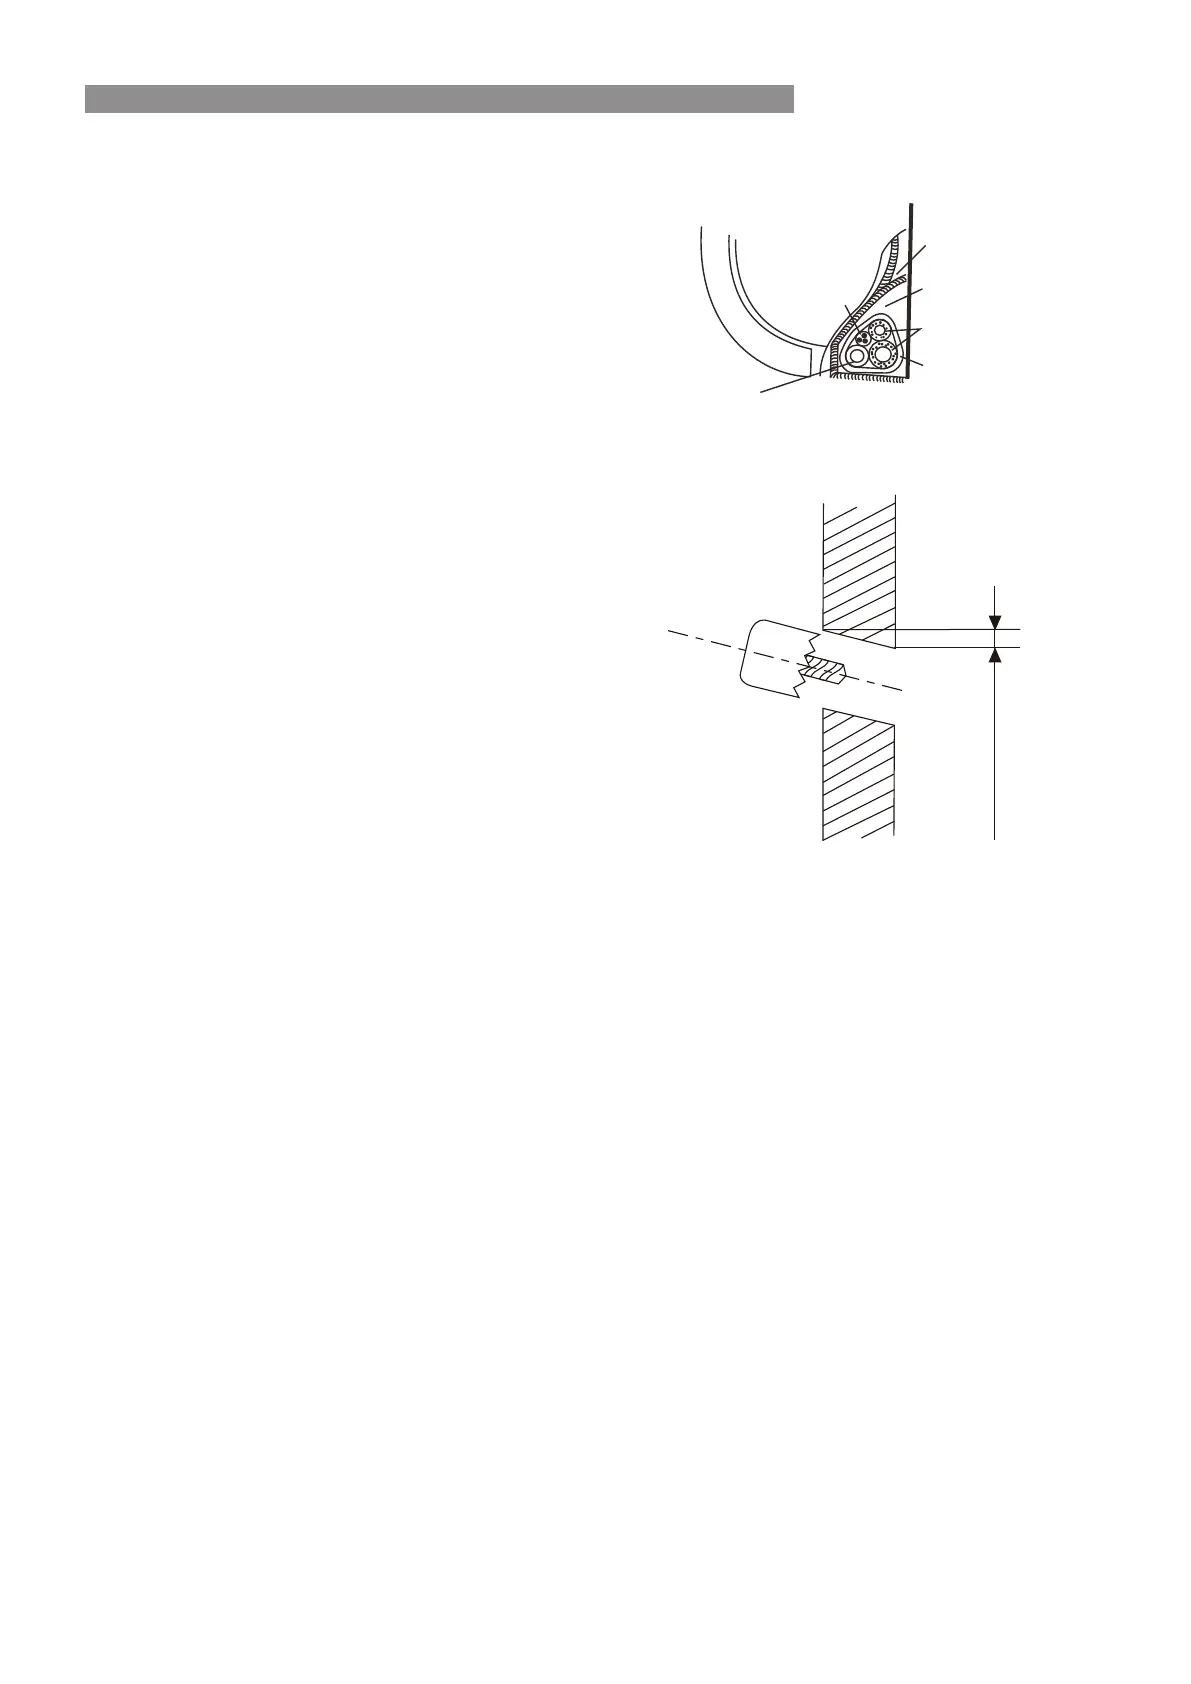
Piping and wrapping
Bundle the refrigerant pipe, connecting cable, and
condensate drain hose with tape securely.
Condensate is drained away from the indoor
unit via a condensate tray. DO NOT put any foreign
objects in the tray as it may block the drain
and cause a water leak.
Connect the indoor unit first, then the
outdoor unit.
Ensure the bundled pipework is retained
in the rear of the indoor unit.
Ensure that the condensate drain falls correctly
Insulate the refrigerant pipes individually.
Ensure that the condensate drain hose is at
the bottom of the bundle. If located at the
top of the bundle it will cause the condensate
tray to overflow inside the unit.
Ensure that the power wiring is routed separately
to all other wiring.
Run the condensate drain hose sloped downward
to ensure the condensate flows away effectively.
CAUTION
1. Pass the piping through the hole in the wall.
2. Put the upper slot at the back of the
indoor unit on the upper hook of the
installation plate, move the indoor unit
from side to side to see that it is securely
hooked.
3. Piping can be manipulated more easily by propping
the indoor unit out from the wall.
4. Push the lower part of the indoor unit onto the wall,
then move the indoor unit from side to side, up and
down to check it is securely fastened on the installation plate.
Indoor unit installation
Indoor unit
Connecting
pipe
Pipe enclosure
Condensate tray
Wrapping
Connecting
cable
Drain hose
.
.
.
.
.
.
.
.
.
.
.
.
.
.
.
.
.
.
.
.
.
.
.
.
.
.
.
.
.
. .
.
Wall
Indoor Outdoor
Ensure that there
is a 5 to 7mm
fall to the outside
Piping and wrapping
Bundle the refrigerant pipe, connecting cable, and
condensate drain hose with tape securely.
●
Condensate is drained away from the indoor unit via
a condensate tray. DO NOT put any foreign objects
in the tray as it may block the drain and cause a water
leak.
CAUTION
●
Connect the indoor unit rst, then the outdoor unit.
●
Ensure the bundled pipework is retained in the rear of
the indoor unit.
●
Ensure that the condensate drain falls correctly.
●
Insulate the refrigerant pipes individually.
●
Ensure that the condensate drain hose is at the bottom
of the bundle. If located at the top of the bundle it will
cause the condensate tray to overow inside the unit.
●
Ensure that the power wiring is routed separately to all
other wiring.
●
Run the condensate drain hose sloped downward to
ensure the condensate ows away eectively.
Indoor Unit Installation
1.
Pass the piping through the hole in the wall.
2.
Put the upper slot at the back of the indoor unit on
the upper hook of the installation plate, move the
indoor unit from side to side to see that it is securely
hooked.
3.
Piping can be manipulated more easily by propping
the indoor unit out from the wall.
4.
Push the lower part of the indoor unit onto the wall,
then move the indoor unit from side to side, up
and down to check it is securely fastened on the
installation plate.

 Loading...