Rinnai 33 Multi Split Type AC
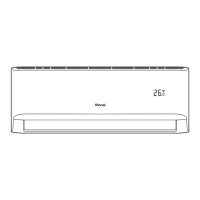
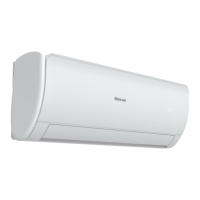
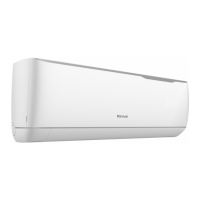
INDOOR INSTALLATION
Rinnai 29 Multi Split Type Air Conditioner
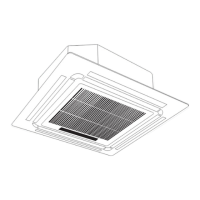
PANEL INSTALLATION
CAUTION
DO NOT place the panel facedown on the floor,
against a wall, or on uneven surfaces.
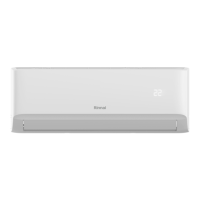
Step 1: Remove the front grille
A. Push both of the tabs towards the middle
simultaneously to unlock the hook on the
grille.
B. Hold the grille at a 45° angle, lift it up
slightly and detach it from the main body.
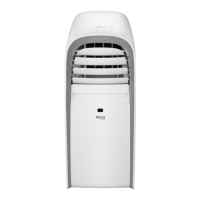
Step 2: Install the panel
Align the indicate "△" on the panel to the
indicate "△" on the unit. Attach the panel to
the unit with the supplied screws as shown in
figure below.
1 Intake grille
2 Grille hook
1 Panel
2 Screws (M5)(supplied with the panel)
After installing the panel, ensure that there is
no space between the unit body and panel.
Otherwise air may leak through the gap and
cause dewdrop. (See figure below)
Rinnai 30 Multi Split Type Air Conditioner
Step 3: Mount the intake grille.
Step 5: Fasten the control box lid
Ensure that the buckles at the back of the
grille are properly seated in the groove of
the panel.
with 2 screws.
Step 6: Close the intake grille, and close
the 2 grille hooks.
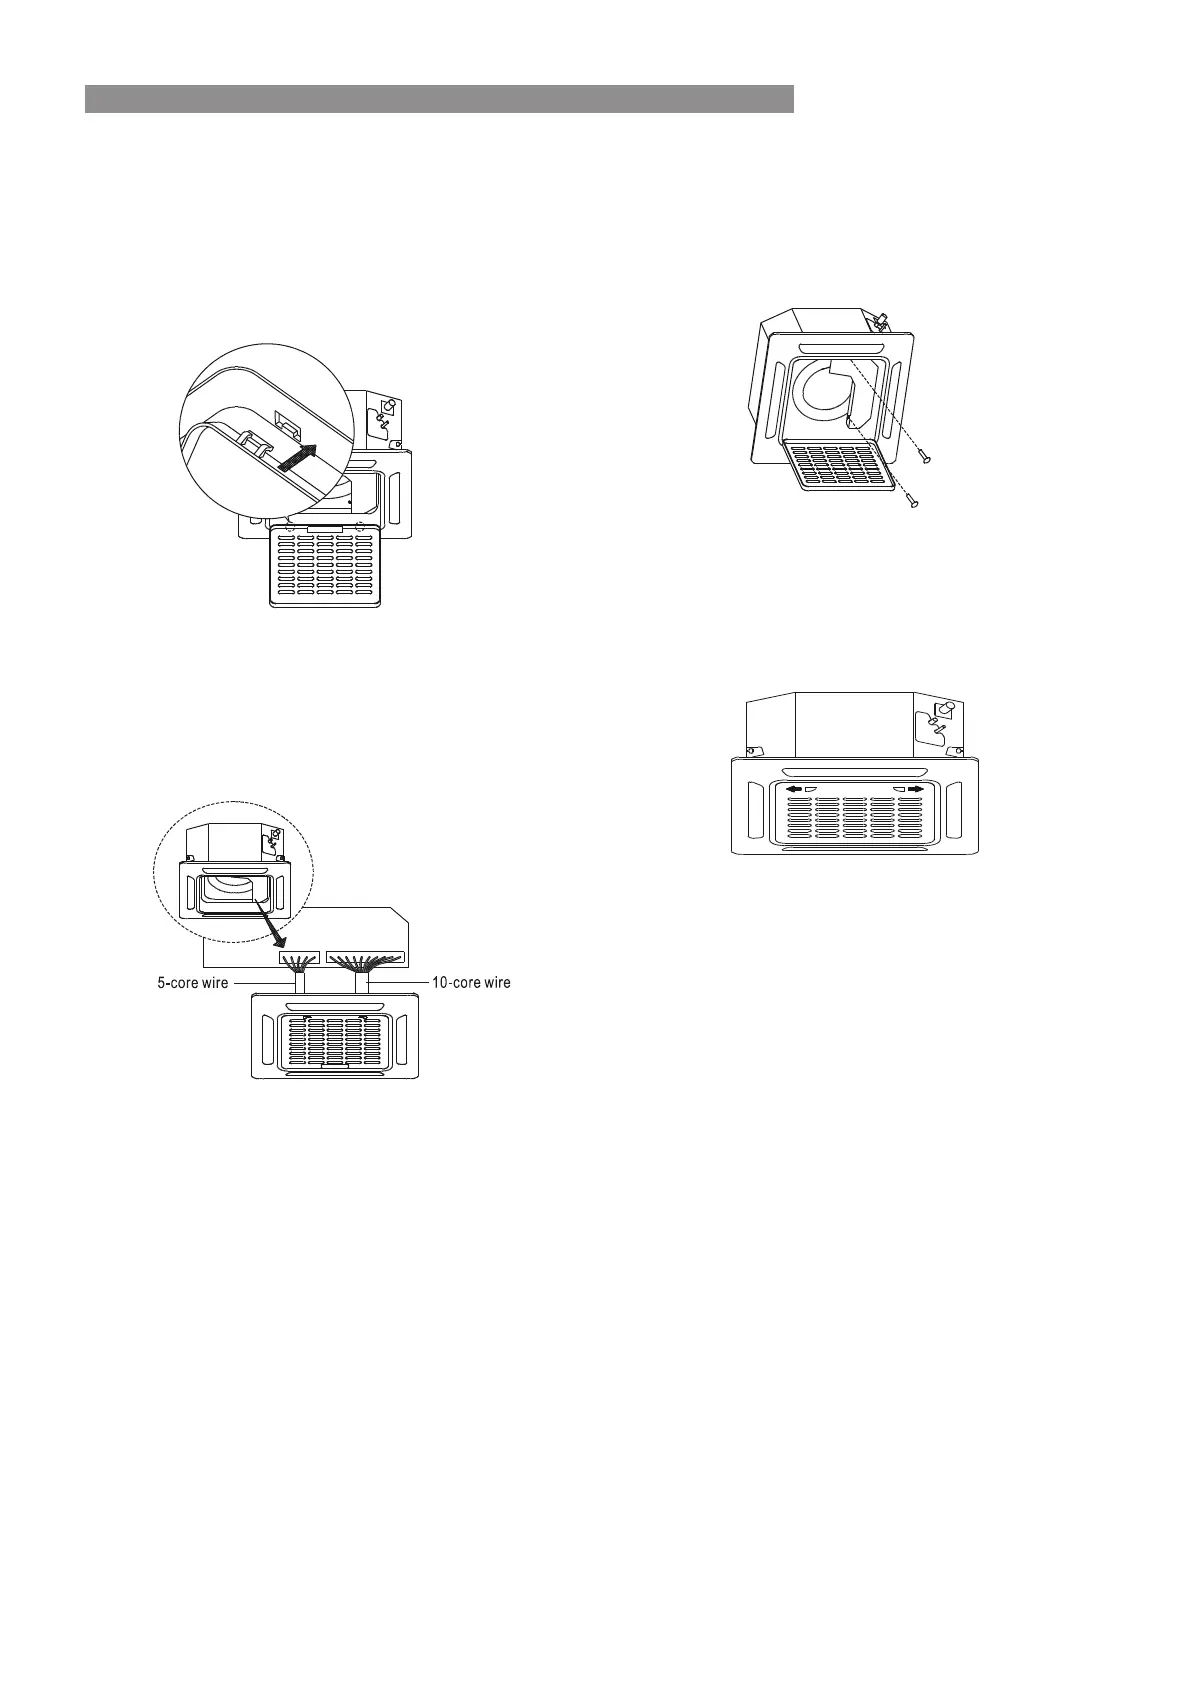
Step 4: Connect the 2 cables of the panel
to the mainboard of the unit.

 Loading...