Unit assembly
© robatherm 53
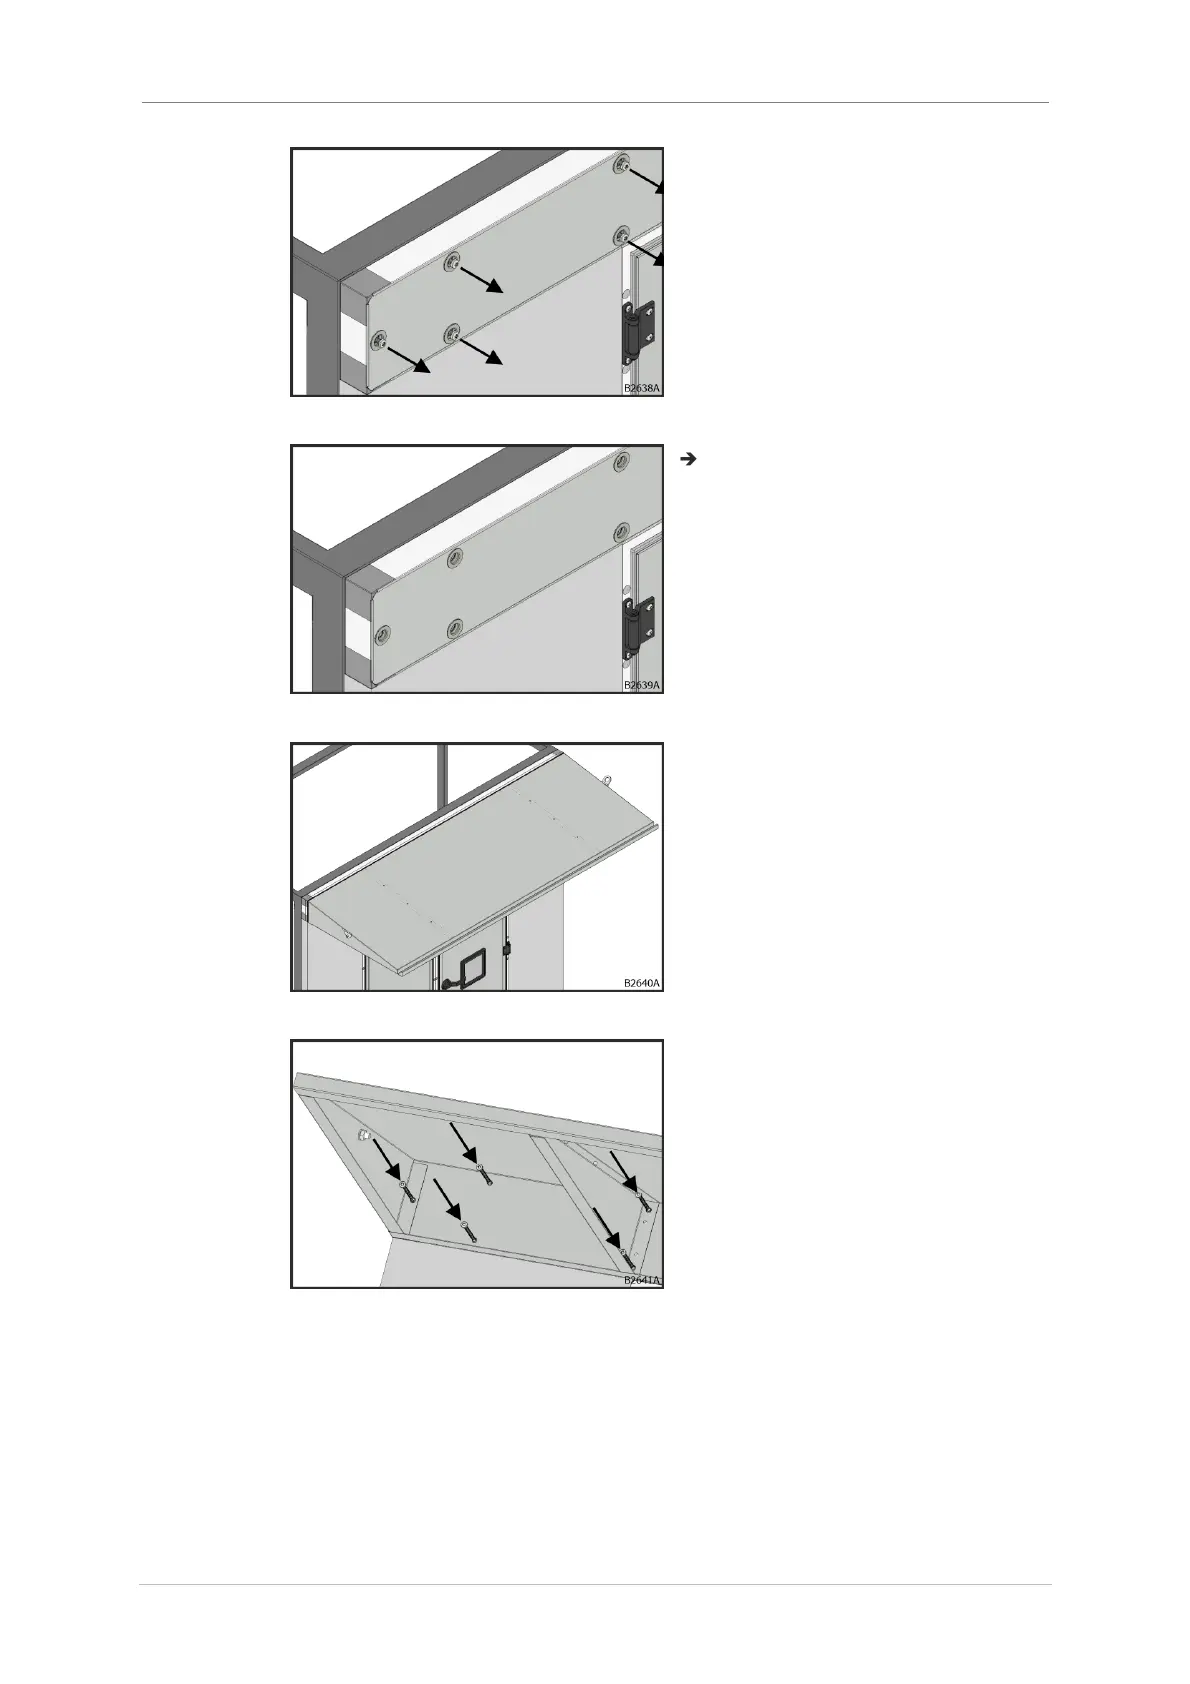
3. Remove all screws from the
corresponding panel.
Fig. 95: Removing screws
Screws have been removed.
Fig. 96: Screws have been removed
4. Align the protection roof to the
panel.
Fig. 97: Alignment
5. Use bit extension to mount
protection roof with pre-inserted
self drilling screw with lens head
DIN 7504, 6.3x80 mm, Torx,
galvanized steel.
Fig. 98: Fit screws