Publication 2098-IN005C-EN-P — March 2008
Commissioning Your Ultra3000 Drive 75
7. Verify that the Data Rate setting matches the Data Rate
(communication rate) switch setting on the Ultra3000-SE drive.
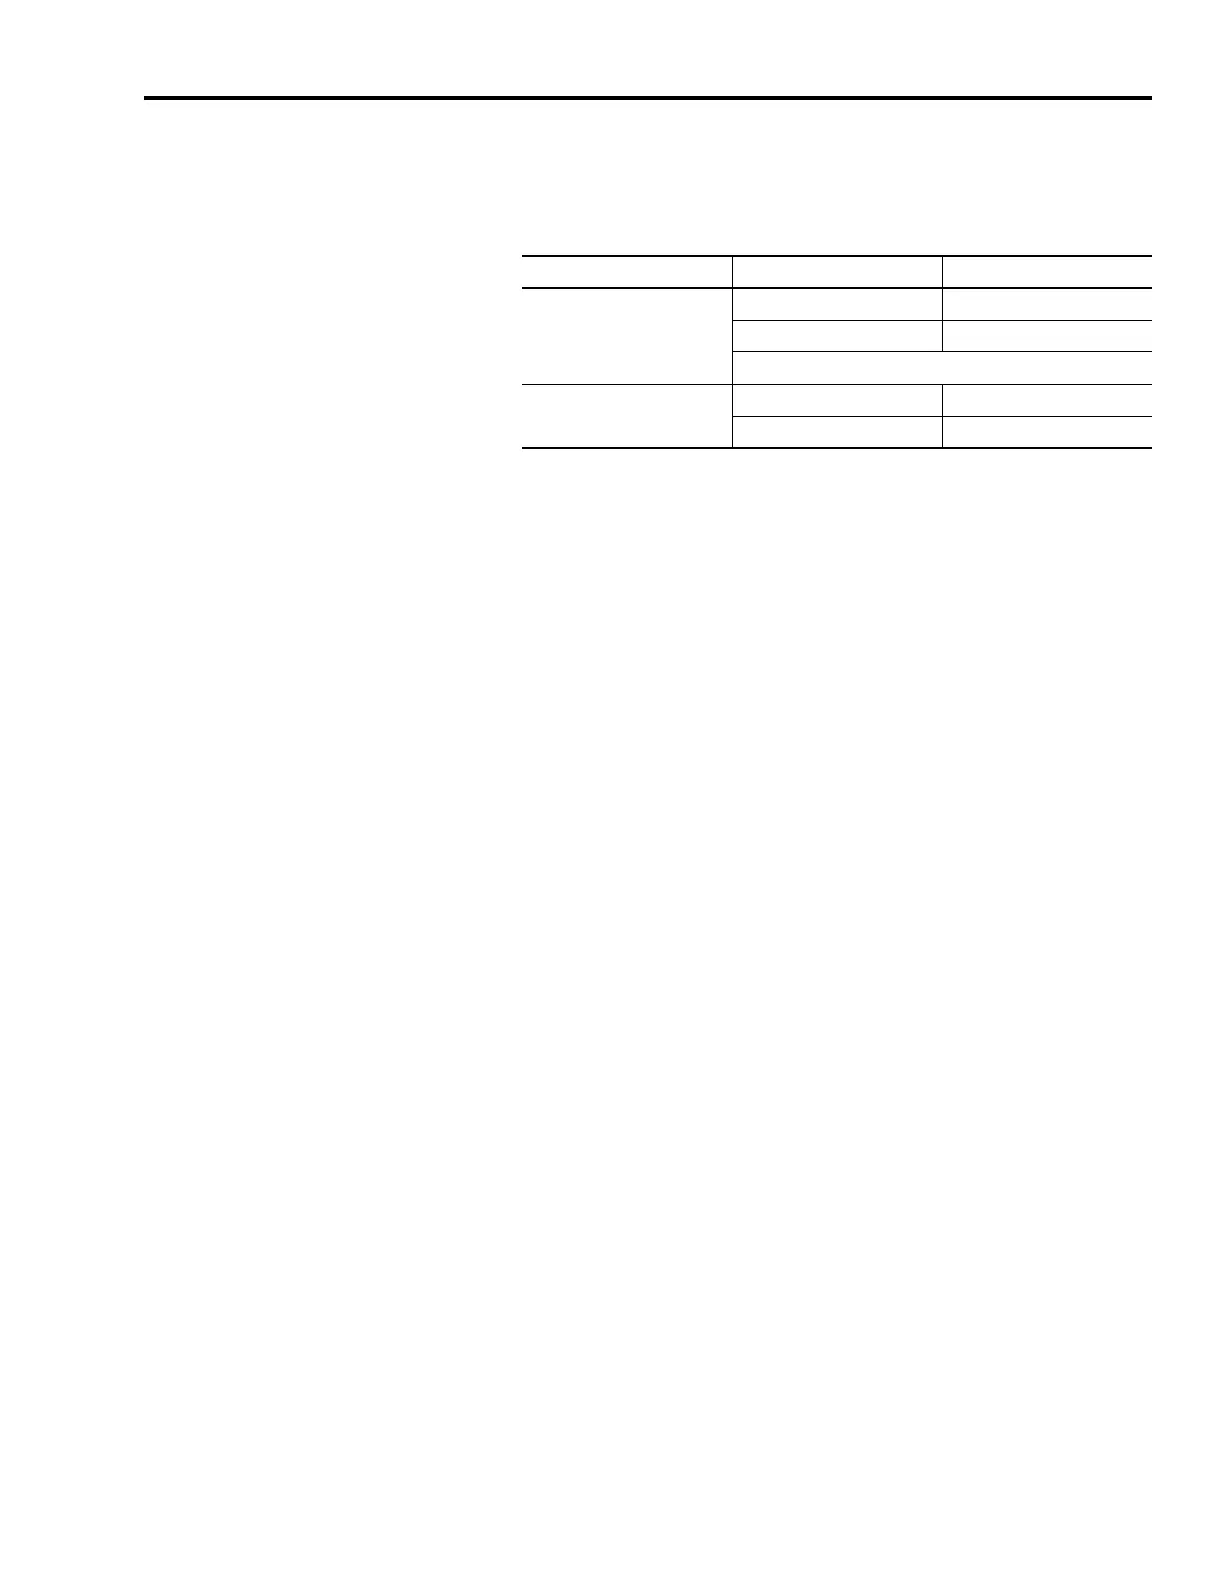
8. Set the Cycle Time according to this table.
The number of axes/module is limited to the number of axes as
shown in step 6.
9. Verify that Transmit Power is set to High.
10. Set Transition to Phase.
Transition to Phase default setting is 4 (phase 4). The Transition to
Phase setting will stop the ring in the phase specified.
11. Click OK.
12. Repeat steps 1…11 for each Logix module.
Configure Your Ultra3000-SE Drive
Follow these steps to configure your Ultra3000-SE drive.
1. Right-click your new module and choose New Module.
The Select Module dialog opens.
2. Expand the Drives category and select 2098-DSD-xxx-SE or
2098-DSD-HVxxx-SE drive as appropriate for your actual
hardware configuration.
3. Click OK.
Data Rate Number of Axes Cycle Time
4 Mbps
Up to 4 1 ms
Up to 8 2 ms
No support for axes 9…16
8 Mbps
Up to 8 1 ms
Up to 16 2 ms
 Loading...


